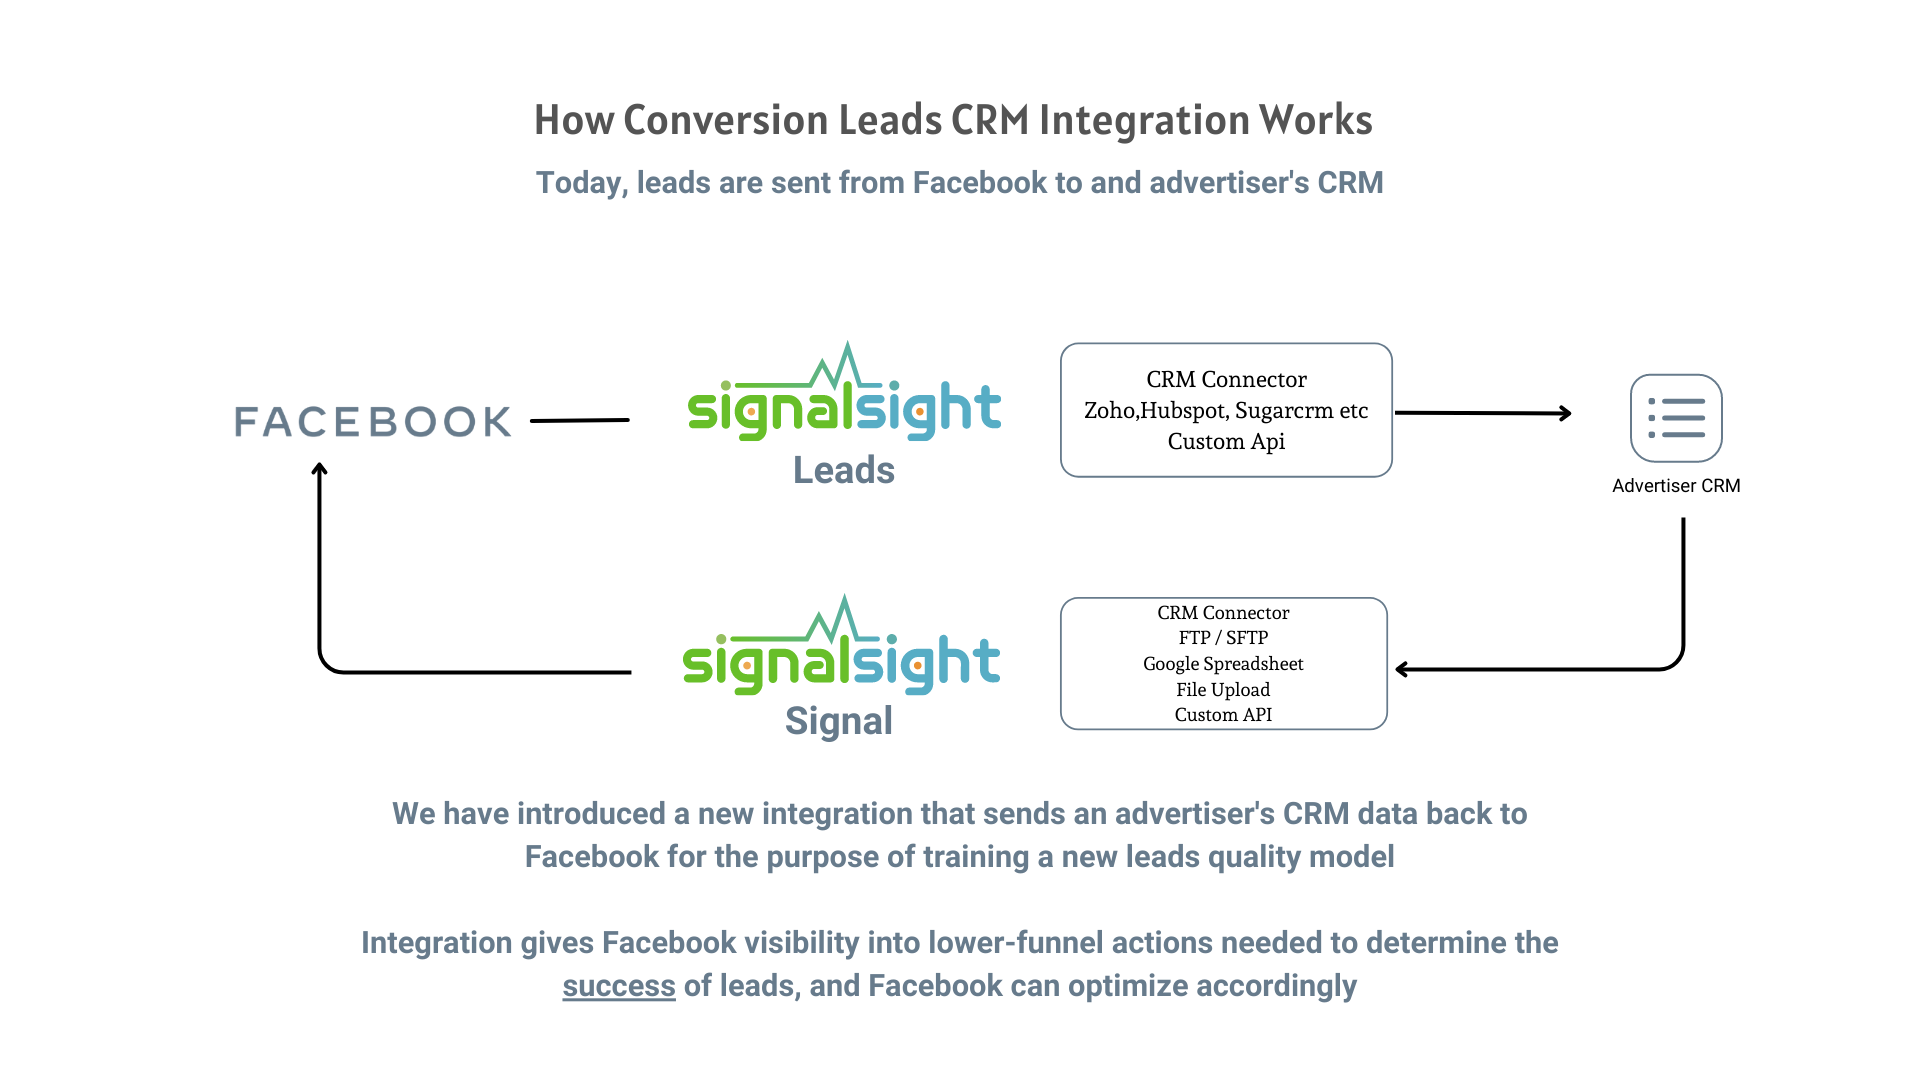
SignalSight Conversion Lead lets you use File Upload as a lead data source. Upload a CSV with lead statuses and funnel events — SignalSight sends them to Meta so campaigns optimize toward meaningful outcomes, without a live CRM or spreadsheet connection.
Before you start
You need a SignalSight account and a Meta CRM Pixel set up in Events Manager. For Pixel ID and access token steps, see Meta (Facebook) CAPI Setup. New users can start with Account Creation.
Get Started
Conversion Leads closes the loop between Meta lead ads and your downstream funnel data. File Upload is ideal when you export leads from another system on a schedule — or when you don't have a CRM integration available.
Open the Tracker Creation Wizard under Signal → Trackers and click Create Tracker.
Create a Tracker
Step 1 — File Upload Source
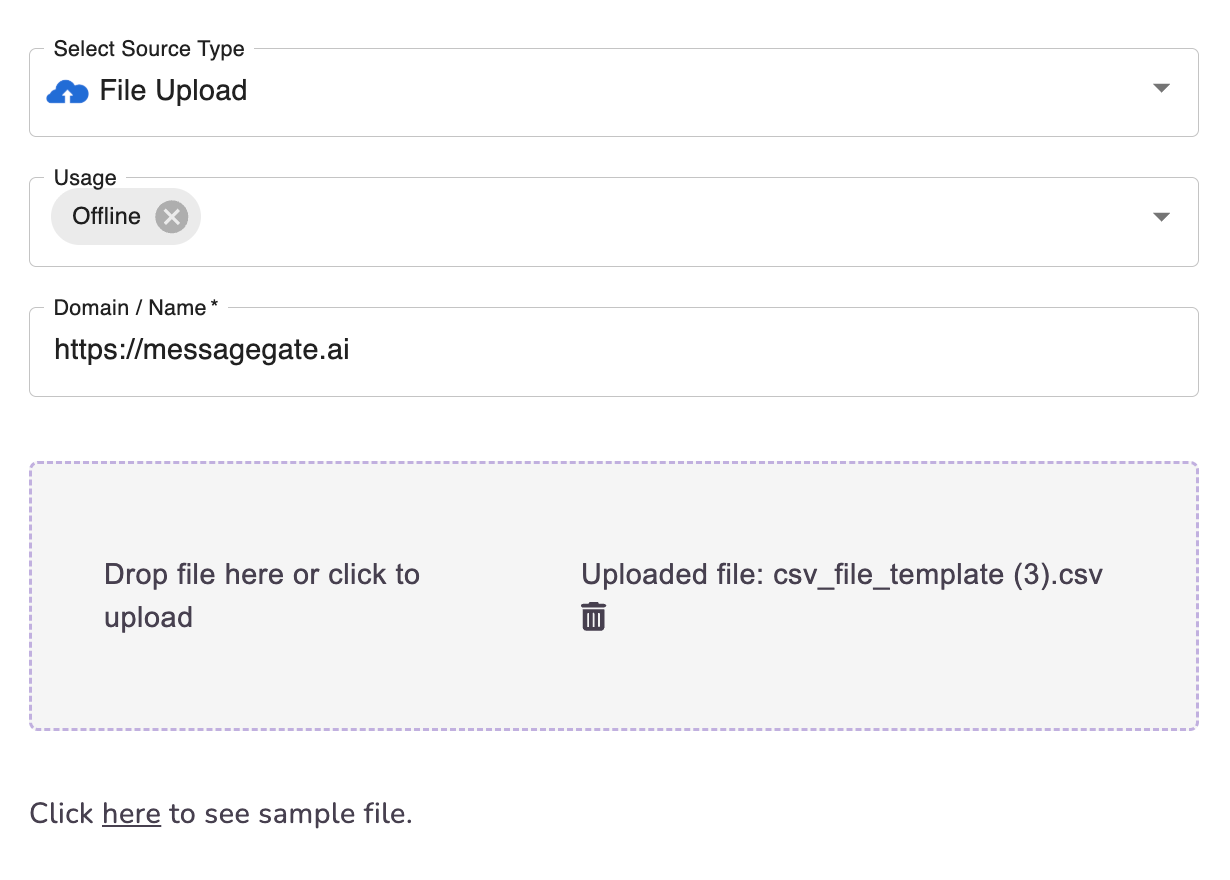
- Click Add Source and select File Upload as the source type.
- Enter a name for the source.
- Upload your file — drag and drop into the upload area, or click to browse. The file must match the required format (download the sample file from the here link above the Save button to see the expected structure).
- Click Save, then Next to continue.
Map the columns in your file to the required lead fields — including leadgen ID — so Meta can match uploaded rows to the leads it generated.
Step 2 — Meta CAPI Destination
Create a Meta Conversions API destination. Enter your CRM Pixel ID and access token manually, or use Connect Facebook CAPI to sign in and select the Pixel from your account.
Note
The Pixel must be a CRM Pixel — not your website Pixel. In Events Manager, click Connect Data Sources, select CRM, then Connect. Create a new dedicated Pixel (recommended) so CRM events stay separate from your web Pixel.
Step 3 — Name and Complete
Name your tracker, review the source and destination summary, and click Complete to finish the wizard.
Manage Your Source
Open your tracker at any time to upload a new file, update column mapping, or review sent event history. Each upload replaces or extends the lead data SignalSight processes — keep files formatted consistently for reliable event delivery.
Note
Changing mapping on campaigns that have already finished learning may restart Meta's learning phase. Update mappings carefully once ads are live.
What Happens Next
Once events start flowing from your uploads, complete the funnel setup in Meta Events Manager. The three guides below cover everything after tracker creation:
- Validation Phase — Meta's 7-day validation window and how to resolve errors.
- Define Your Sales Funnel — map events to funnel stages and set your optimization target.
- Run Conversion Leads Campaigns — campaign objective, ad set, and Conversion Leads optimization settings.
Frequently Asked Questions
When should I use File Upload instead of Google Sheet or a CRM?
Use File Upload when you export lead data from another system on a schedule, or when no live CRM or spreadsheet integration is available. It's a good fit for batch updates rather than real-time sync.
What file format is required?
Upload a CSV that matches the sample format linked in the source setup screen. Required columns include leadgen ID and lead status — map them during source configuration.
Can I upload a new file after the tracker is created?
Yes. Open the tracker detail page and upload a new file through the File Upload source. Keep the column structure consistent with your original mapping.
How often should I upload new files?
Upload whenever your lead data changes — daily or weekly is common. Meta's validation phase needs consistent event coverage, so avoid long gaps between uploads once campaigns are live.