Dynamics 365 Source Guide
Microsoft Dynamics 365 CRM stands as an extensive customer relationship management platform, unifying diverse business operations into a cohesive system. It facilitates the seamless management of customer interactions, sales, marketing, and customer service for organizations. Featuring a modular structure, Dynamics 365 CRM provides adaptable solutions customized to individual business requirements.
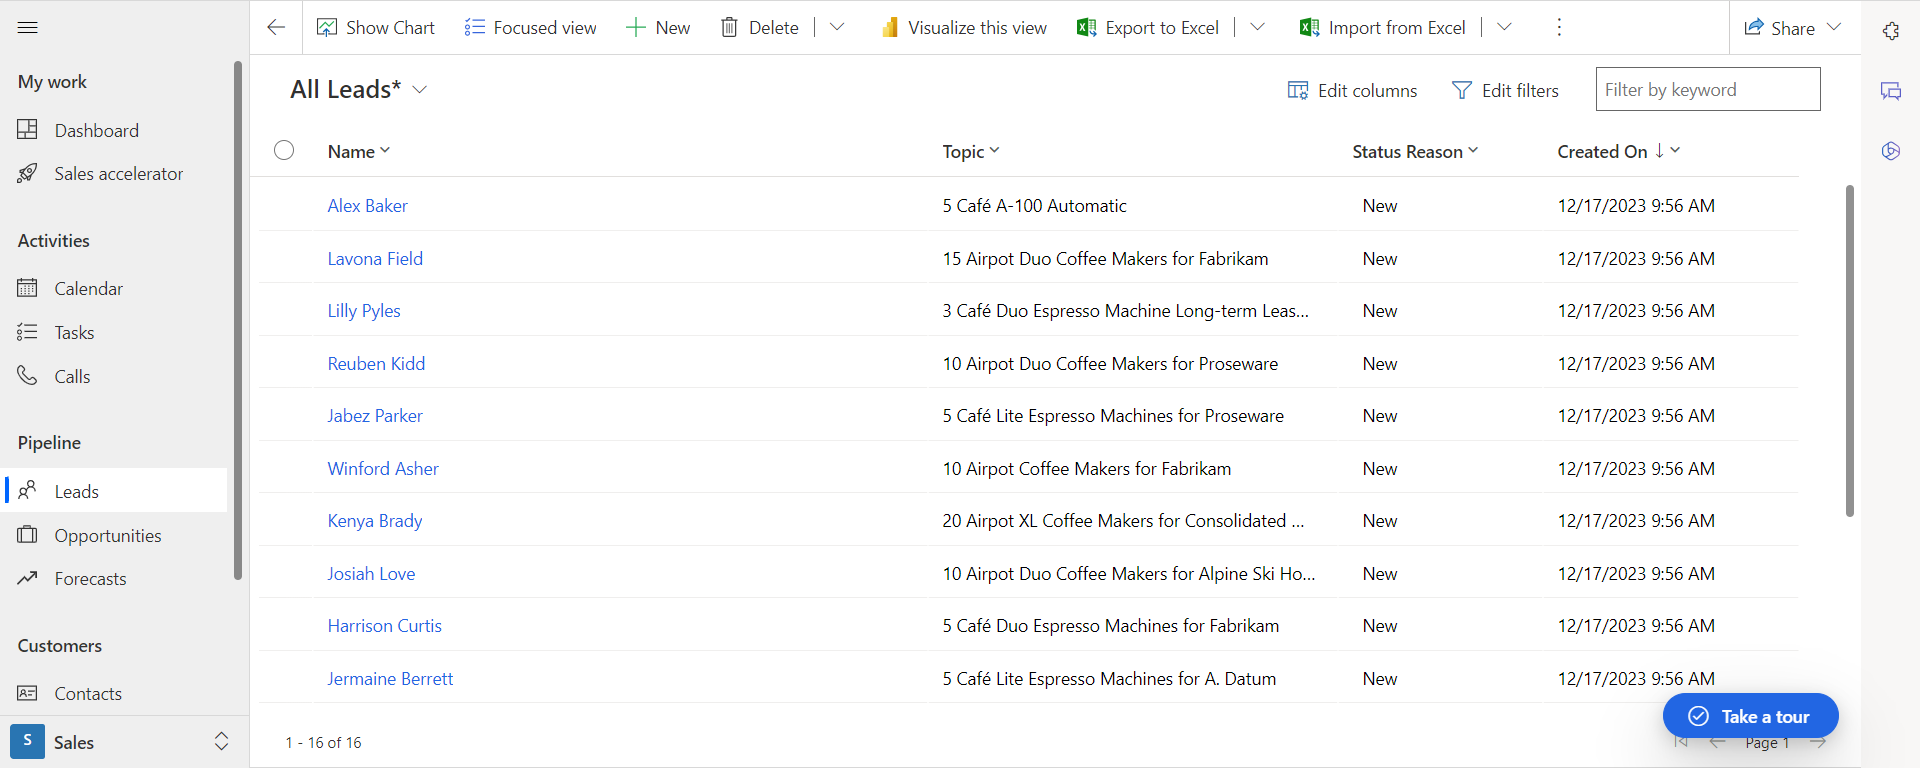
Get Started
Signalsight to offer supplementary services that enhance Lead management capabilities within your Dynamics 365 CRM. This collaboration provides added value and improved functionalities, streamlining the processes involved in converting leads.
Creating a New Tracker
First, we select 'Signal' from the menu on the left-hand side and proceed to the 'Trackers' page. In the 'Trackers' section, we locate and click on the 'Create Tracker' button situated at the top right corner. This action initiates a wizard that includes multiple steps guiding the creation of a new tracker.
Dynamics 365 Source Creation
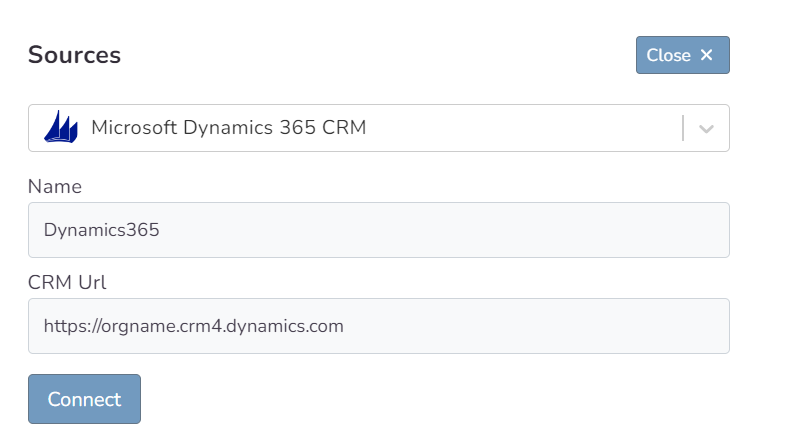
In the first step, we select Microsoft Dynamics 365 from the list of sources. We enter a specific name for the source in the 'Name' field. Once we've successfully filled in the CRM Url section just below, we can press the 'Connect' button. If you're unsure how to obtain the CRM Url, you can refer to a 'How to Get CRM Url' section for guidance.
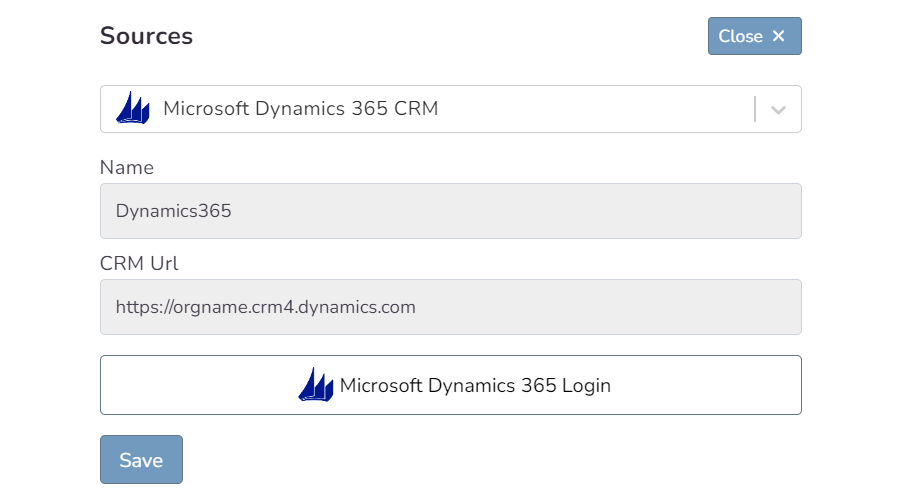
Alongside the 'Connect' button, as seen in the image just below, there's a 'Login' button. Clicking on this button allows us to access the respective CRM account. After granting access, the popup window will close, and you'll proceed to the mapping step.
How to Get CRM Url
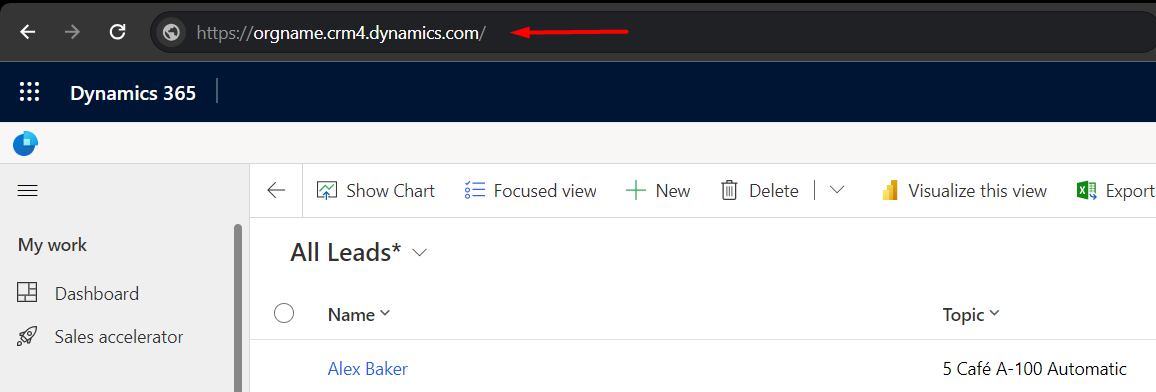
After logging into your Dynamics 365 account, simply copy a link similar to https://orgname.crm4.dynamics.com from your browser's URL field. Paste this link into the designated area when creating a source, and that will suffice.
Dynamics 365 CRM Mapping
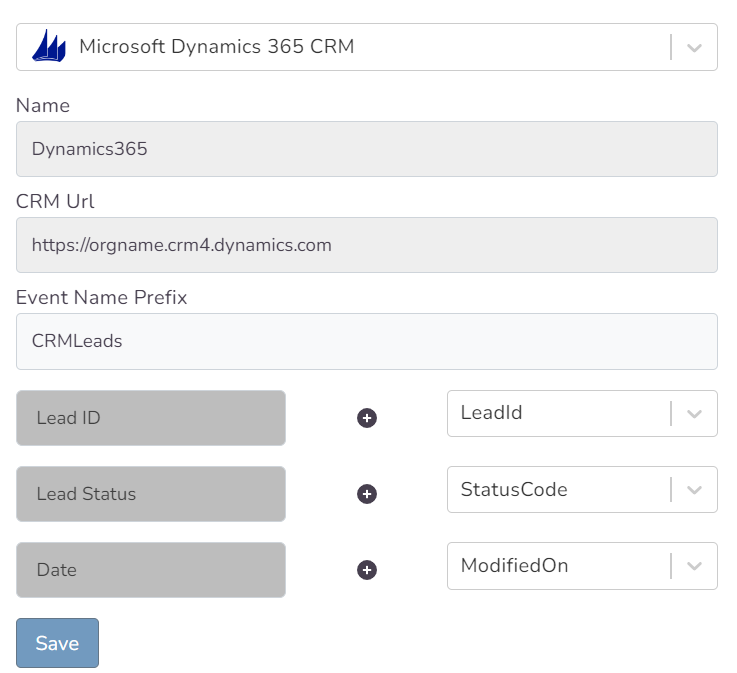
The Prefix field is optional; if left empty, transmissions will use Lead Statuses like 'Qualified Lead' or 'Junk.' When using the prefix 'CRMLeads,' the naming convention will be structured as 'CRMLeads-Junk.'
Choosing a Destination
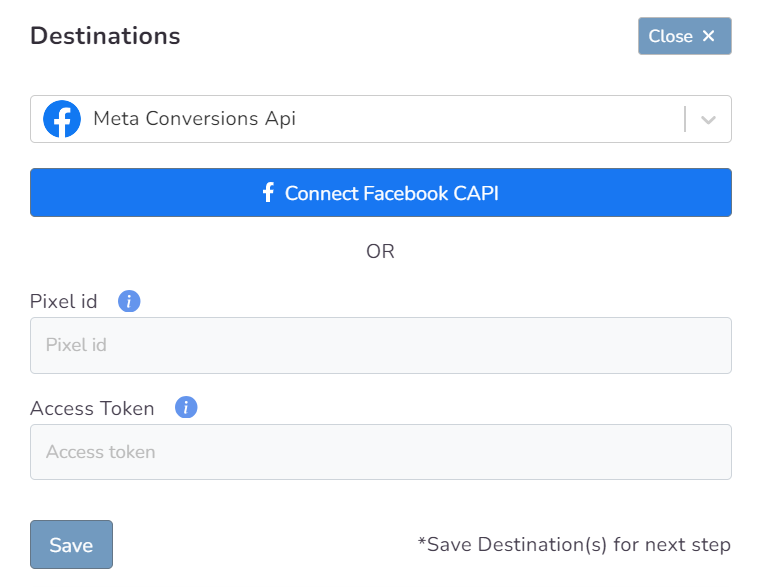
Here, you can decide which destination or destinations you'll connect to your chosen Salesforce resource. By using one or multiple destinations simultaneously, you can easily enhance your functionality. Once you've filled in the relevant fields for your chosen destination (or used automatic setup if available), complete the destination step to proceed to the next stage.
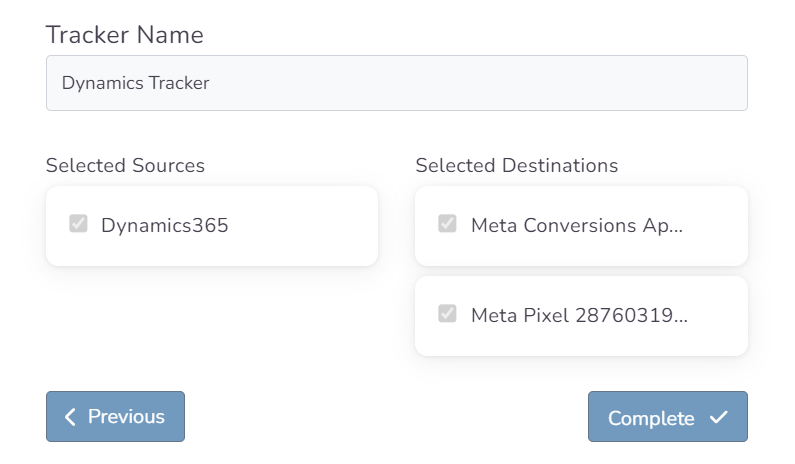
In this step of the Wizard, you can give your tracker a name, view the selected source and destination just below, browse the summary, and complete the process.
With the completion of the tracker, you can view your source and destination on the tracker detail screen.
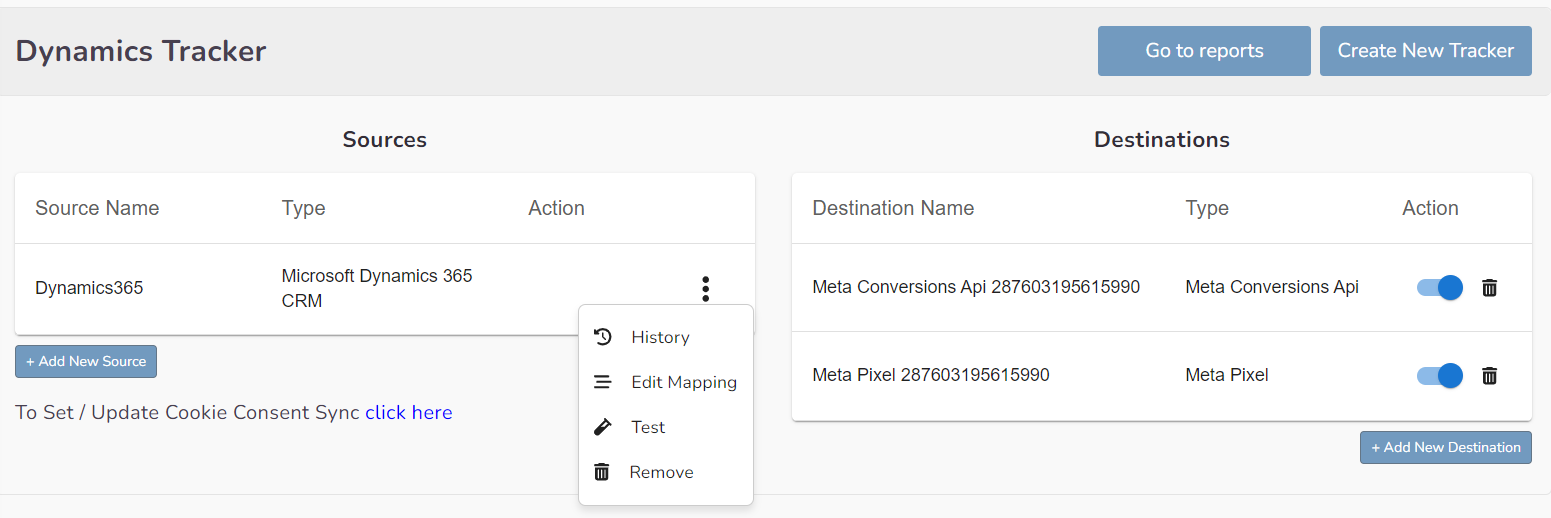
You can enter your Tracker at any time to update the mapping you've done in your CRM source, view data history with the history feature. However, you should not forget that organizing mapping for advertisements whose learning process has been completed may cause this learning process to start over again. Additionally, with the "Edit Mapping" you can not only update the mapping but also modify the CRMLeads prefix that will precede your event names. Through the testing feature, it displays an example lead data if there's been a lead generated within the last 7 days.
