Vtiger Conversion Leads
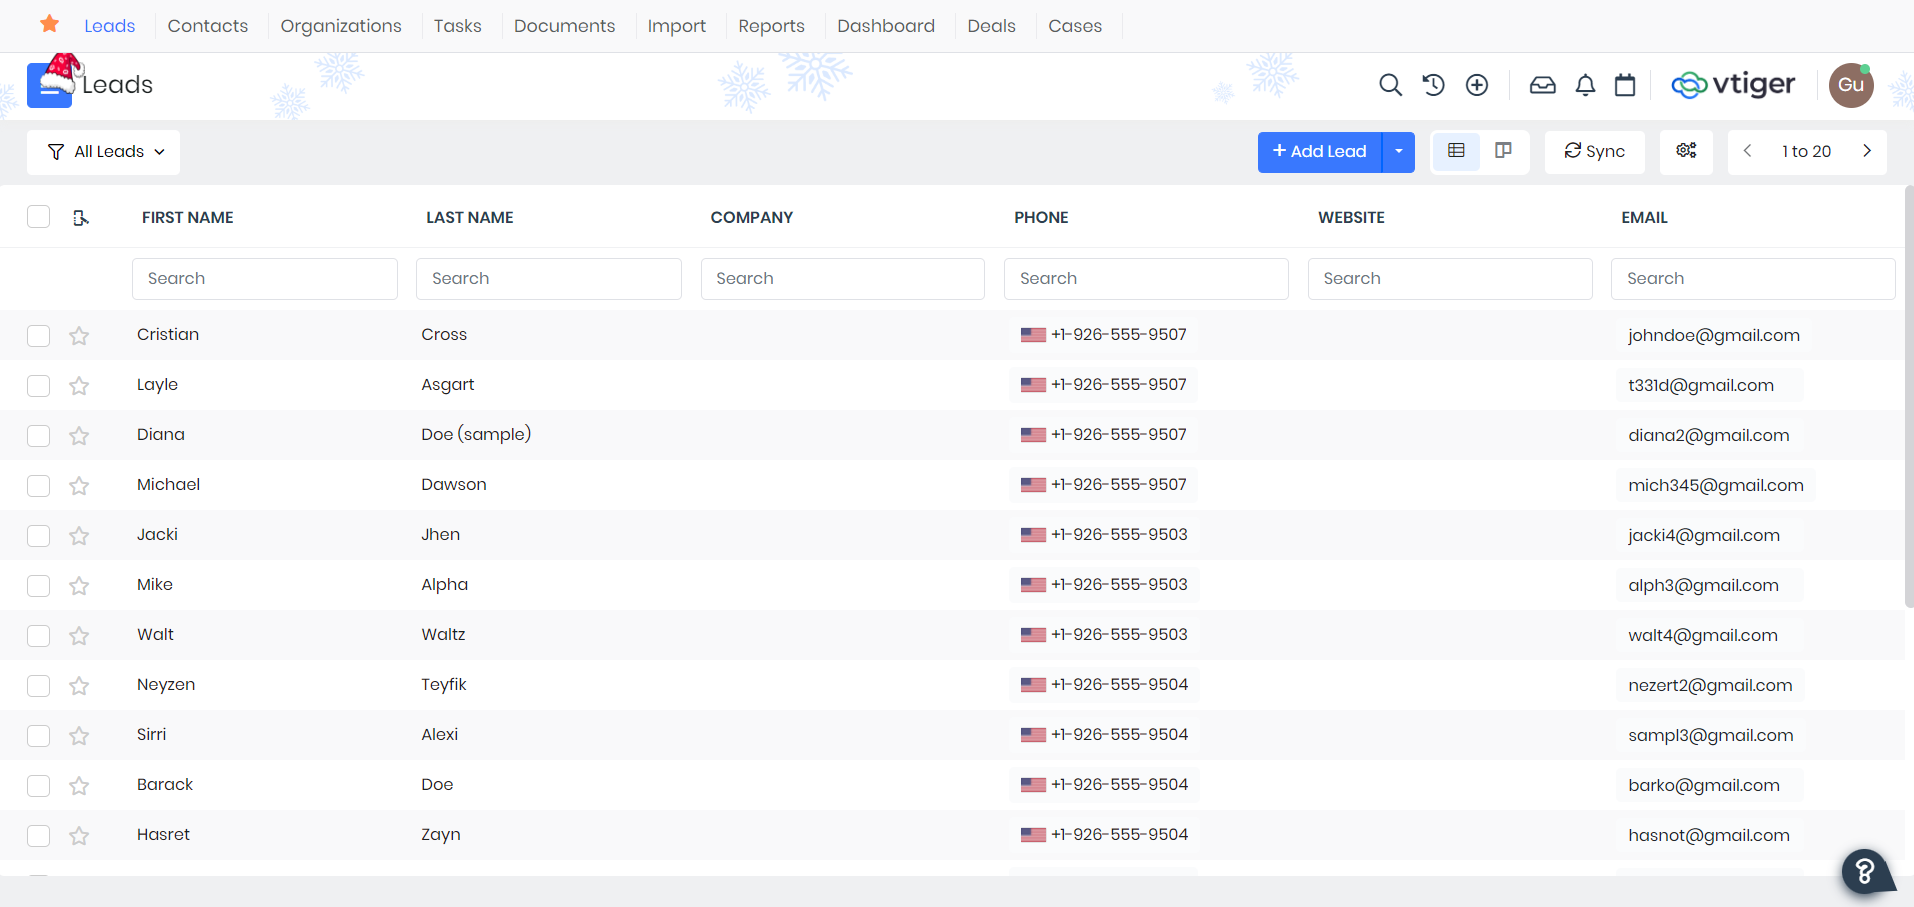
Vtiger CRM is a robust platform designed to streamline business processes, providing comprehensive tools for sales, marketing, and support. Within its Lead module, users can efficiently capture, track, and manage potential customers throughout the sales pipeline, enabling effective lead nurturing and conversion strategies.
The integration of your leads from Vtiger CRM into Meta, alongside the Conversion Lead solution, is instrumental in enabling the utilization of conversion-focused strategies, empowering you to effectively track, manage, and convert leads within Vtiger CRM.
Get Started
With your Signalsight, you can effortlessly finalize your Vtiger CRM connection in a few easy steps and begin leveraging the Meta Conversion Lead. To start, log in to your Signalsight account.
Creating a New Tracker
To navigate to the 'Trackers' section, start by selecting 'Signal' located in the left-hand menu. Within this section, you'll find the 'Trackers' option. Clicking on 'Trackers' directs you to a new page. At the top-right corner of this page, locate and click the prominent 'Create Tracker' button. This action triggers a step-by-step wizard explicitly tailored for generating a fresh tracker.
Vtiger CRM Source Creation
In the opened wizard, the first step is to create a source for the Tracker. You can click on the 'Add Source' button next to the 'Sources' heading or select an existing source if available in the 'Existing Sources' section. Assuming you don't currently have a source, let's proceed by clicking 'Add Source.' Choose Vtiger from the Source Type list. After inputting all the required information, click 'Connect' promptly. If you're unsure where to find details like Username, URL, and Access Key, refer to the next section titled 'How to Get Username, Key, and URL?'
How to Get Username, Key and URL?
To establish a connection with your Vtiger Source on Signalsight, you'll need your Username, Access Key, and URL information. To retrieve your Username and Access Key, click on the profile icon at the top right, then select 'My Preferences' from the menu that appears. As depicted in the image below, you can obtain your Username and Access Key from the displayed screen.
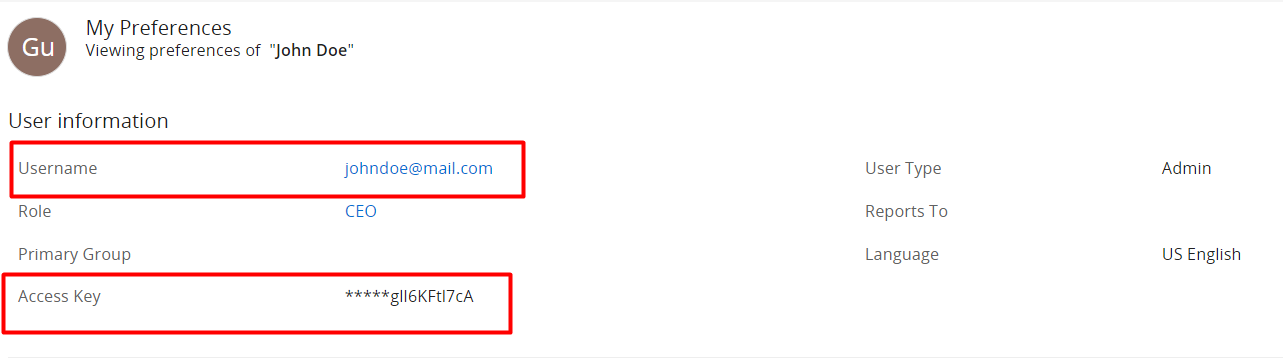
Finally, to acquire the URL, once you're logged into your dashboard, you can retrieve it from your browser's URL field. An example URL structure would appear as follows: https://company.od2.vtiger.com

Vtiger CRM Mapping
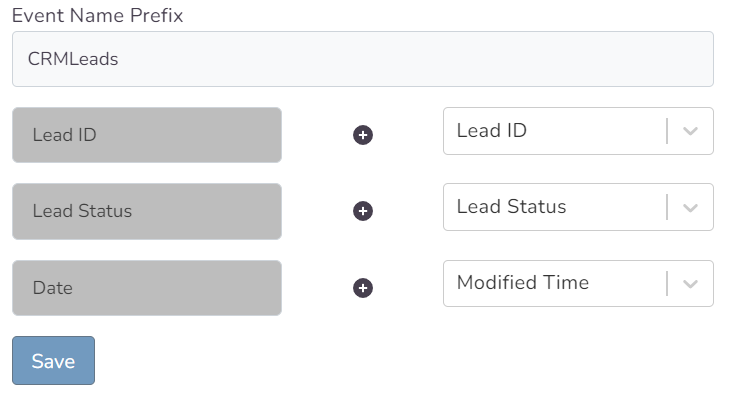
After successfully completing your Source connection, you'll encounter new fields, the first of which is the 'Event Name Prefix.' This Prefix helps determine the name received at the beginning of the event signal. You can either leave this field blank to send the signal with a direct name, such as 'Junk,' or configure it with an additional Event Name, transforming it into something like 'CRMLeads-Junk.
Choosing a Destination and Getting Started with Conversion Leads
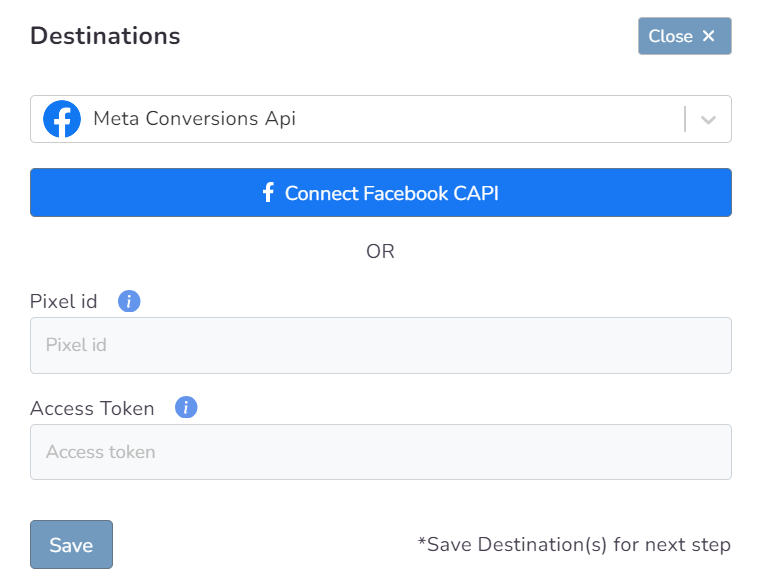
In the second step of the wizard, you will create a destination. You should create a Meta Conversions Api as destination type for Conversion Leads. Here you are presented with 2 different methods. If you want, you can create Pixel and Meta CAPI destinations with the Save button by entering the pixel id and access token information. In addition, if you have pixel access, create the destination by selecting the account you will access via the Connect Facebook CAPI button and the pixel below it.
In this step of the Wizard, you can give your tracker a name, view the selected source and destination just below, browse the summary, and complete the process.

With the completion of the tracker, you can view your source and destination on the tracker detail screen.
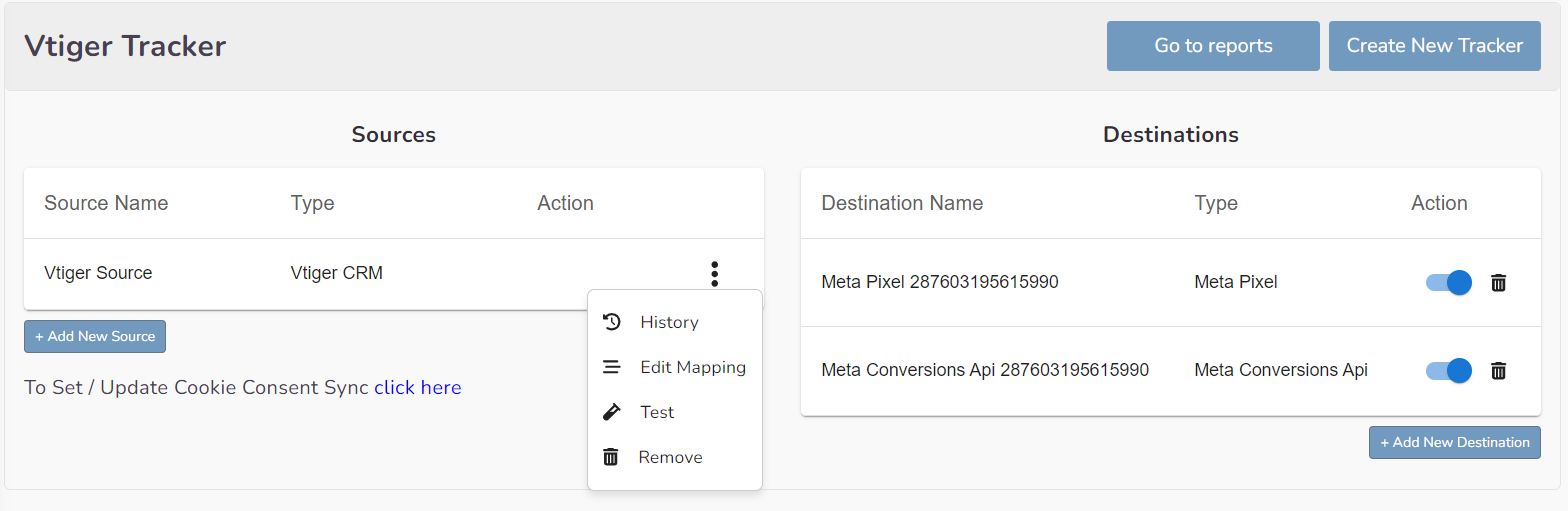
You can enter your Tracker at any time to update the mapping you've done in your CRM source, view data history with the history feature. However, you should not forget that organizing mapping for advertisements whose learning process has been completed may cause this learning process to start over again. Additionally, with the "Edit Mapping" you can not only update the mapping but also modify the CRMLeads prefix that will precede your event names. Through the testing feature, it displays an example lead data if there's been a lead generated within the last 7 days.
The Validation Phase
Monitoring CRM events
- Once CRM events start flowing you will enter a validation phase, typically lasting 7 days
- During this phase you will work closely with Facebook to identify any errors or issues which may be identified
- All errors must be corrected before you can exit the validation phase and proceed to mapping events to your sales funnel
Validation Phase Exit Requirements
- Your CRM events must provide maximal coverage of all Facebook-generated leads. For example, if 100 leads are generated in a day, then your CRM events for that day should endeavor to cover all of those leads
- We recommend you send at least 3-4 distinct CRM events so that the model can learn a more complete view of your sales funnel. Minimally, you must send in at least 2 events:
- - the initial lead corresponding to a FB-generated lead
- - a target CRM event for which you most want to optimize
Define Your Sales Funnel

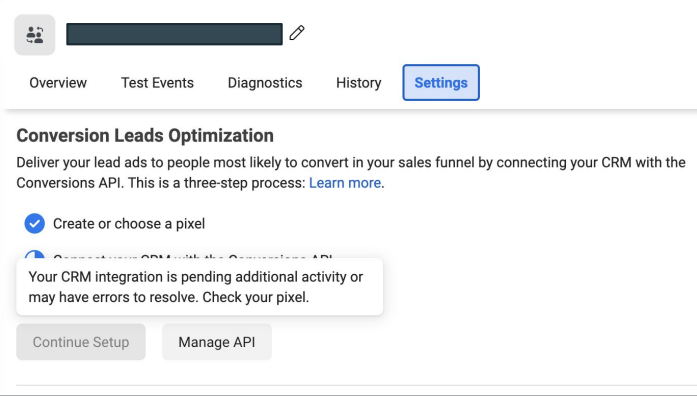
The “Continue Setup” button will be enabled in Events Manager Settings after you’ve exited the validation phase
In each of the sections above, identify CRM events:
- ﹘ that are not events in your sales funnel
- ﹘ that are disqualifying events
- ﹘ and the sequence in which they occur in your sales funnel
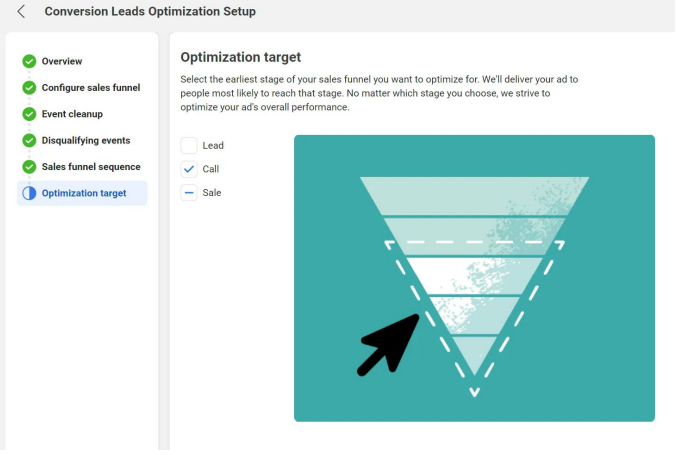
The last step in the integration process is to identify the earliest event in your sales funnel you want to optimize toward
The optimization target need not be the final event in your sales funnel, rather the depth you most want to attract audiences
Run Conversion Leads Campaigns
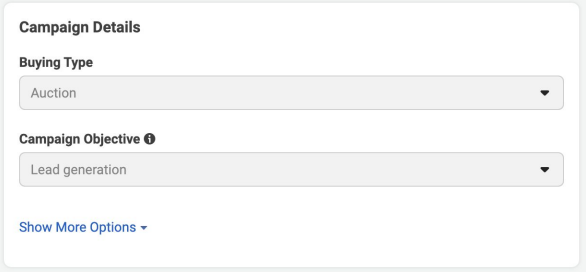
Campaign: Specify the “Lead generation” objective
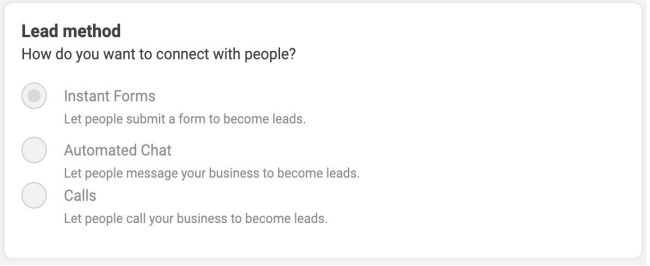
Ad Set: use an Instant Form for higher quality leads

Ad Set / Ad: Choose the Page for associating leads
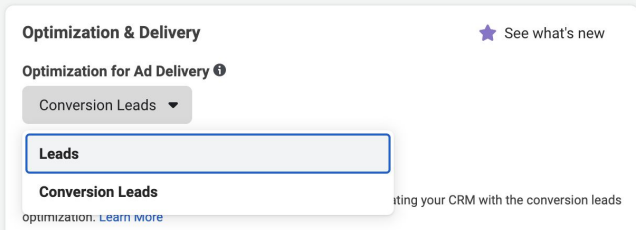
Ad Set: Choose the “Conversion Leads” optimization