Salesforce Source Guide
Salesforce CRM stands as a resilient cloud-centric solution crafted to refine and elevate customer relationship management. Providing a wide array of tools for sales, marketing, and customer service, it equips enterprises to efficiently handle leads, monitor customer interactions, and foster meaningful engagements.
Get Started
Harnessing the capabilities of Salesforce CRM within the Signalsight platform is a straightforward process that involves just a few simple steps. You can effortlessly navigate through these steps using the Tracker Wizard.
Creating a New Tracker
Salesforce Source Creation
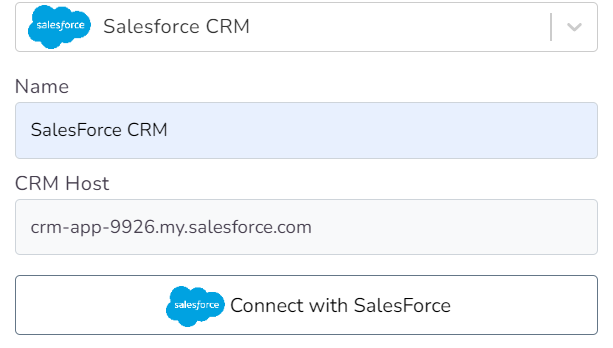
In the first step of the wizard, we select Salesforce CRM as the relevant CRM when creating the source. Then, we give our source a name and start establishing our connection by entering the CRM Host information. If you're unsure how to obtain the CRM Host information, you can refer to the next subsection titled 'How to Get CRM Host?' If you've already completed this step, you can proceed with Salesforce CRM Mapping.
How to Get CRM Host?
When you want to add your Tracker to Salesforce CRM, you can find information about the CRM Host field in your Salesforce panel. First, log in to your Salesforce CRM account. Then, by clicking on the avatar icon in the top menu on the right-hand side, you'll find a URL ending with salesforce.com under your name. Simply copy this URL.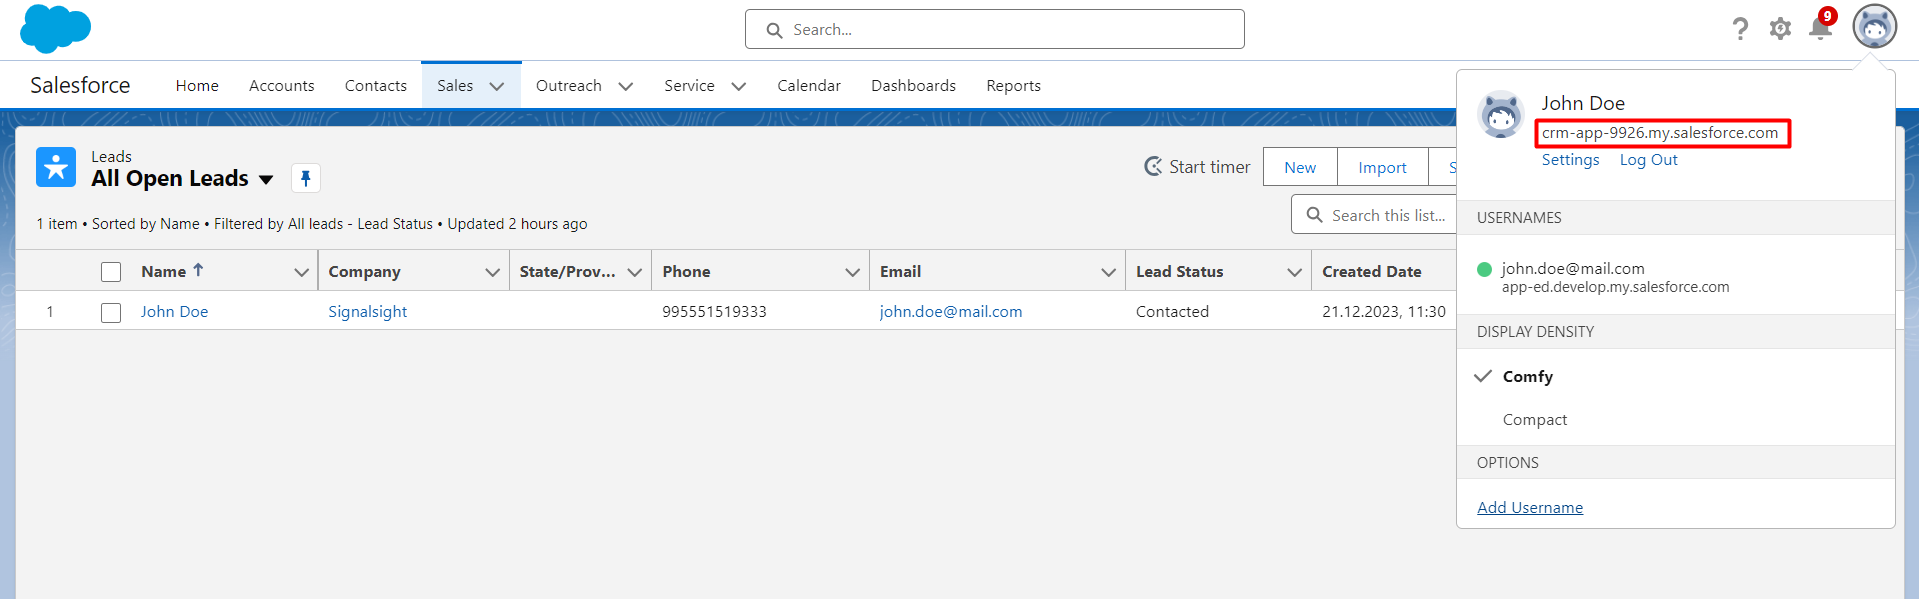
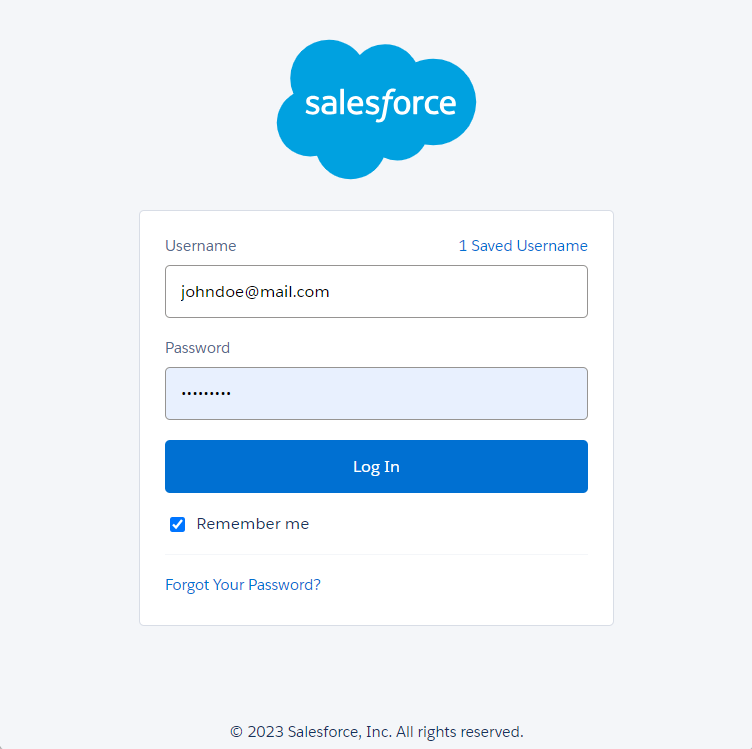
After pasting the copied URL into the Signalsight source creation step, you'll see a button to 'Connect to Salesforce.' Clicking this button enables you to log in to your specific account and authorize the required permissions. This seamless process ensures the successful linking of your account.
Salesforce CRM Mapping
After your connection is established, you'll be asked to perform mapping related to your source.
The Prefix field can also be left empty based on your preference. In this case, transmissions will be sent with Lead Statuses such as 'Qualified Lead' or 'Junk.' If the prefix 'CRMLeads' is provided, it will have a naming convention like 'CRMLeads-Junk'.
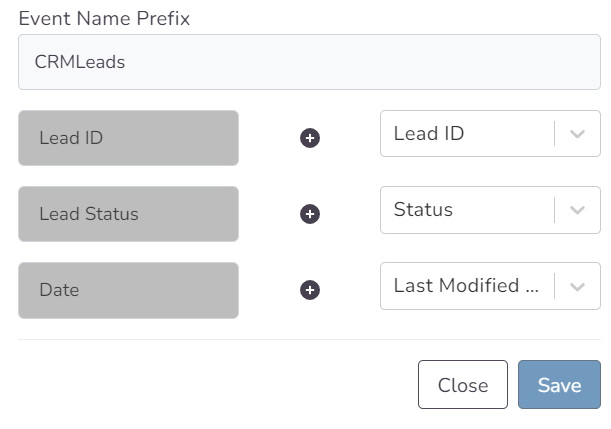
The other three rows are where you decide how to map the fields related to your leads. You can choose 'None' to skip mapping and then click the Save button, completing the source creation step.
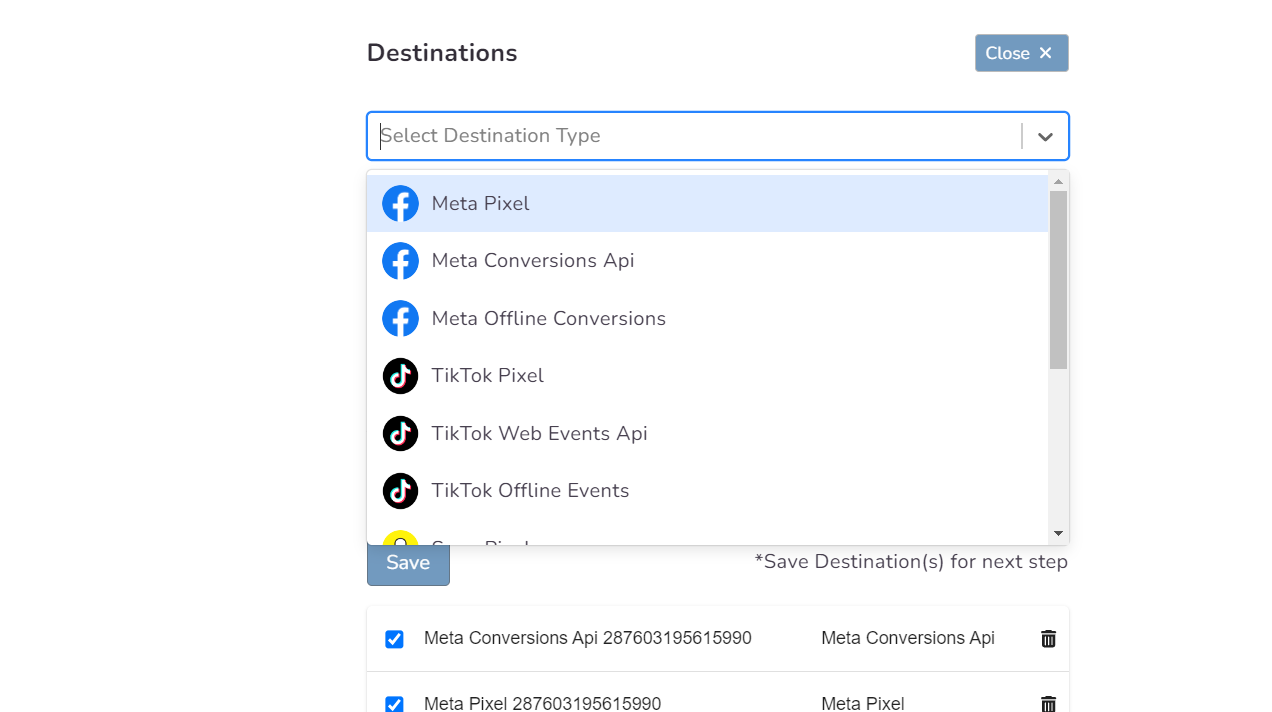
Choosing a Destination
Here, you can decide which destination or destinations you'll connect to your chosen Salesforce resource. By using one or multiple destinations simultaneously, you can easily enhance your functionality. Once you've filled in the relevant fields for your chosen destination (or used automatic setup if available), complete the destination step to proceed to the next stage.
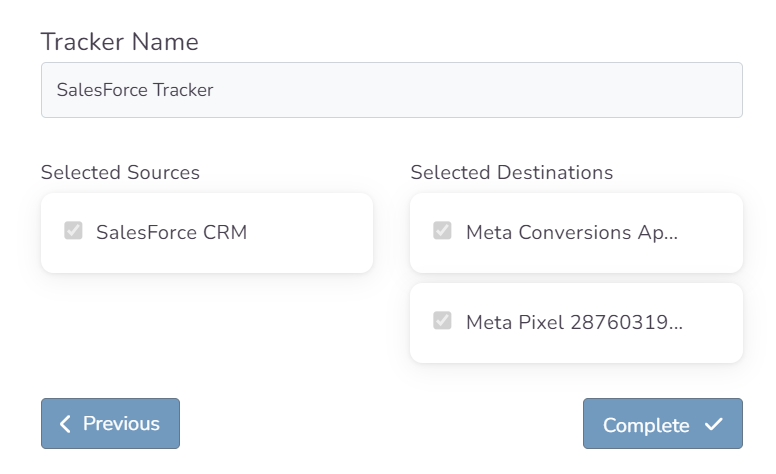
In this step of the Wizard, you can give your tracker a name, view the selected source and destination just below, browse the summary, and complete the process.
With the completion of the tracker, you can view your source and destination on the tracker detail screen.
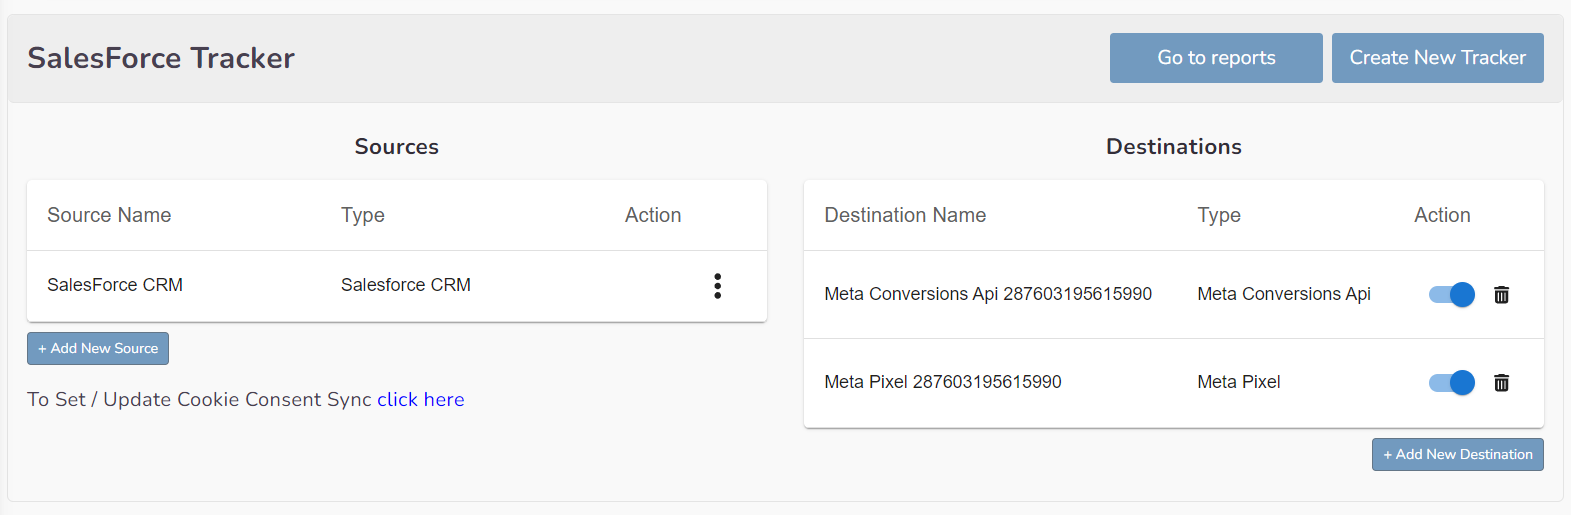
You can update the mapping and review the sent data history at any time in your Tracker via the 3 dots in the action area specific to each source. However, you should not forget that organizing mapping for advertisements whose learning process has been completed may cause this learning process to start over again. Additionally, with the "Edit Mapping" you can not only update the mapping but also modify the CRMLeads prefix that will precede your event names. Through the testing feature, it displays an example lead data if there's been a lead generated within the last 7 days.