Landing Page Creation
With SignalSight’s new feature, you can effortlessly create professional Landing Pages with just a few clicks and enhance your marketing insights on the sites you build. The process is designed to be quick, user-friendly, and efficient.
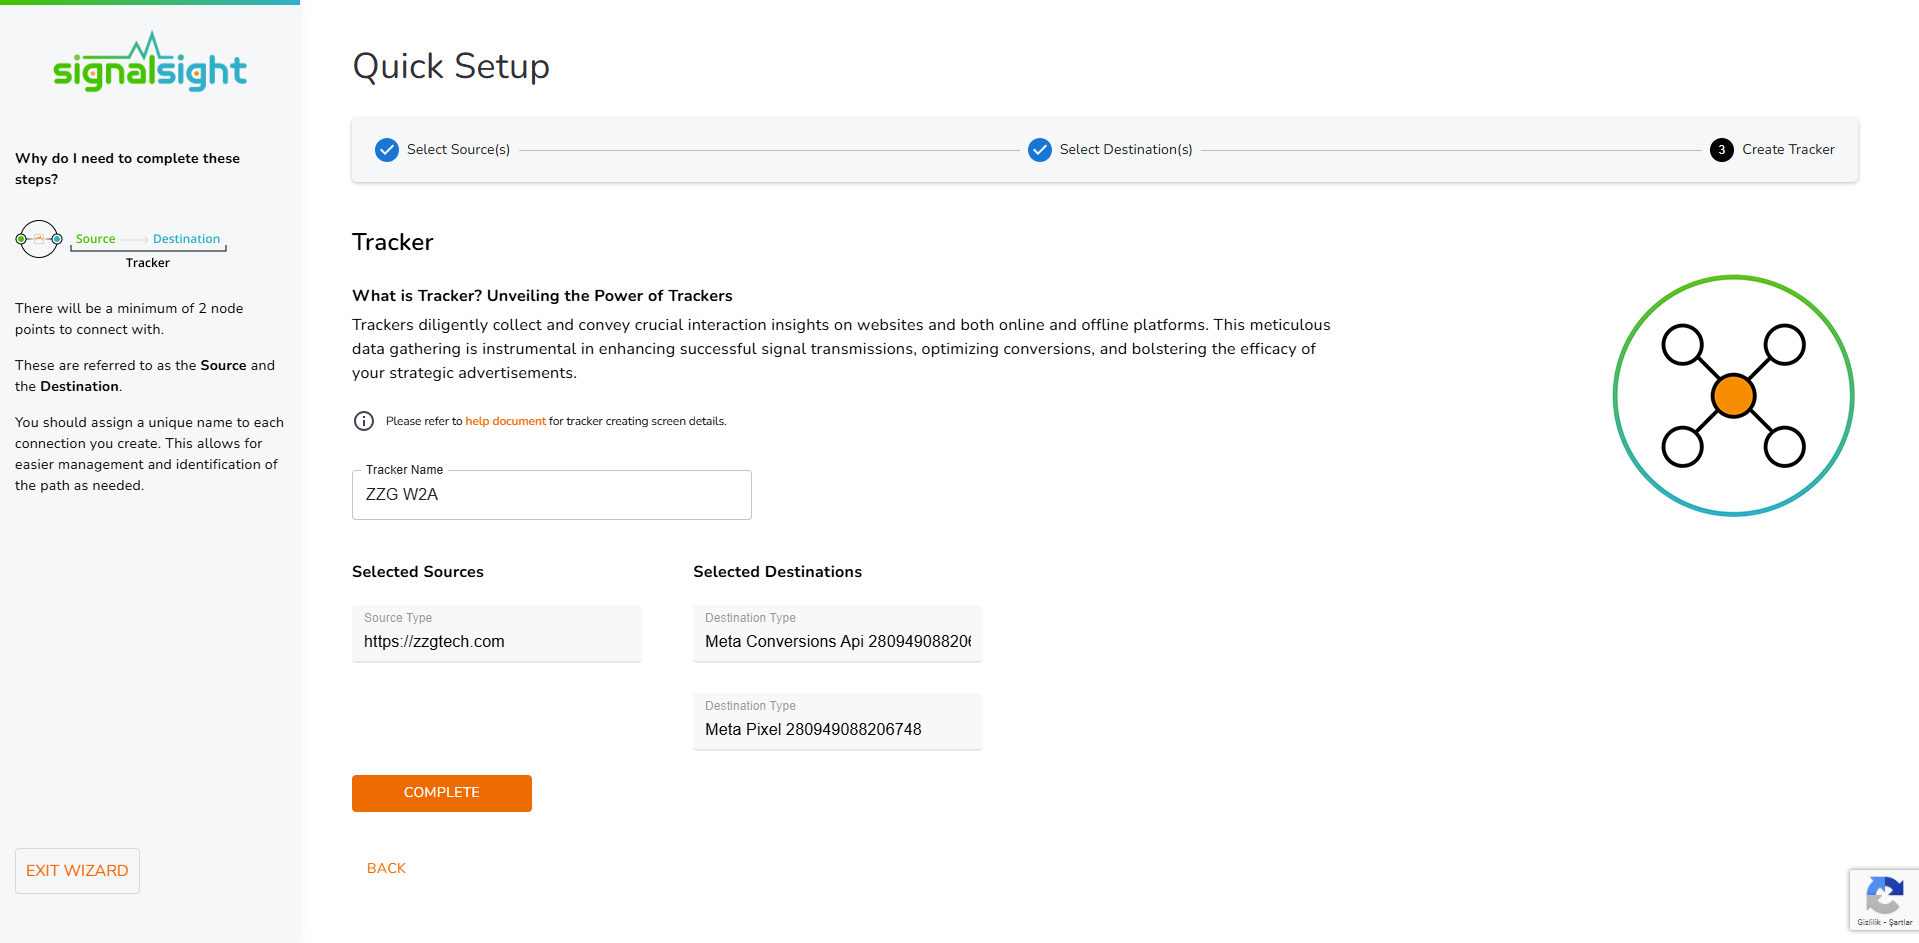
Step 1: Create Tracker
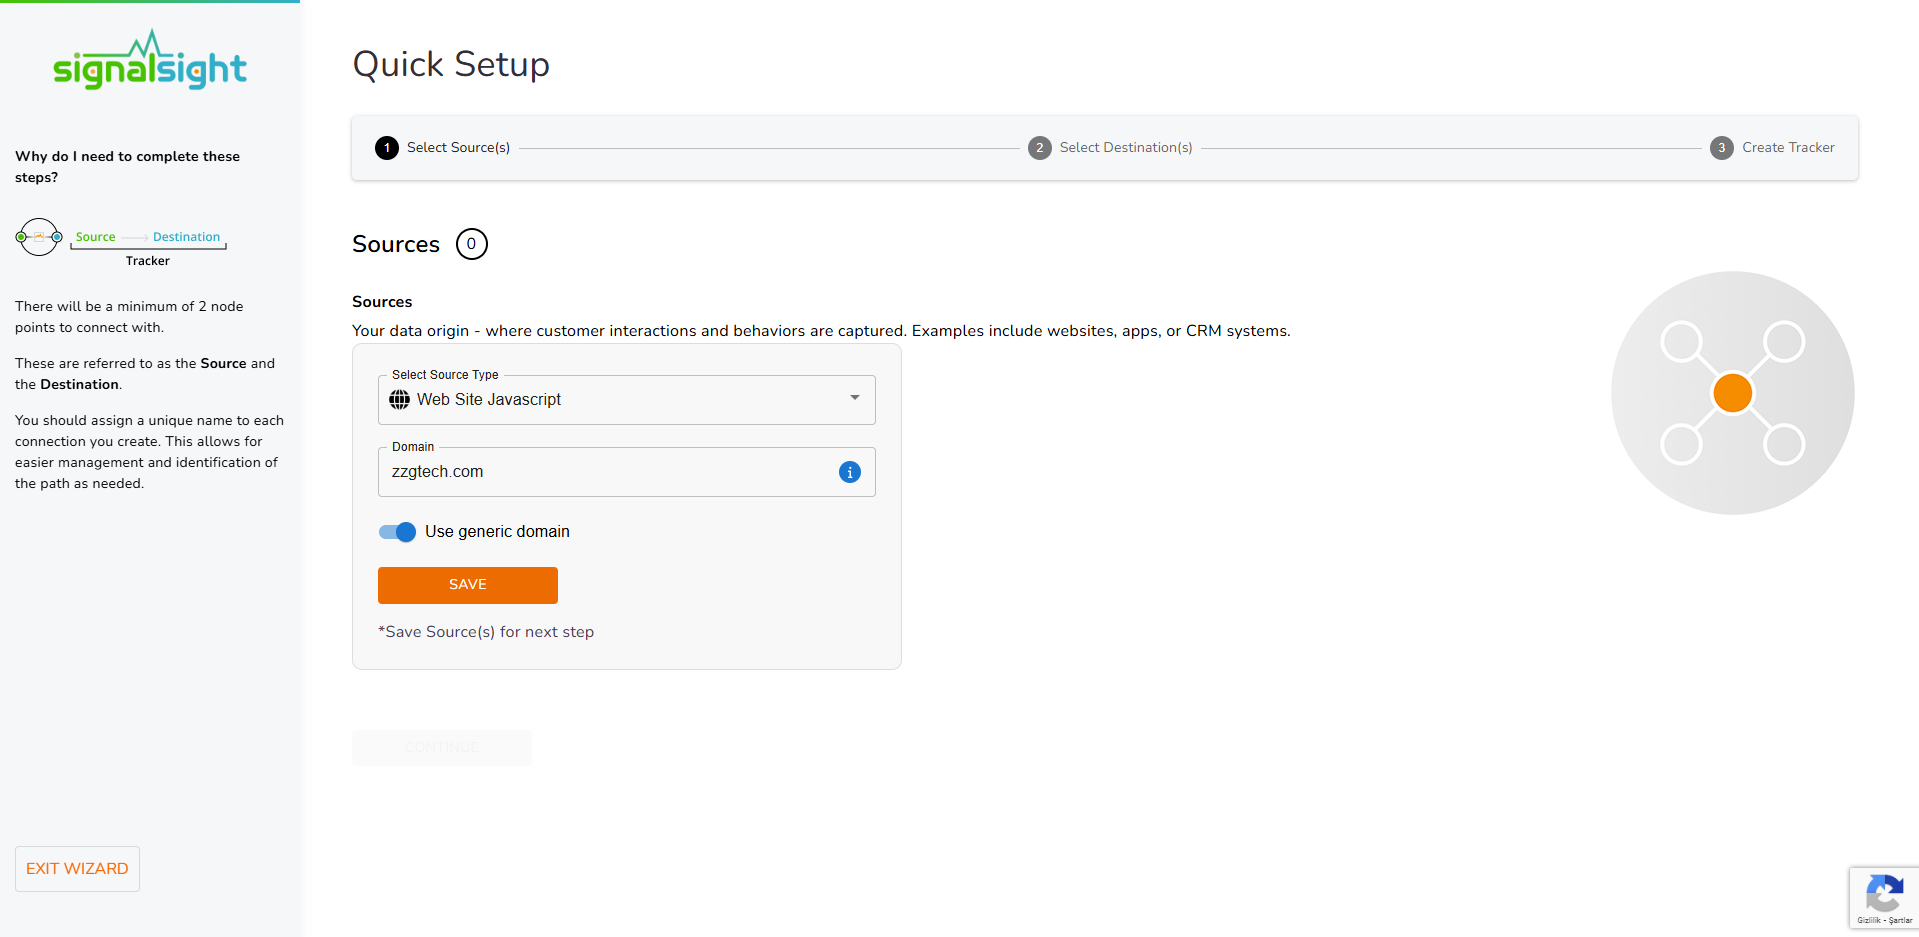
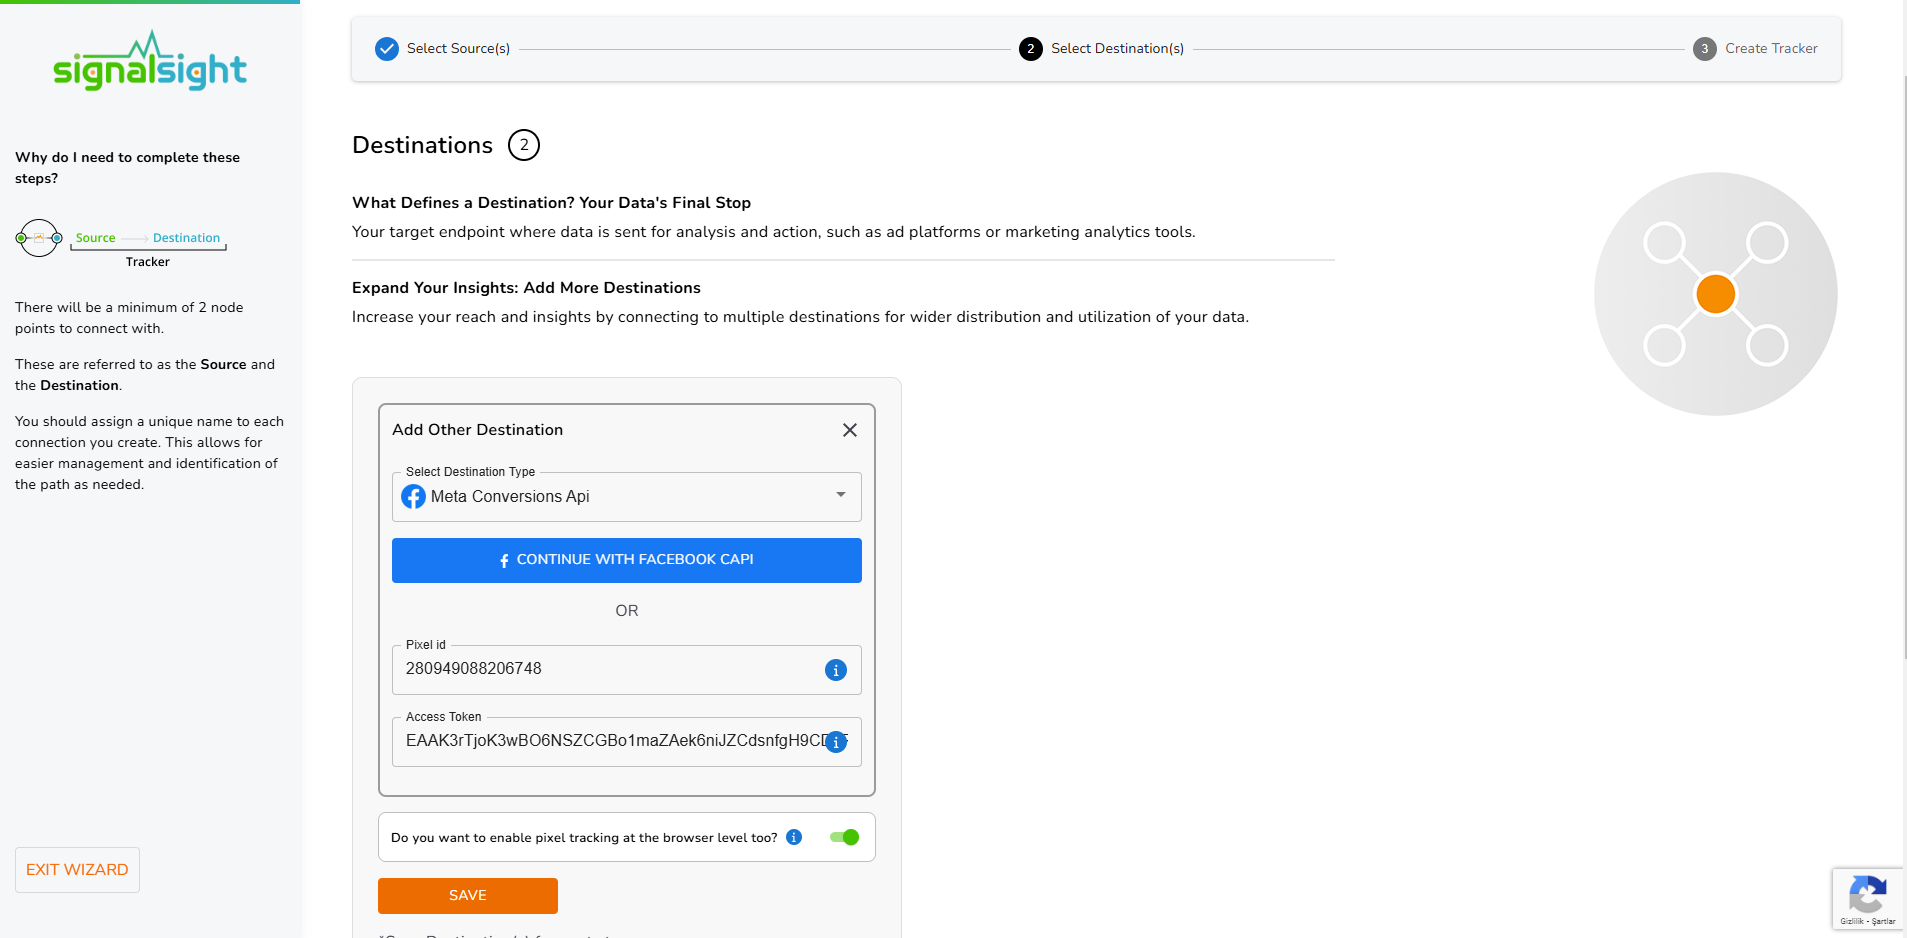
Create a Tracker or proceed with an existing one.
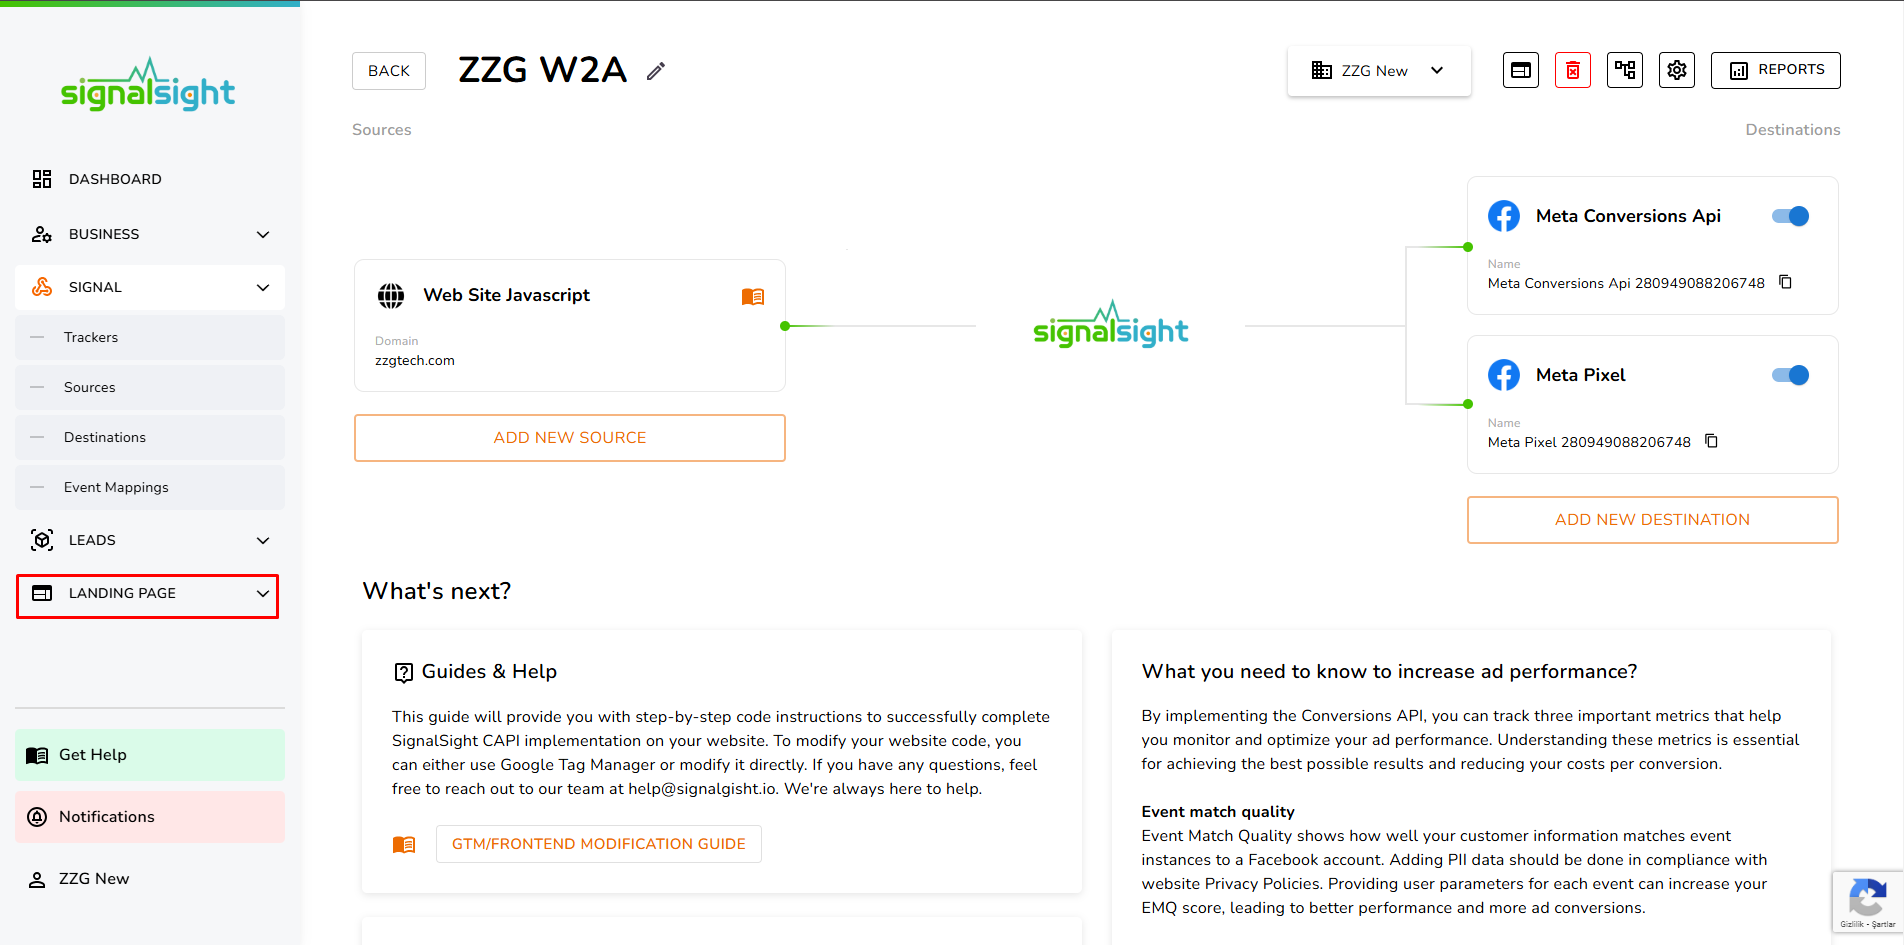
Step 2: Start the Landing Page Creation Process
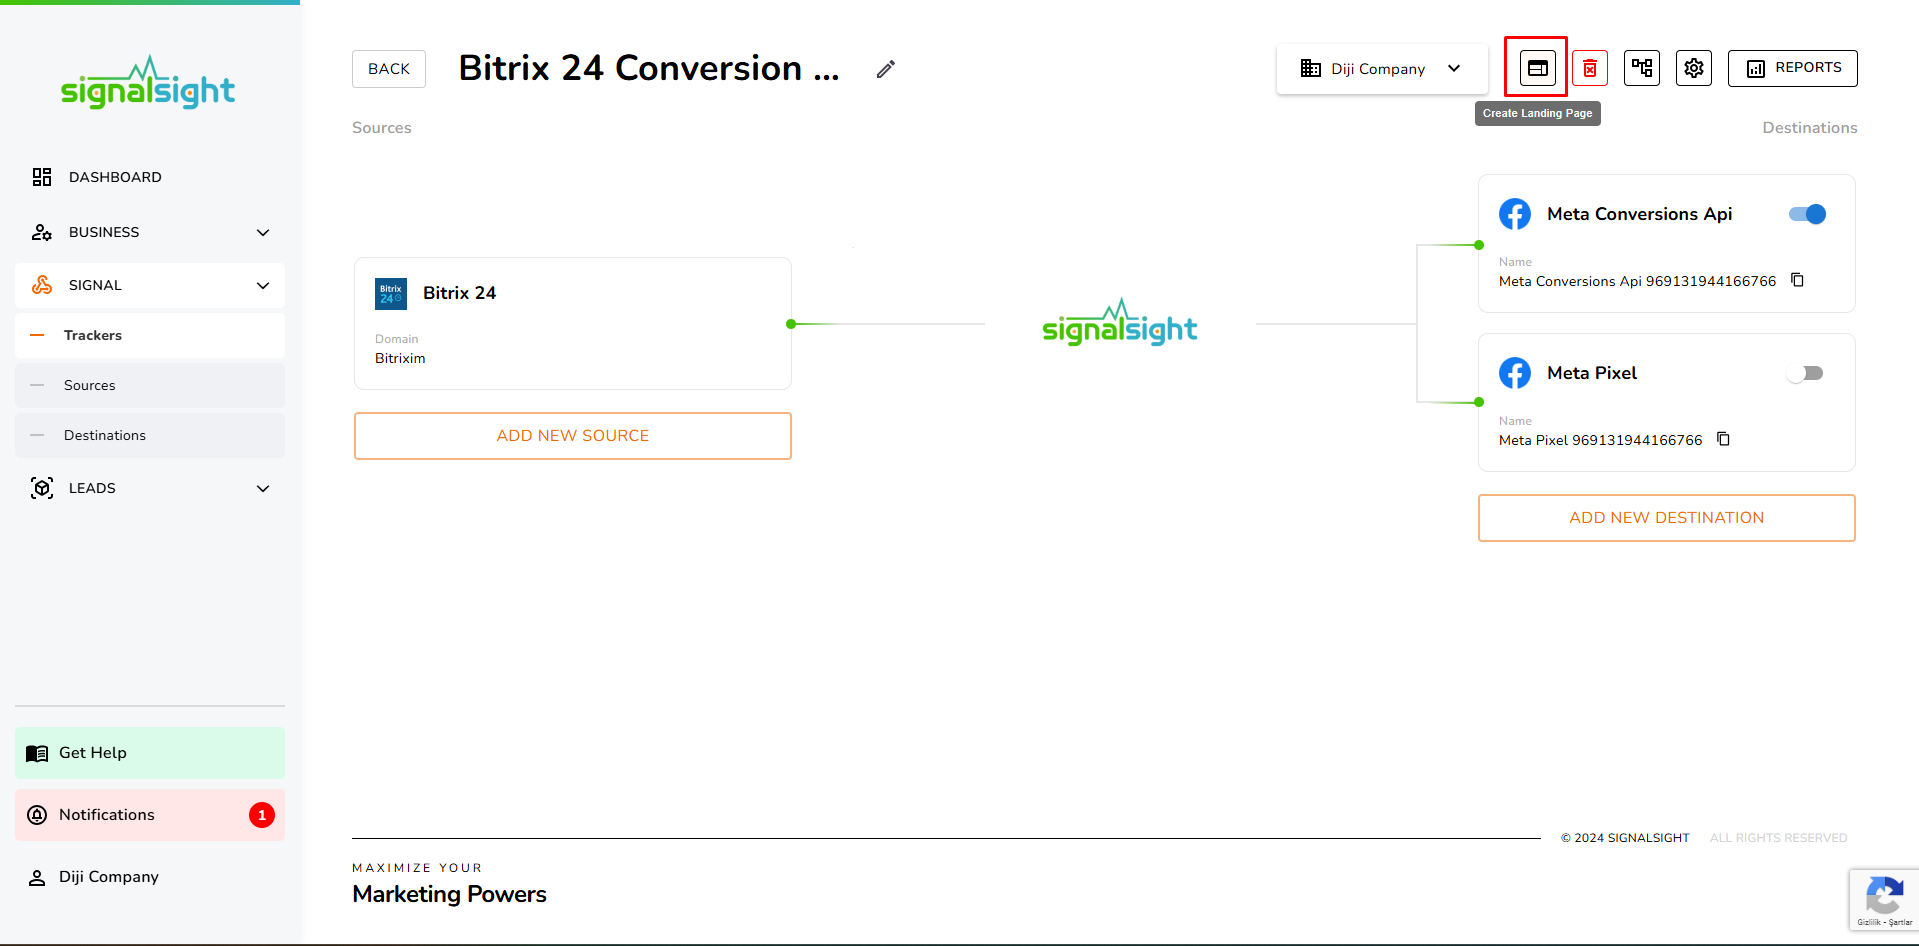
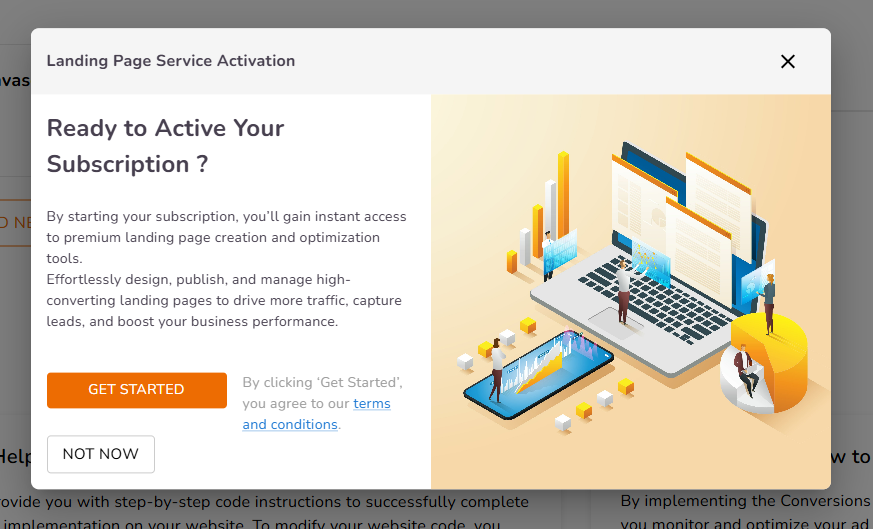
On the tracker you created, click on the "Create Landing Page" option, which is the first action button located in the top-right corner.

Step 3: Fill in the Landing Page Form
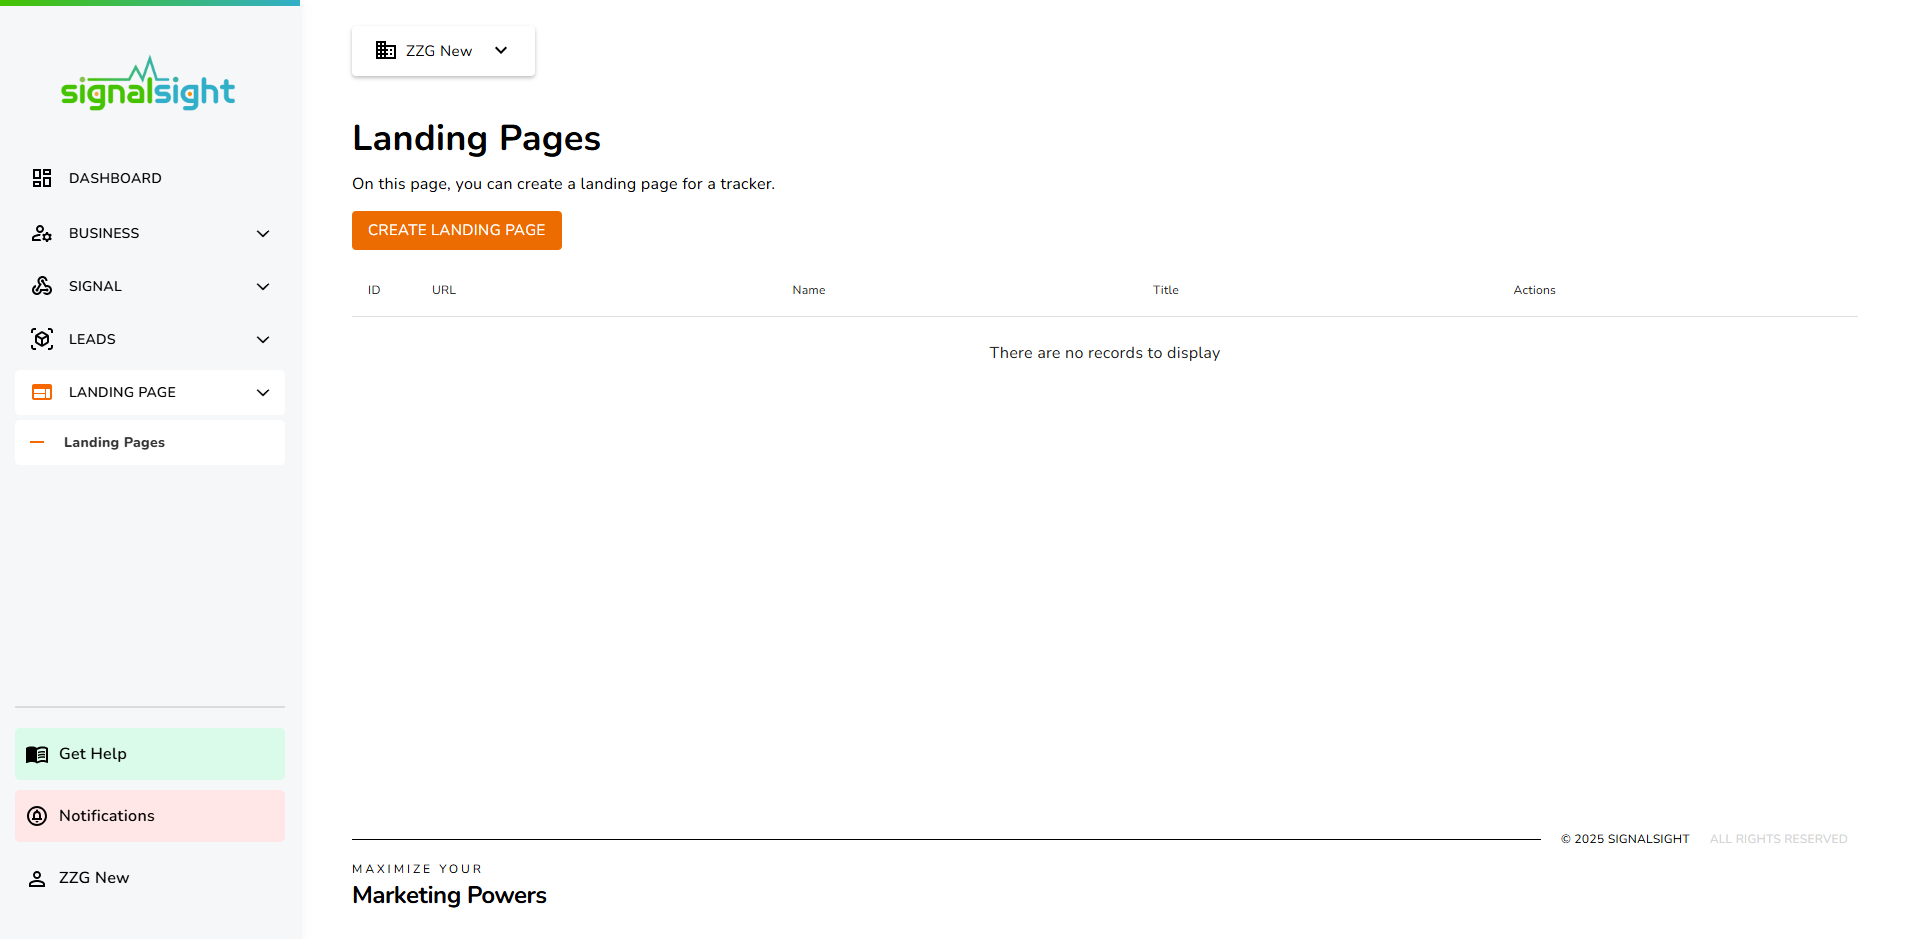
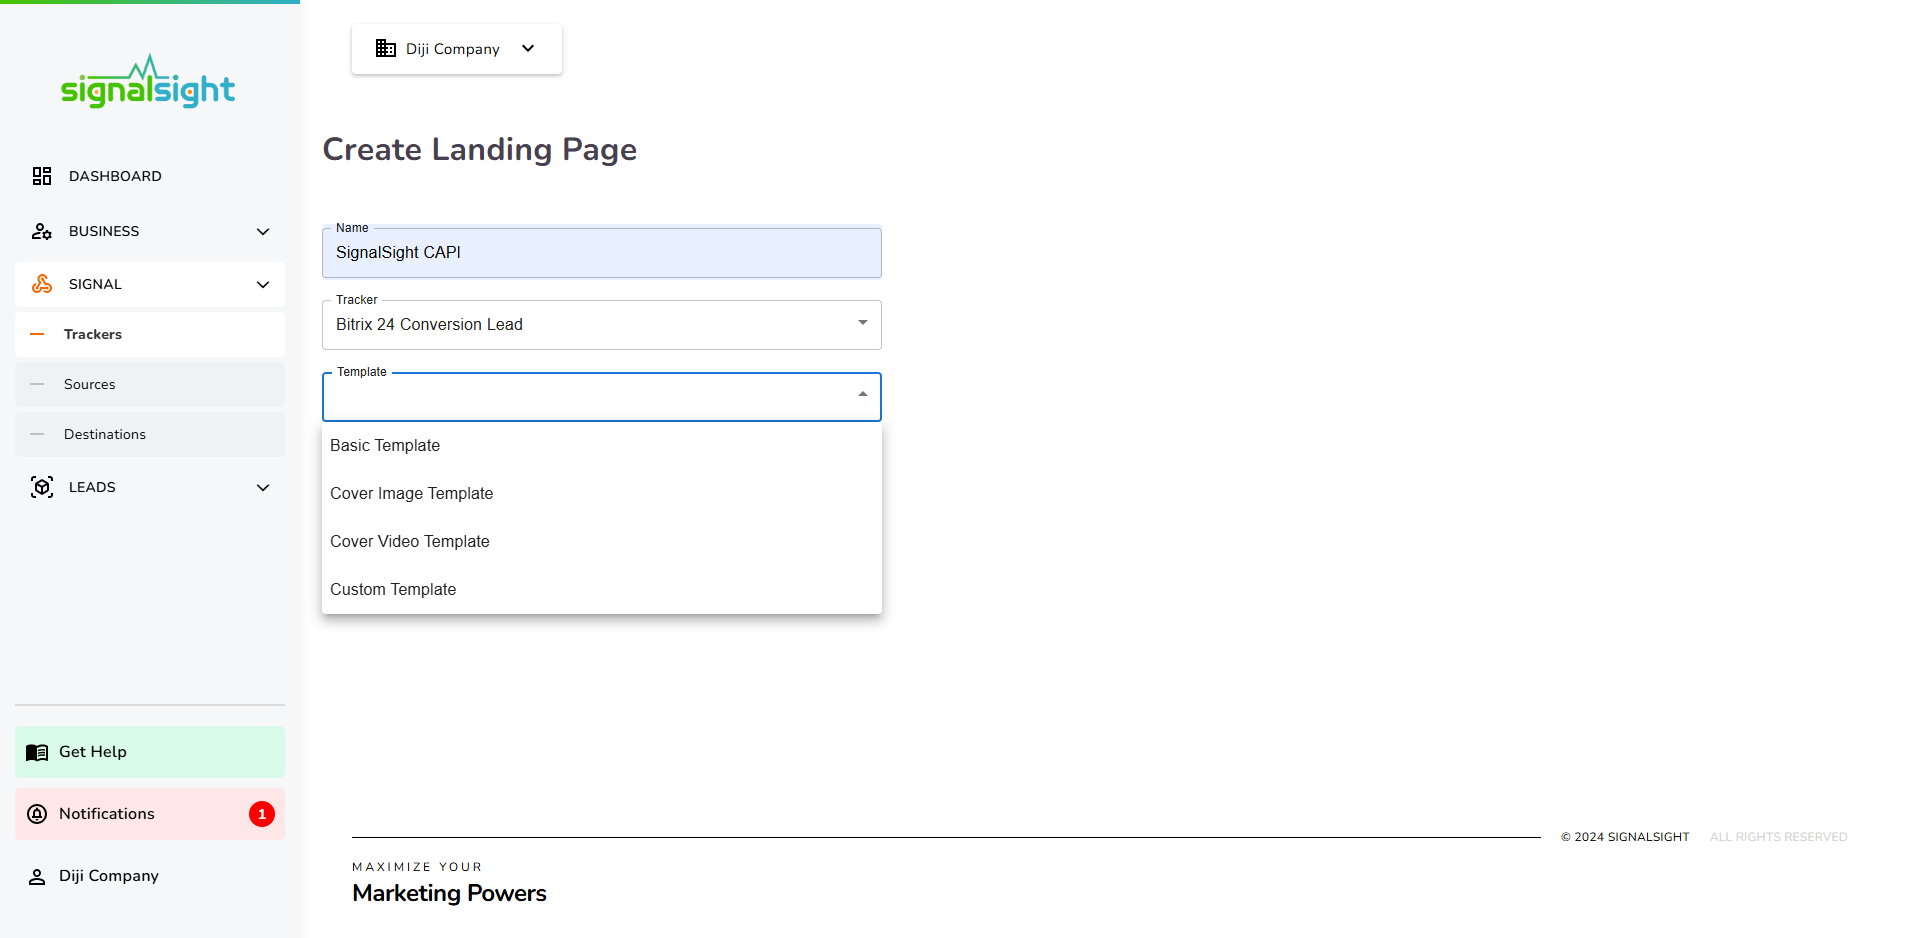
On the next screen, click the "Create Landing Page" button to proceed to the form where you will input the necessary information. You will need to provide the following details:
- Landing Page Name: Choose a memorable name for your page.
- Tracker Selection: Specify which tracker this Landing Page is associated with.
- Template Selection: Select a template that will serve as the base design for your page.
Step 4: Customize the Template
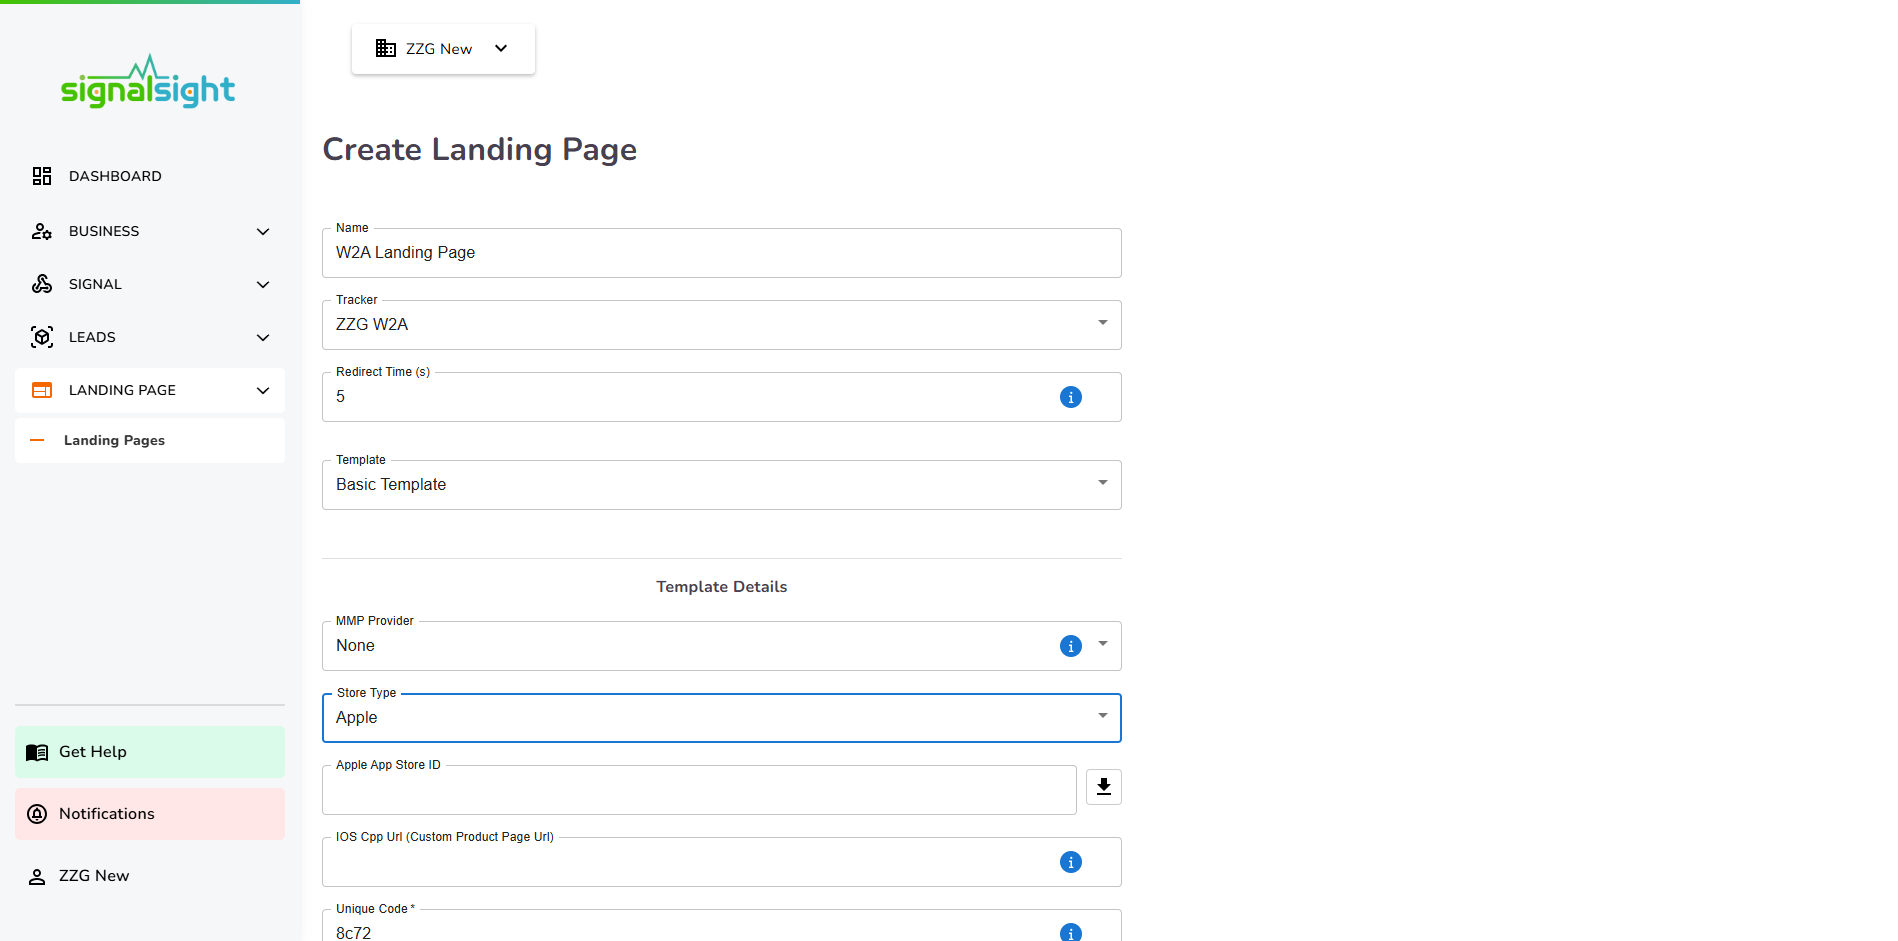
Based on the chosen template, fill in the required fields, which may include:
- Title, Description, and Visuals: Edit the key content areas to match your needs.
- iOS App ID: If you have an iOS App ID, enter it in the relevant field. Use the button next to the input field to automatically fetch market details for the value you provided.
If you have an MMP provider, you can choose either Adjust or Appsflyer and perform market redirection by providing a one-link.
Step 5: Finalize the Landing Page
Once you have completed the form, click the "Complete" button to finish the process. After this step:
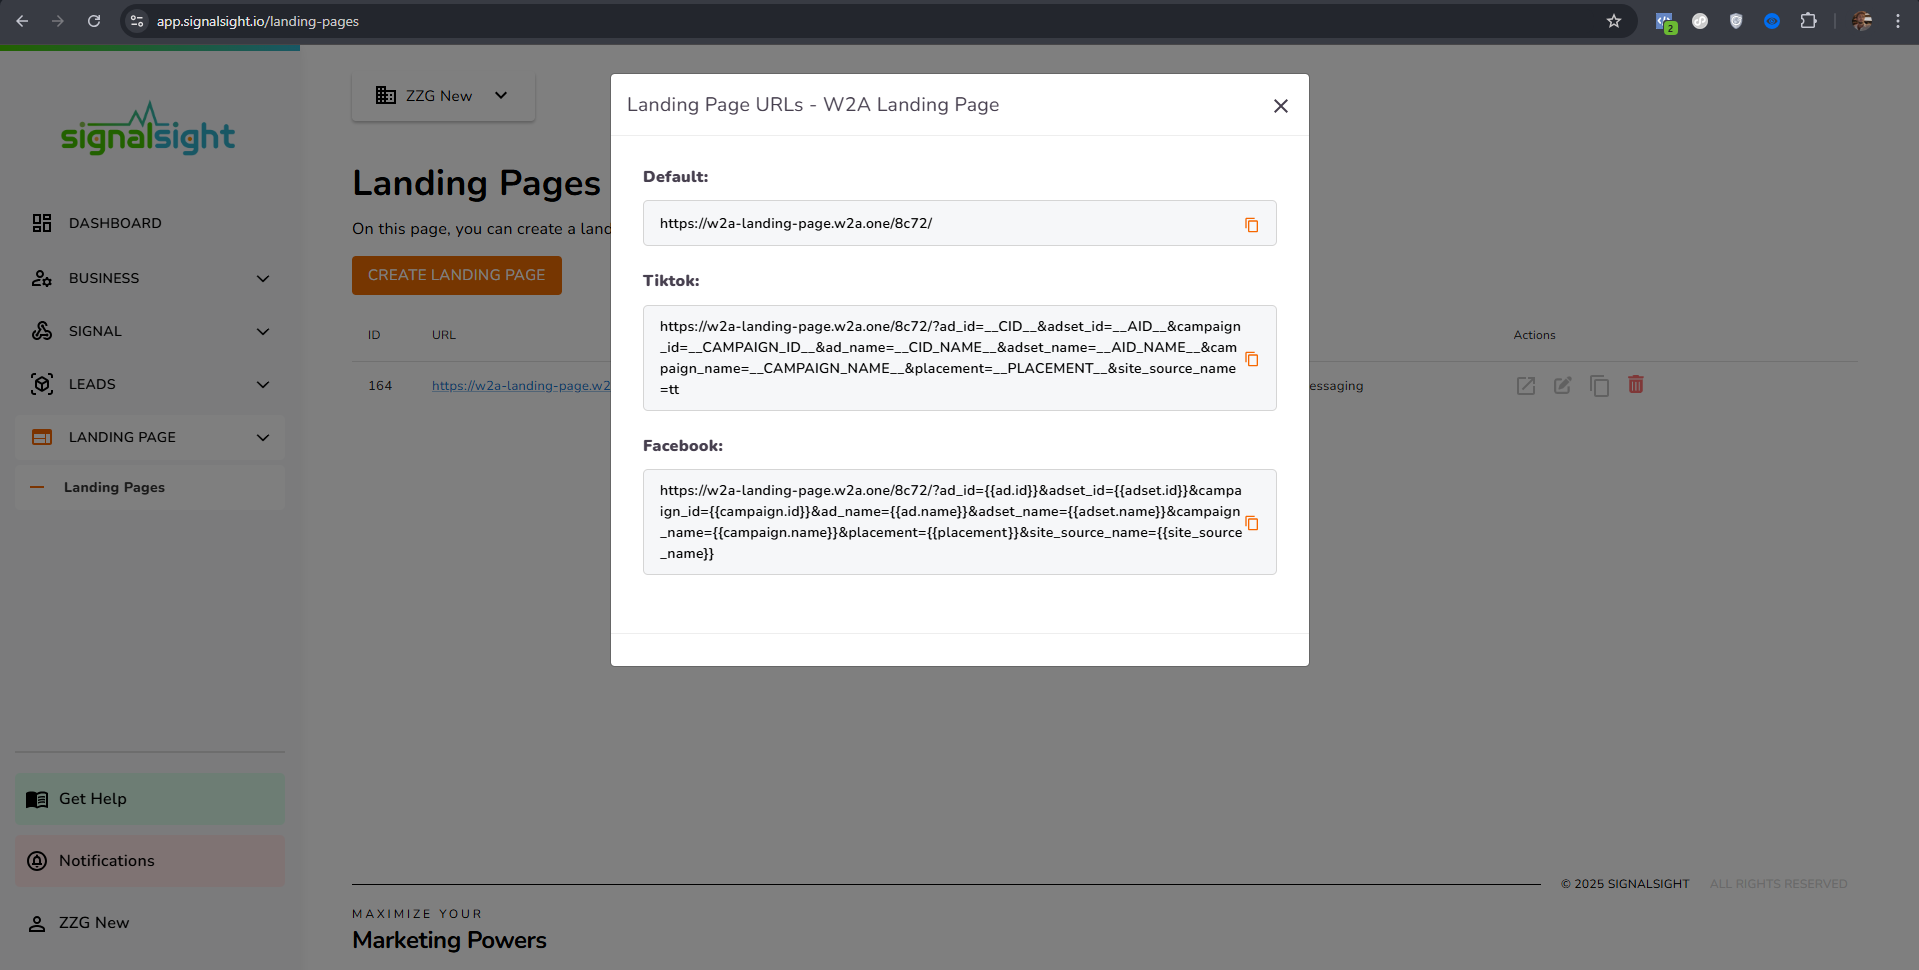
- A unique Landing Page URL will be generated for you.
- You can use this URL anywhere or save it for future edits.
By following these steps, you can create a professional Landing Page that adds value to your marketing strategy and helps you effectively reach your target audience.
