Zendesk Sell Conversion Leads
Zendesk Sell is a customer relationship management (CRM) platform that helps businesses manage their sales processes efficiently. It offers tools for tracking leads, managing contacts, and streamlining sales activities.
Get Started
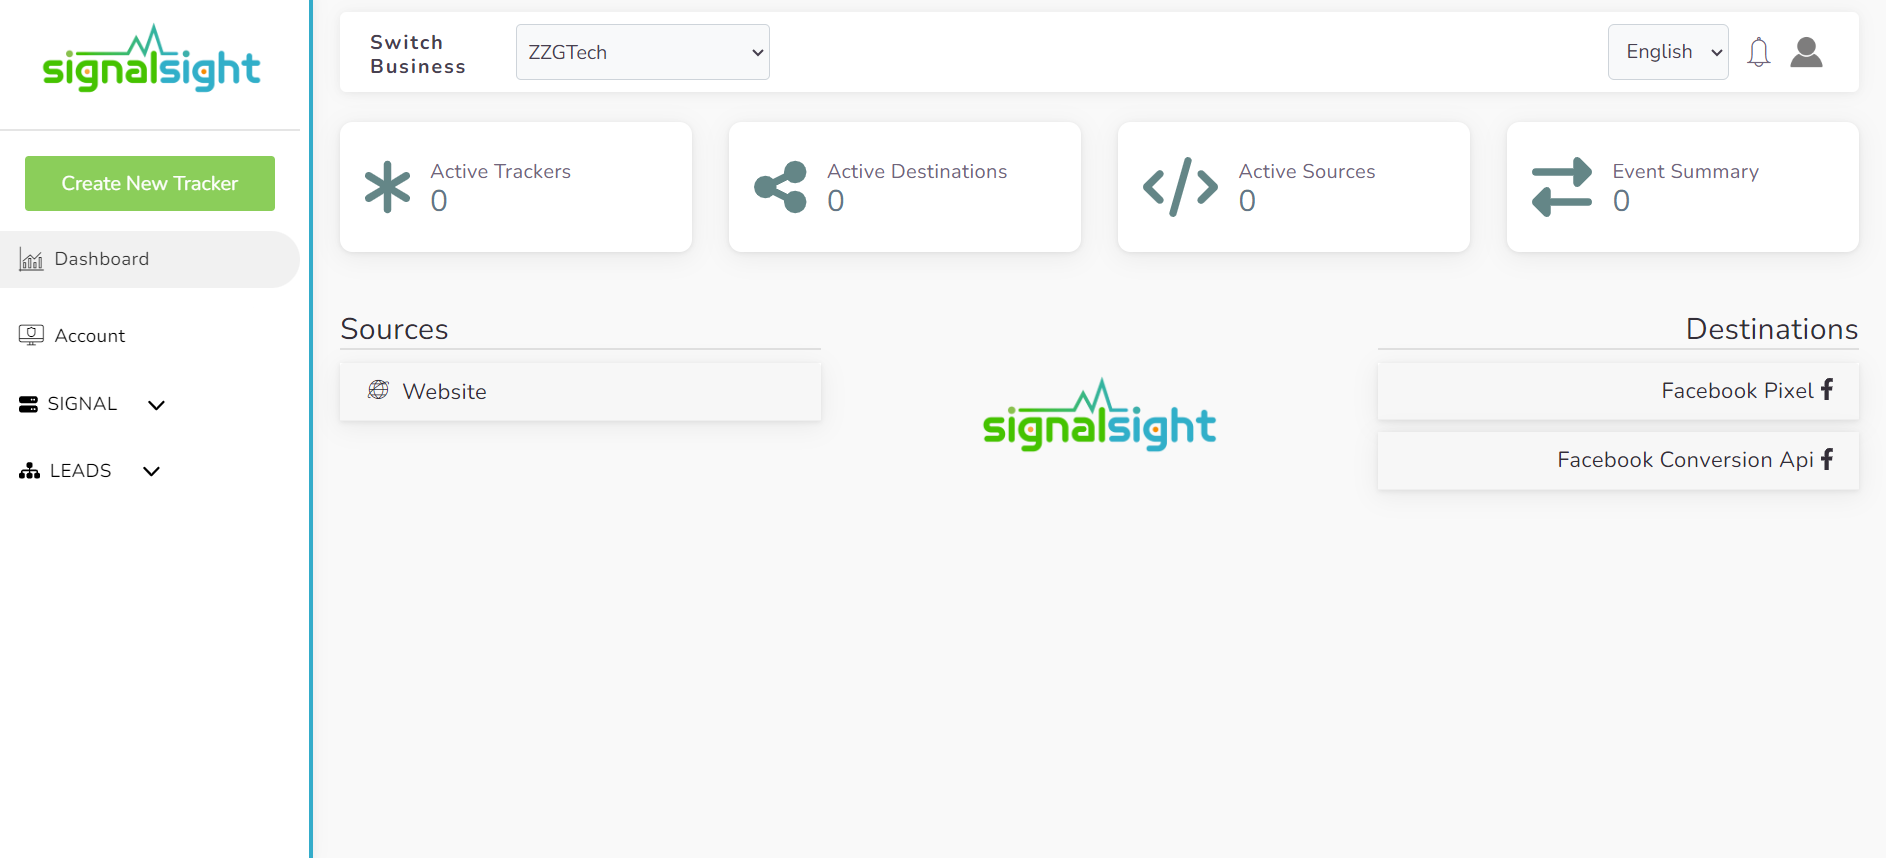
Firstly, if you don't already have a SignalSight account, right after registering for a membership, you can immediately start harnessing the power of your Zendesk Sell CRM as a source.

Creating a New Tracker
To create a tracker, you can access the wizard by clicking on SIGNAL > Trackers > Create Tracker in the left menu. In just a few steps, you can easily specify your desired source and destination, allowing you to start using your tracker.
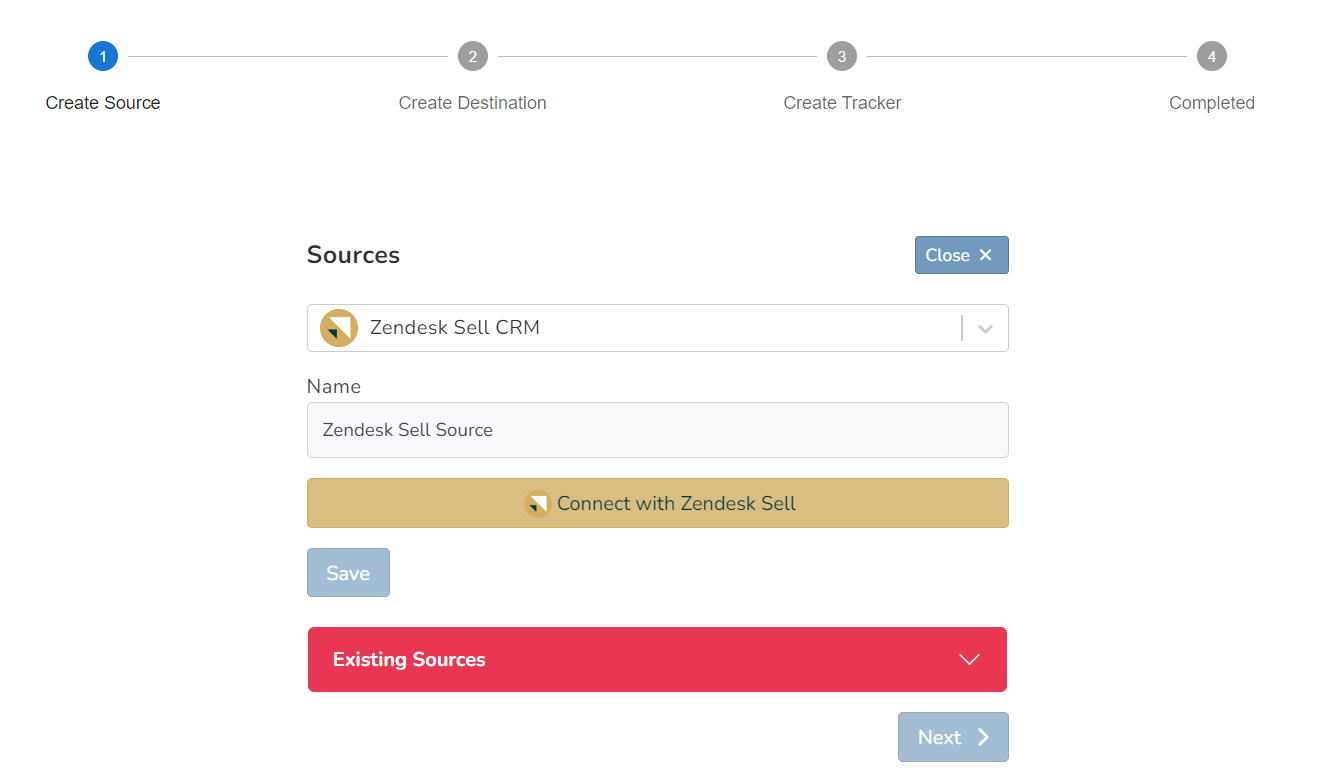
Zendesk Sell Source Creation
In the first step of the wizard, we find and select Zendesk Sell CRM from the source list. We give a name to this source and then connect to your Zendesk account with the Connect button that appears.
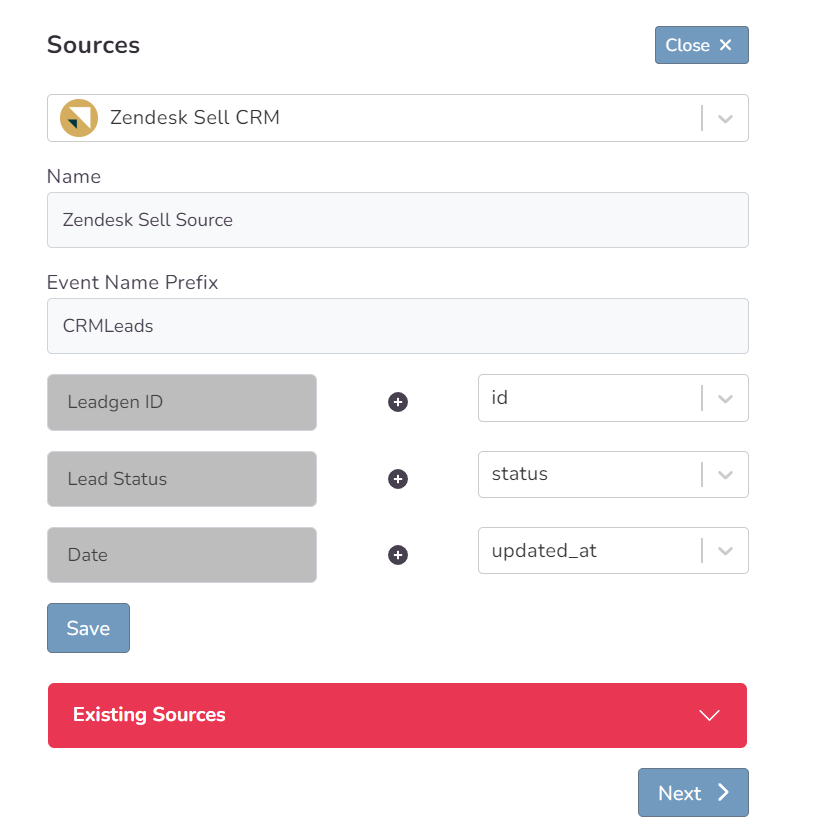
Zendesk Sell CRM Mapping
After successfully connecting to your Zendesk account, the Prefix and Inputs greet us. In this area, we determine the name under which the signals going to the designated destination will be sent. The Prefix field can also be left empty based on your preference. In this case, transmissions will be sent with Lead Statuses such as 'Qualified Lead' or 'Junk.' If the prefix 'CRMLeads' is provided, it will have a naming convention like 'CRMLeads-Junk'.
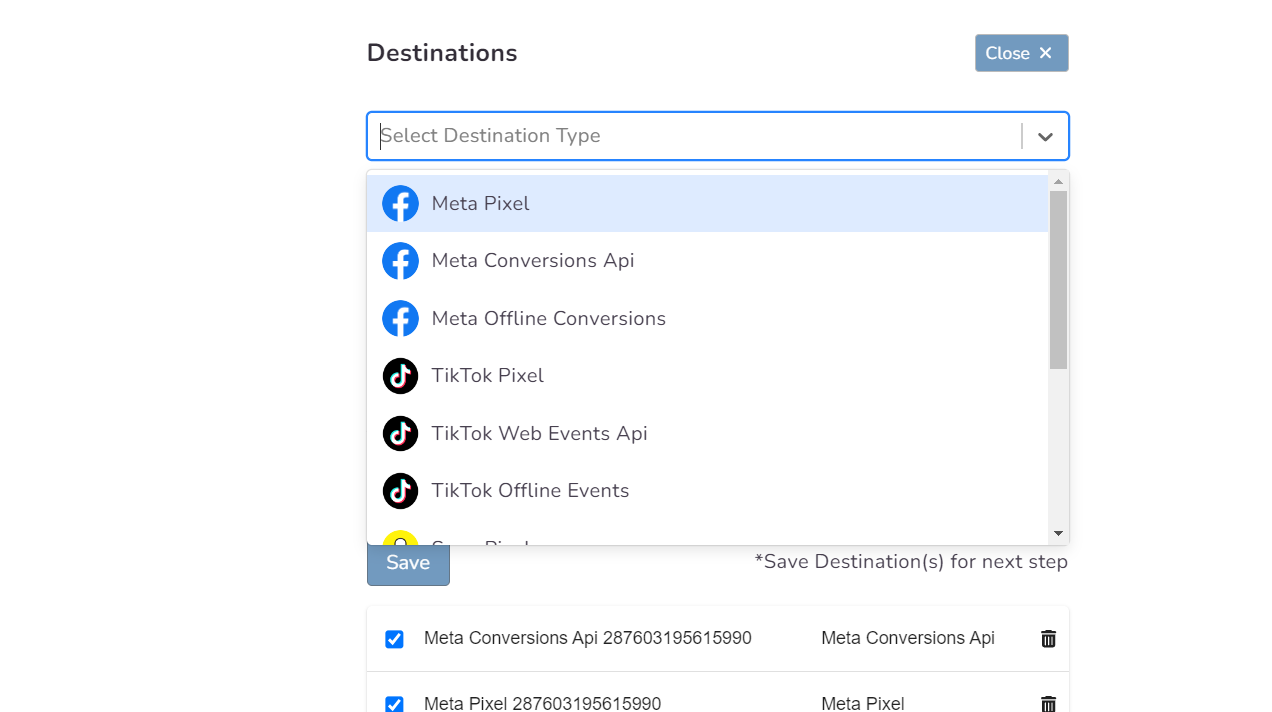
Choosing a Destination and Getting Started with Conversion Leads
In the second step of the wizard, you will create a destination. You should create Meta Conversions Api as destination type for Conversion Leads. Here you are presented with 2 different methods. If you want, you can create Pixel and Meta CAPI destinations with the Save button by entering the pixel id and access token information. In addition, if you have pixel access, create the destination by selecting the account you will access via the Connect Facebook CAPI button and the pixel below it.
In this step of the Wizard, you can give your tracker a name, view the selected source and destination just below, browse the summary, and complete the process.
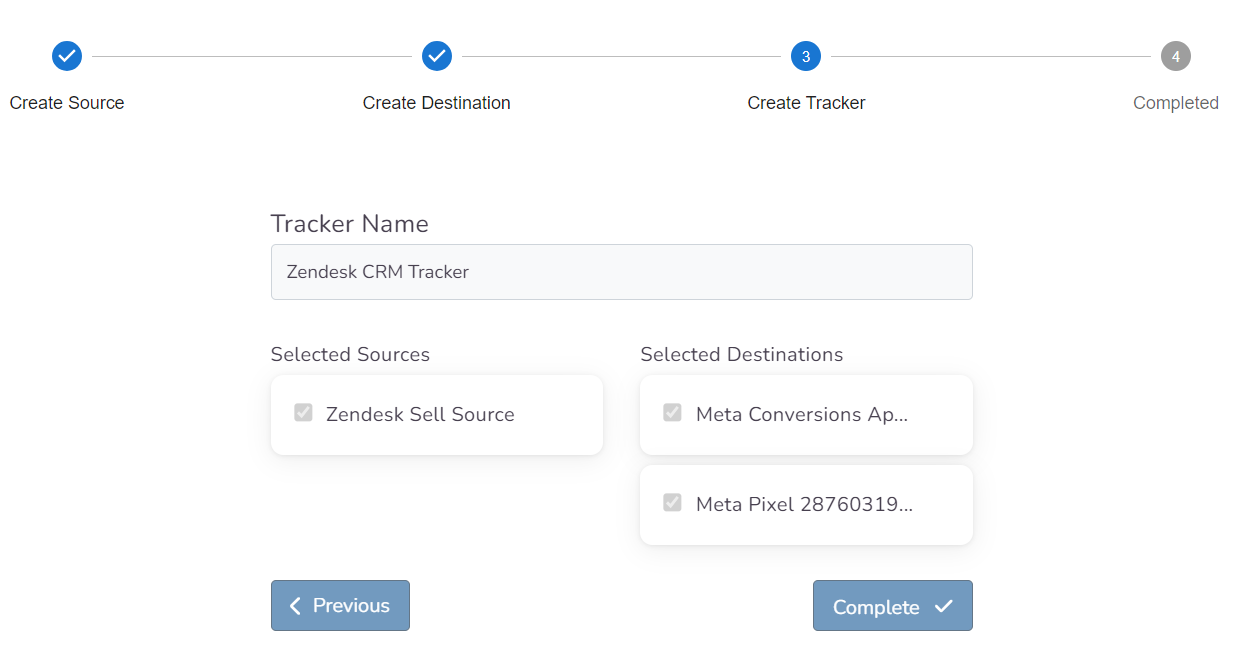
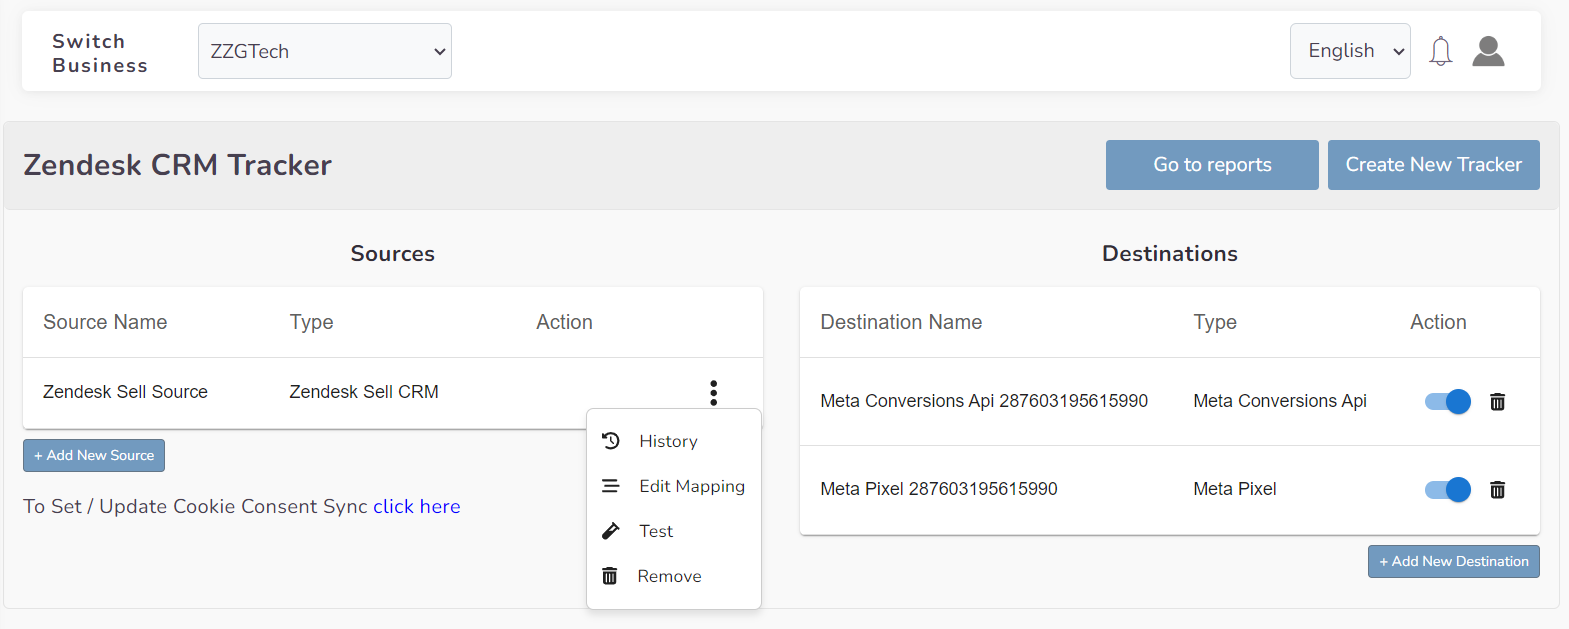
With the completion of the tracker, you can view your source and destination on the tracker detail screen.
The Validation Phase
Monitoring CRM events
- Once CRM events start flowing you will enter a validation phase, typically lasting 7 days
- During this phase you will work closely with Facebook to identify any errors or issues which may be identified
- All errors must be corrected before you can exit the validation phase and proceed to mapping events to your sales funnel
Validation Phase Exit Requirements
- Your CRM events must provide maximal coverage of all Facebook-generated leads. For example, if 100 leads are generated in a day, then your CRM events for that day should endeavor to cover all of those leads
- We recommend you send at least 3-4 distinct CRM events so that the model can learn a more complete view of your sales funnel. Minimally, you must send in at least 2 events:
- - the initial lead corresponding to a FB-generated lead
- - a target CRM event for which you most want to optimize
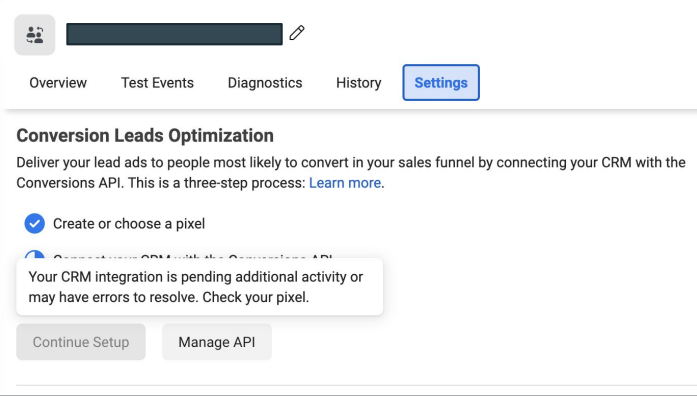
Define Your Sales Funnel

The “Continue Setup” button will be enabled in Events Manager Settings after you’ve exited the validation phase
In each of the sections above, identify CRM events:
- ﹘ that are not events in your sales funnel
- ﹘ that are disqualifying events
- ﹘ and the sequence in which they occur in your sales funnel
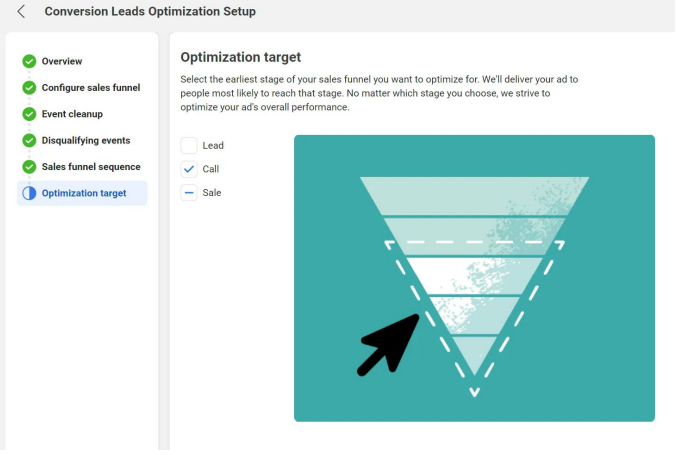
The last step in the integration process is to identify the earliest event in your sales funnel you want to optimize toward
The optimization target need not be the final event in your sales funnel, rather the depth you most want to attract audiences
Run Conversion Leads Campaigns
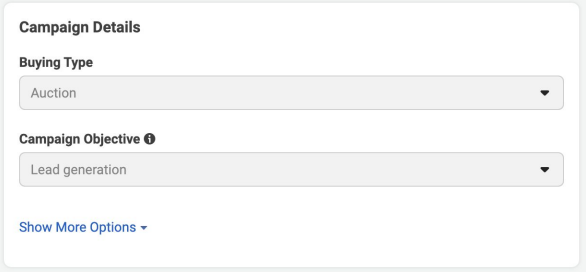
Campaign: Specify the “Lead generation” objective
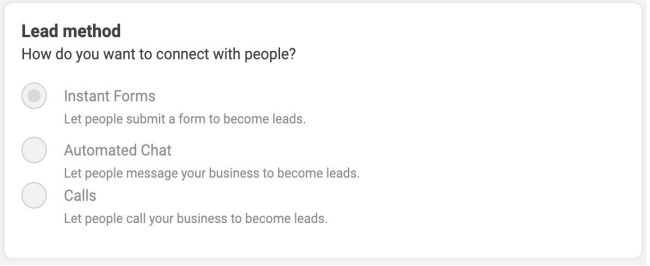
Ad Set: use an Instant Form for higher quality leads

Ad Set / Ad: Choose the Page for associating leads
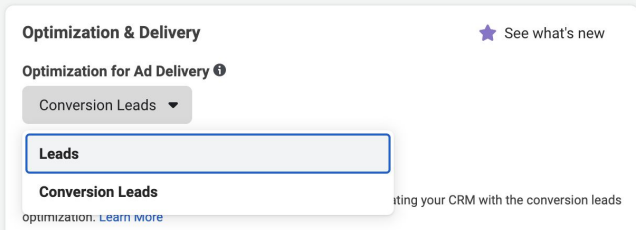
Ad Set: Choose the “Conversion Leads” optimization