Pinterest CAPI Setup
The Pinterest Conversion API represents an exceptional tool for businesses looking to enhance their tracking capabilities and boost conversion rates, ultimately leading to a higher return on investment (ROI) for their paid advertising efforts.
By integrating the Pinterest Conversion API into their digital marketing strategy, organizations can gain a competitive edge in the ever-evolving landscape of online advertising. This API enables businesses to track user interactions and conversions with a level of precision that goes beyond what traditional tracking methods can offer.
Get Started
Utilizing both browser-based and server-based tracking concurrently can significantly improve the quality and scope of the results obtained, ultimately leading to more accurate insights.
SignalSight supports Pinterest CAPI event deduplication, effectively eliminating duplicate matches by utilizing event IDs shared between browser and server events.
Both standard and custom events can be used in Pinterest CAPI. Pinterest standard events are as follows:
- PageVisit: Records views of primary pages, such as product pages and article pages
- ViewCategory: Records views of category pages
- Search: Records searches on your website
- AddToCart: Records when items are added to shopping carts
- Checkout: Records completed transactions
- WatchVideo: Records video views
- Signup: Records sign-ups for your products or services
- Lead: Records interest in your products or services
Pinterest CAPI Tracker Creation
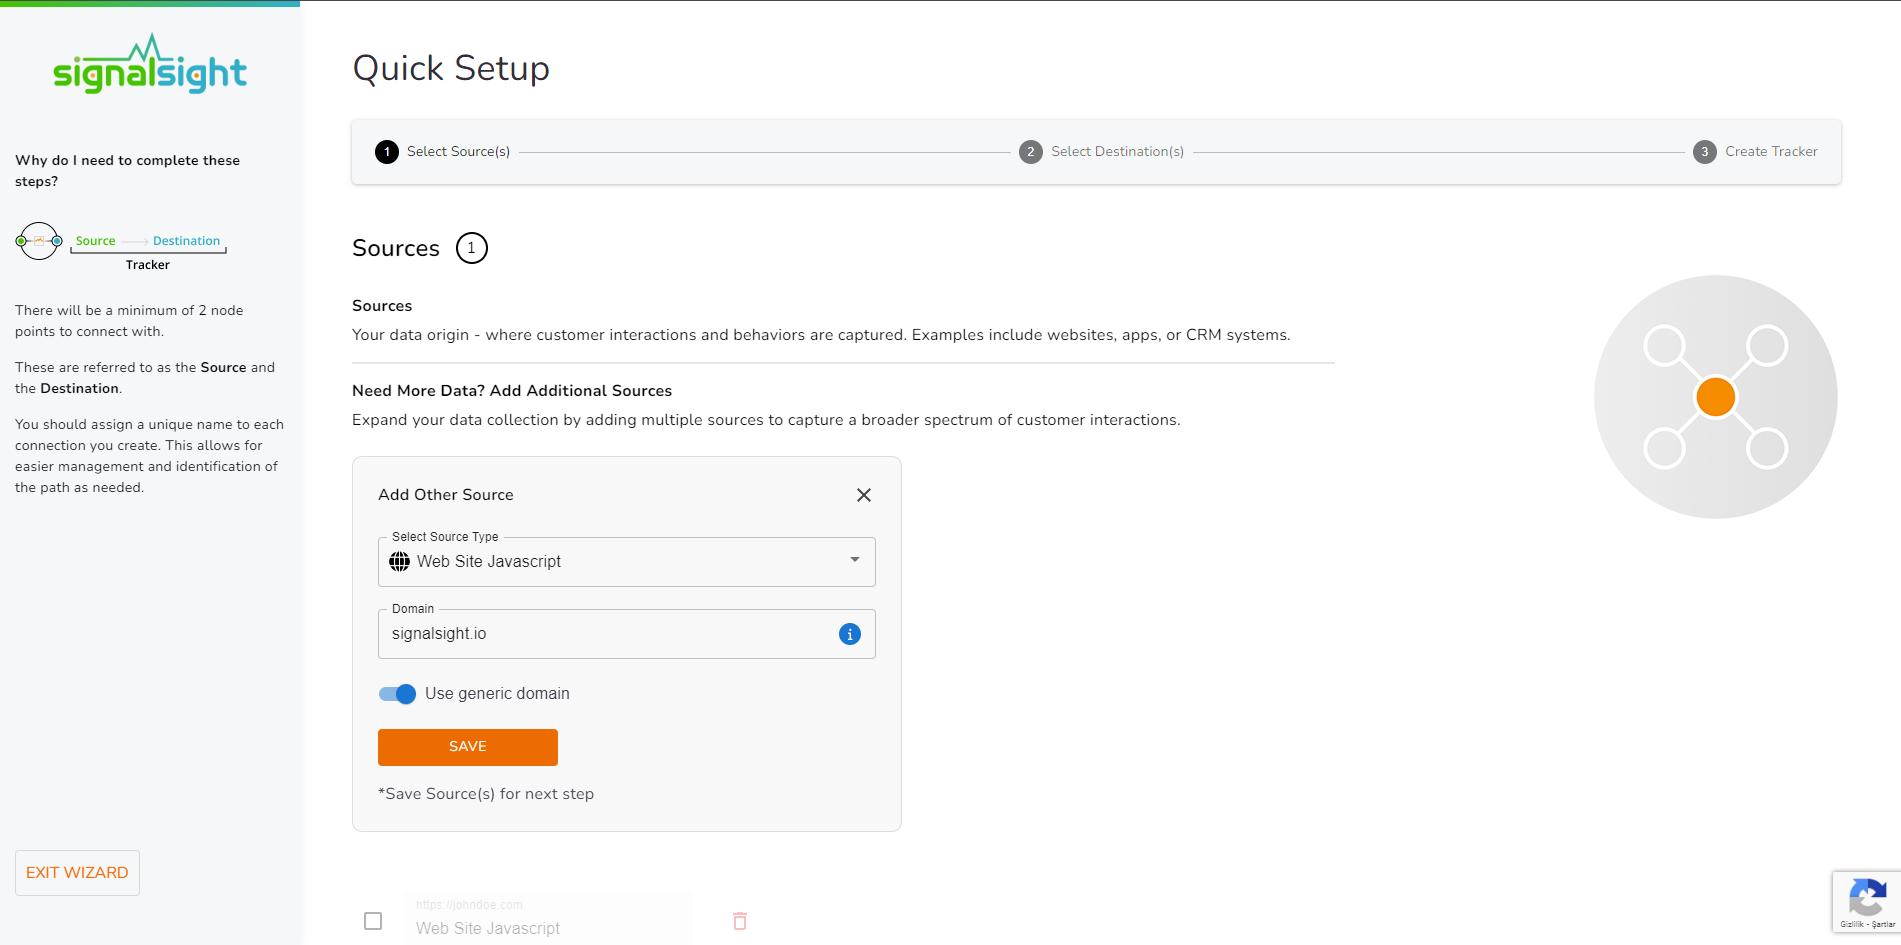
To create a Tracker with Pinterest CAPI, the first step in the Tracker Creation Wizard is to create a source.
Source Creation
SignalSight offers a variety of source types. In the case of setting up CAPI, the website address where the installation will be performed serves as our source. Therefore, we select 'Web Site Javascript' from the available source types.
The 'Usage' field allows us to specify the purpose of this source. For 'Web Site Javascript,' the 'Web' option will be automatically included.
In the 'Domain' field, enter the website address where the CAPI installation will take place, starting with 'https://'. Create your source by clicking the 'Save' button, and then proceed to the next step, which is the 'Destination' step, by clicking 'Next.
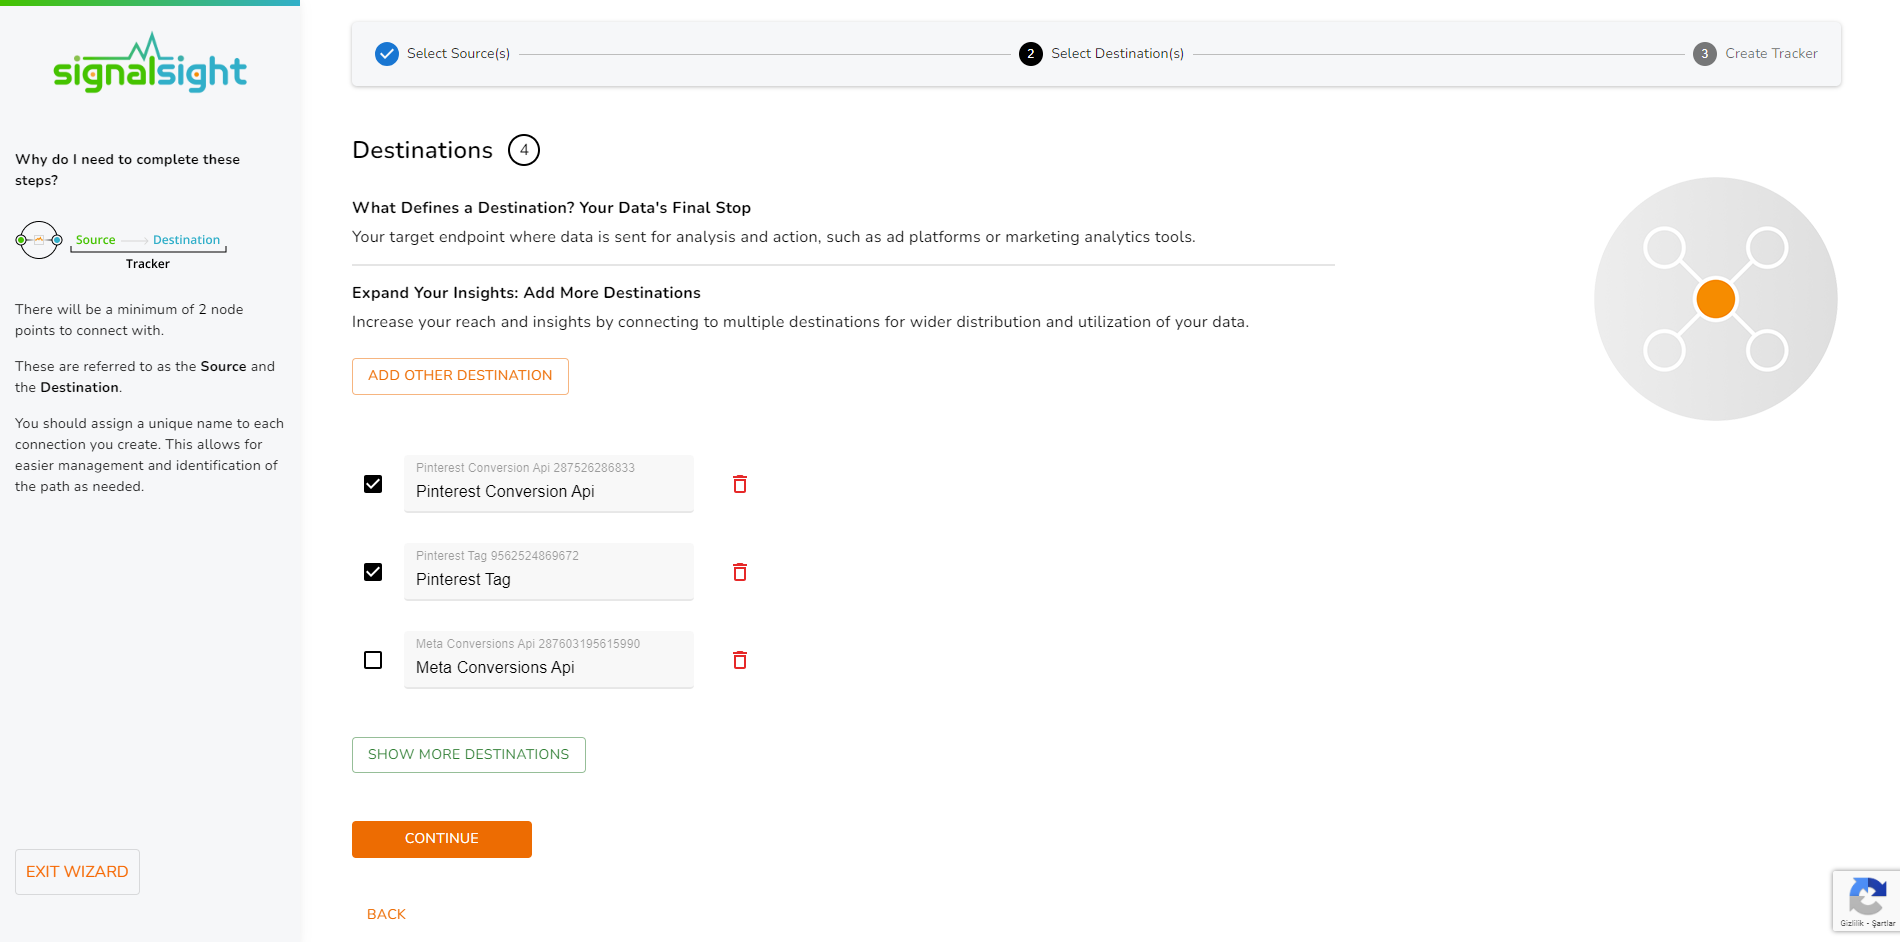
Destination Creation
Similar to the source, choose the 'Pinterest Conversion API' option from the various destination choices. In this destination, by entering the required information, you will create both Pinterest Tag and Pinterest Conversion API destinations, allowing the deduplication process to be applied to both browser and server signals simultaneously.
Enter the following information in sequence: Ad Account ID, Access Token, and Pinterest Tag ID. After entering these details, click 'Save,' and then proceed to the next step using the 'Next' button. This will result in the creation of both of your destinations.

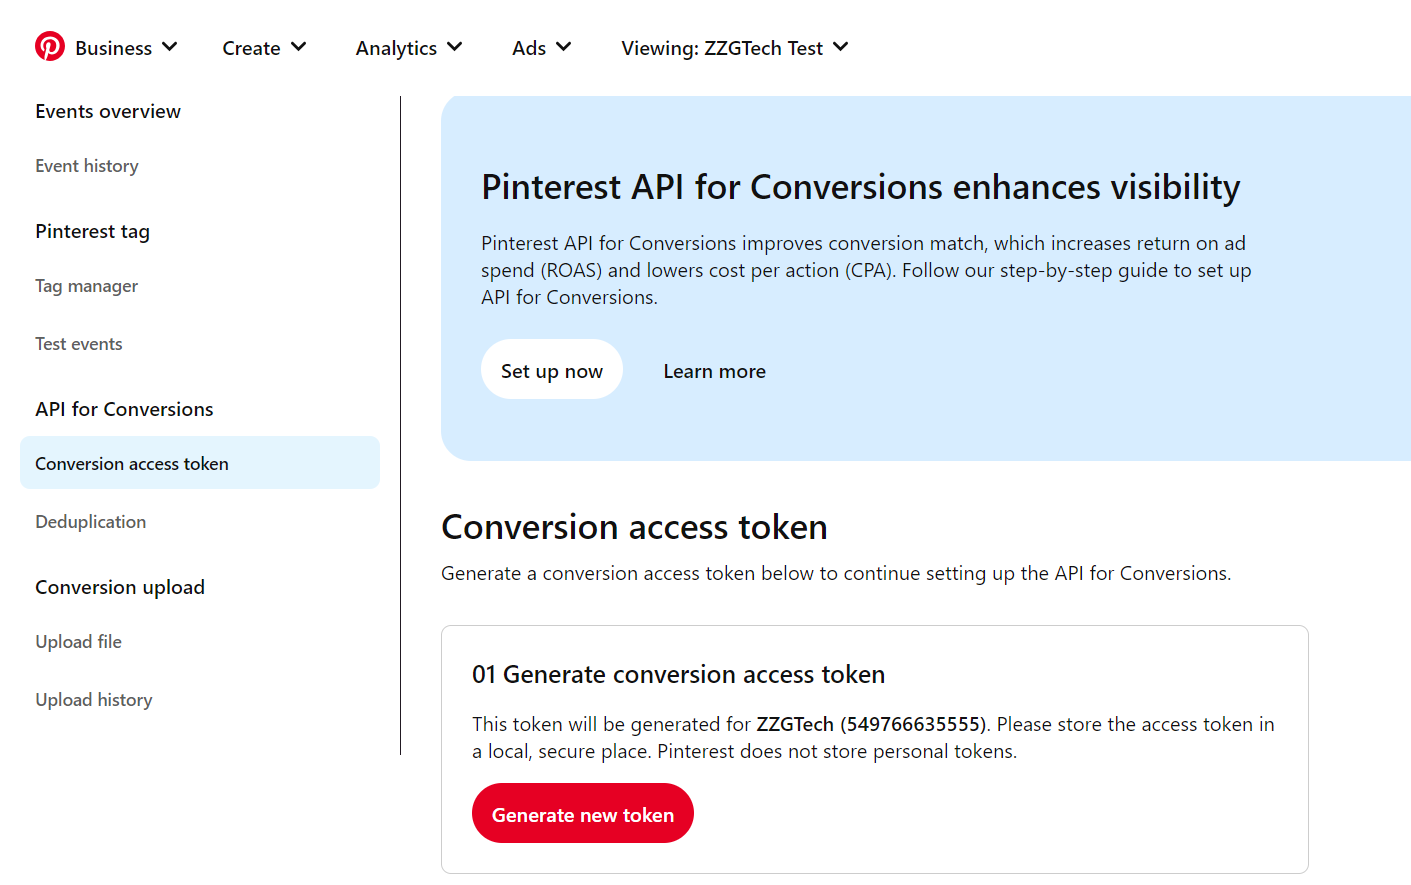
How Can I Find an Ad Account ID and Access Token?
- Log in to your Pinterest Ads account.
- Click on 'Ads' in the top menu, then select 'Conversions'
- In the left menu, choose 'Conversion Access Token'
- On the page that opens, you can access the 'Generate Conversion Access Token' section where you will find the relevant Ad Account ID and the button to create an Access Token.
Tracker Summary
In the 3rd step of the Wizard, after giving your Tracker a name, you can review a summary of your sources and destinations. After confirming your settings, you can complete the tracker creation process by clicking 'Complete'.
After your Tracker is created, the Tracker details screen appears as shown below. Here, you can perform various actions such as adding new sources and destinations, as well as deleting and editing existing ones.
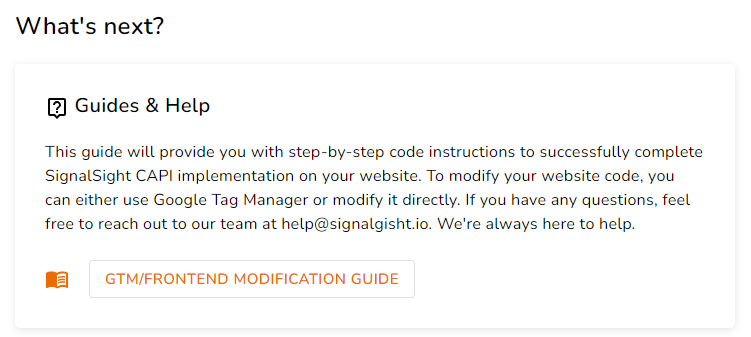
GTM / Front End Code Implementation
Caution! Familiarity with Tag Manager is necessary for this step. If you are not the designated tag manager, please seek assistance from the appropriate parties.
With your Tracker ready, you can now move on to the final step, which is code implementation. Following the instructions provided in the Guide on the Tracker detail screen, making minor code additions and modifications, your server-side setup will be complete.
First, remove or comment out the 'pintr' code found in your Pinterest Tag's base code.
Next, copy the entire section under the 'Loading Code and Page View Event' heading in the guide and add it to your code so that it runs on every page. (For Google Tag Manager, create a new tag.)
Stop all your other Pinterest tags by going into detail and clicking the "Pause" button on Tag Manager or codebase.
Determine the events for which you want the browser and server events to be triggered and include p2sq event codes as shown in the document.
You can use the Pinterest Pixel Helper tool for testing.
Consent management and data privacy
To stay compliant in regard to data protection, you should only activate script if users given consent within your Consent Management framework.