File Upload Source Guide
Another source type provided by SignalSight is File Upload. With this feature, SignalSight acts as a bridge, allowing you to upload files to the system and direct them to a destination. These destinations can include advertising platforms such as TikTok, Facebook, or Snapchat.
Get Started
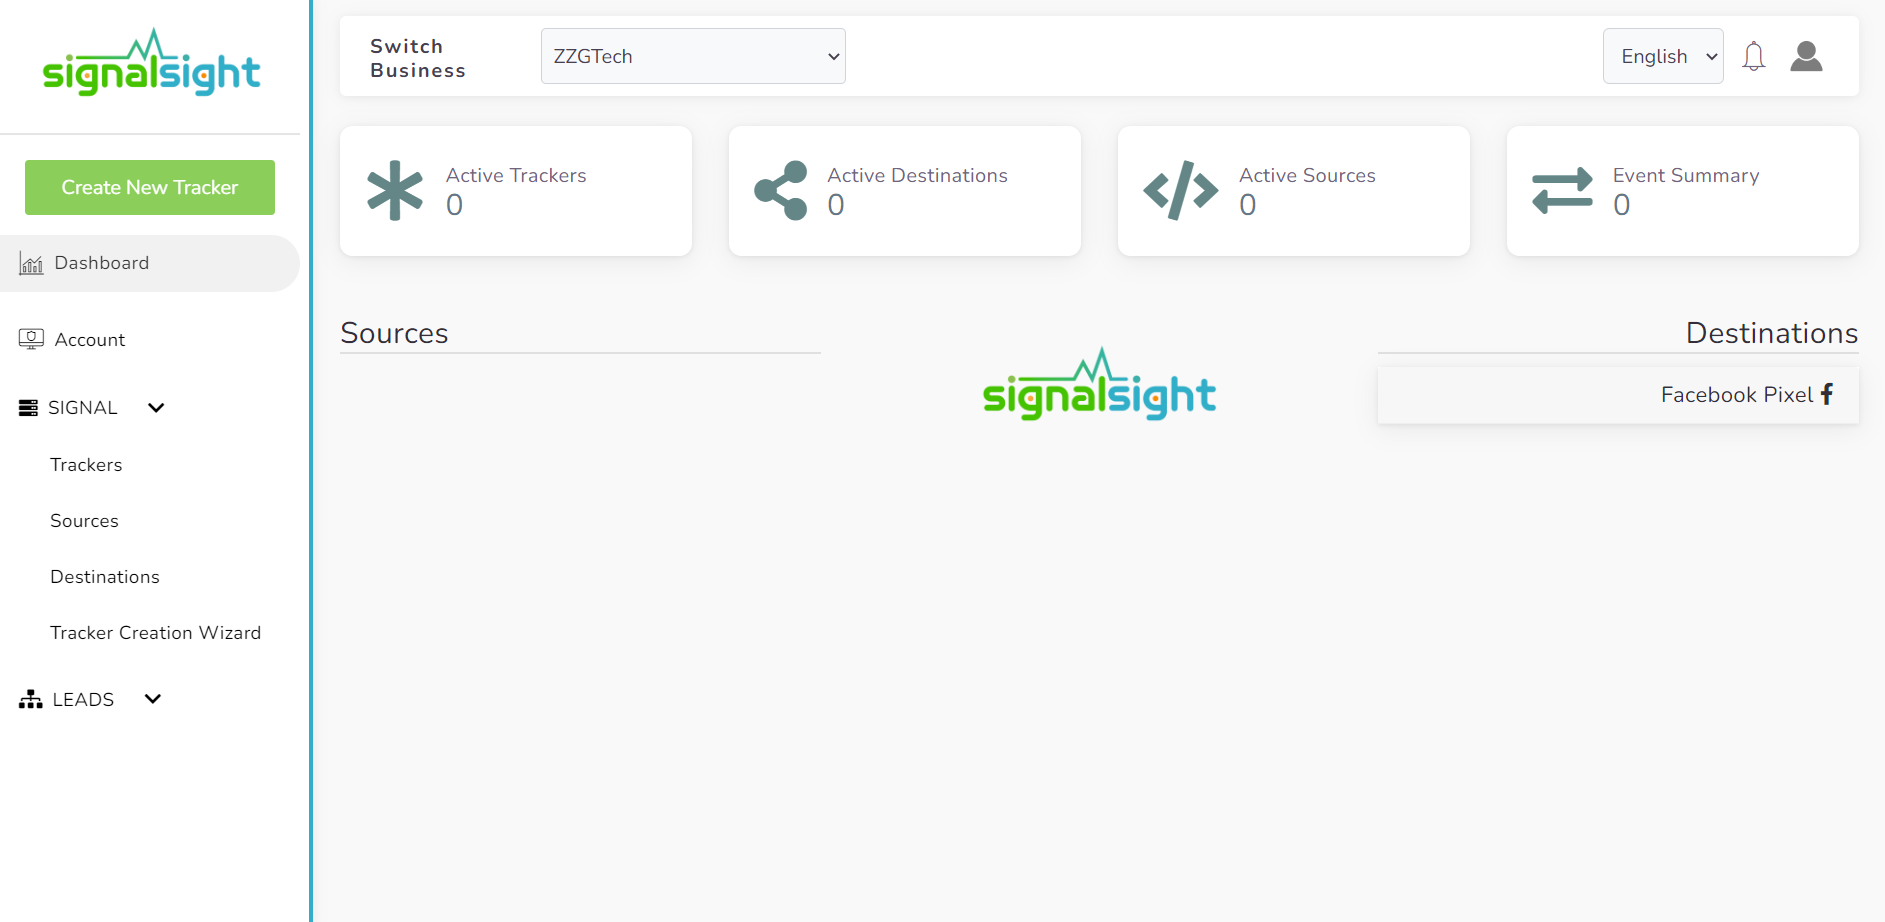
If you don't have a membership in SignalSight, you can create an account using the following link: https://console.signalsight.io/dash/login?service=free. Once you log in, you will be directed to a screen similar to the one shown below for the business you have created.
You have the option to add a file upload source to the trackers you create or use the tracker creation wizard to create a new tracker. This help document will cover the usage of the File Upload source for both scenarios.
File Upload Source in New Tracker
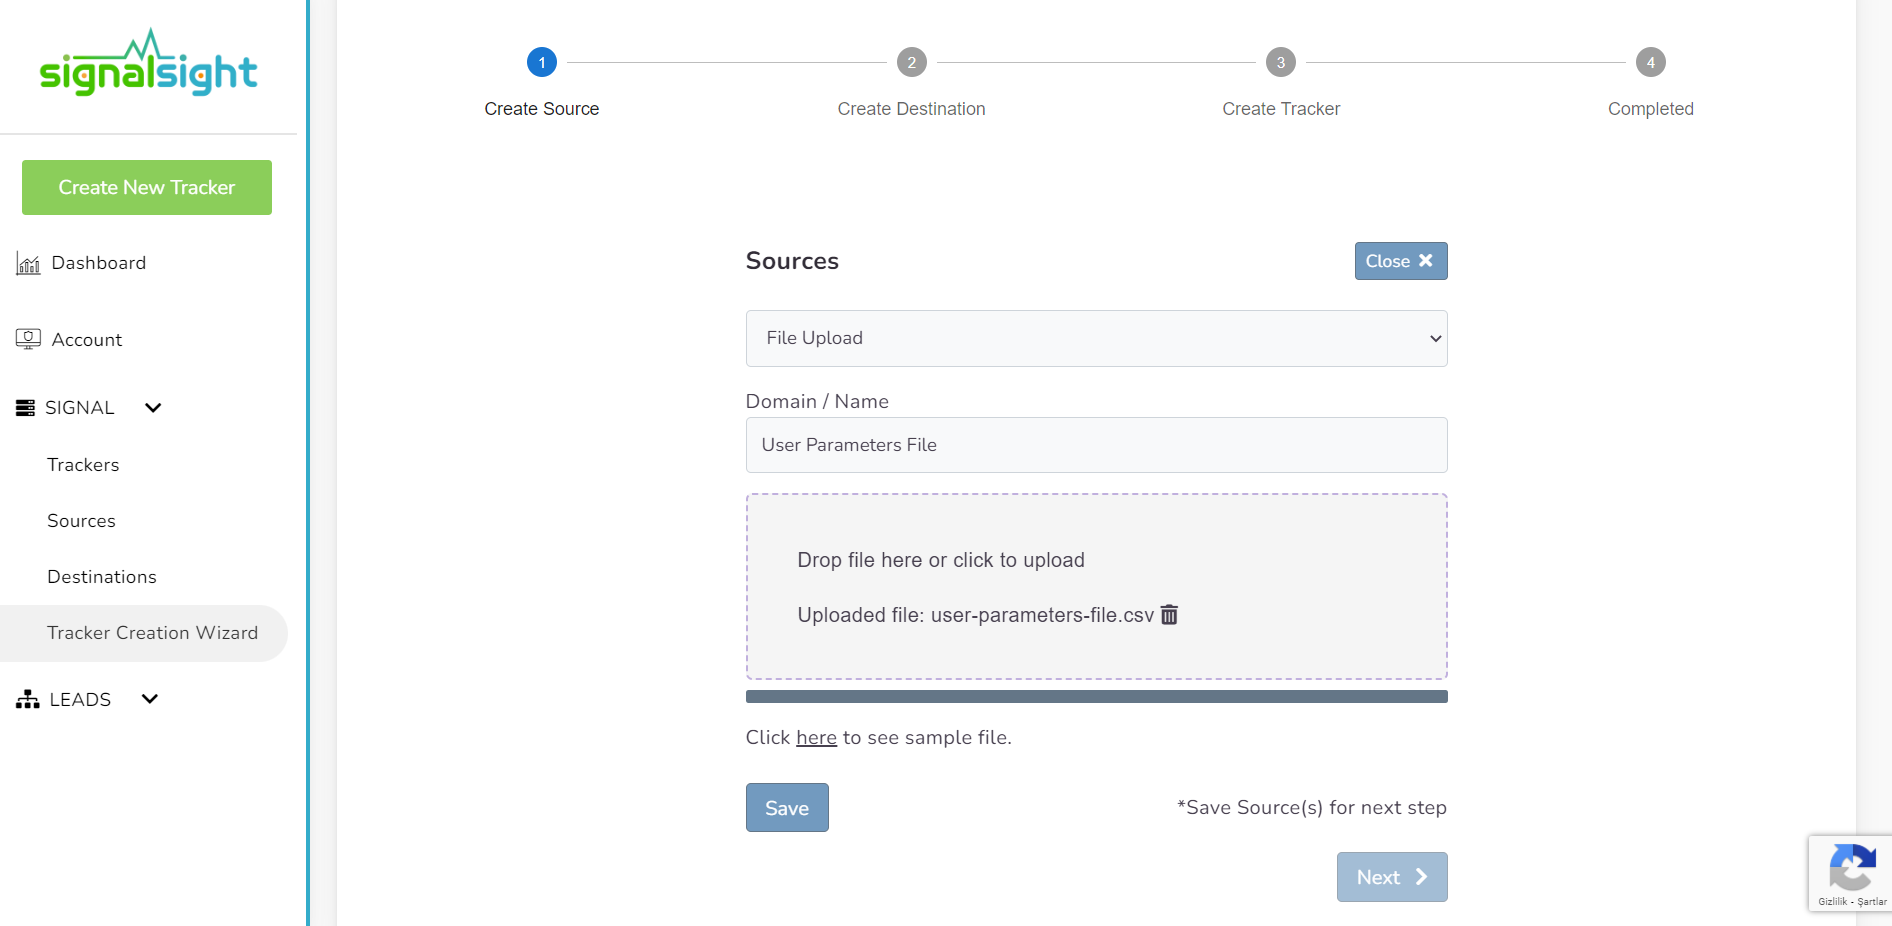
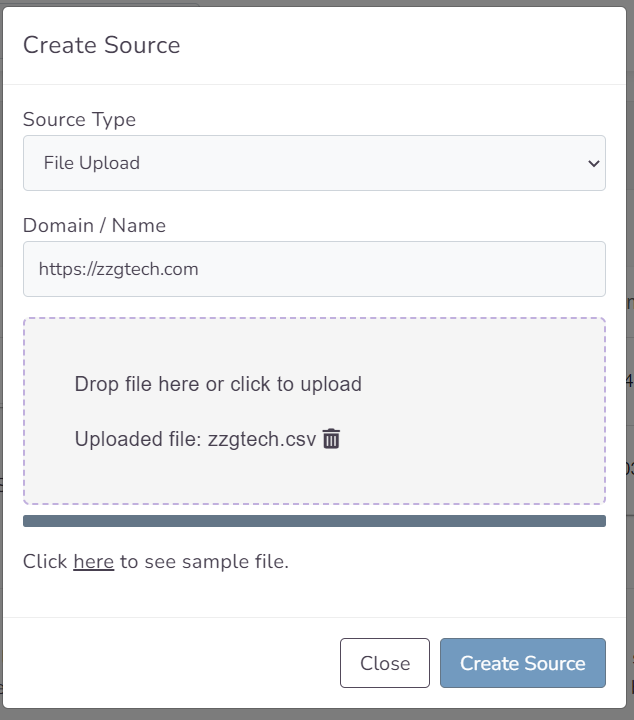
The first step in the Tracker Creation Wizard is source creation. In this step, you can choose "File Upload" as the source type and provide a name for the uploaded file. You can select your file by either dragging and dropping it or clicking on the file upload area. To view a sample document, click on the "here" link in the "Click here to see sample file" section. Once your file upload is complete, make sure to click the "Save" button.
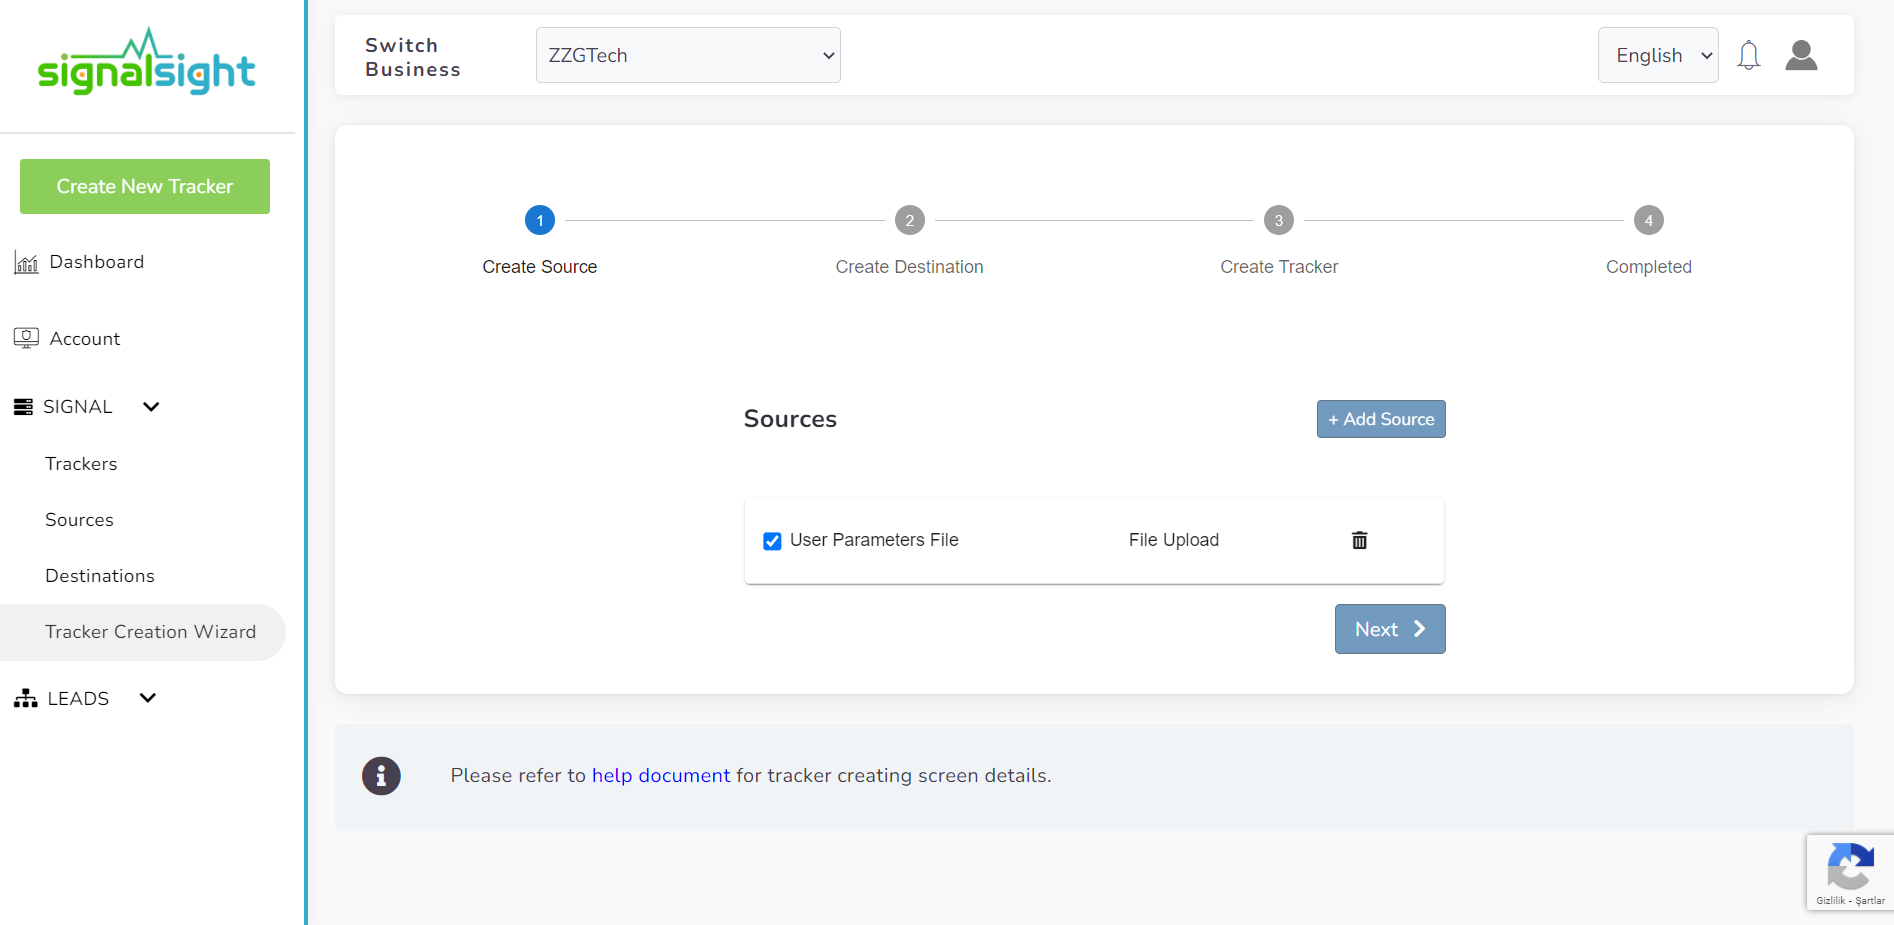
Congratulations! You have successfully created your first source. SignalSight also allows you to use multiple sources on a single tracker. You can add different sources such as SFTP and Spreadsheet as well. Now, let's proceed to the next step, which is creating the destination.
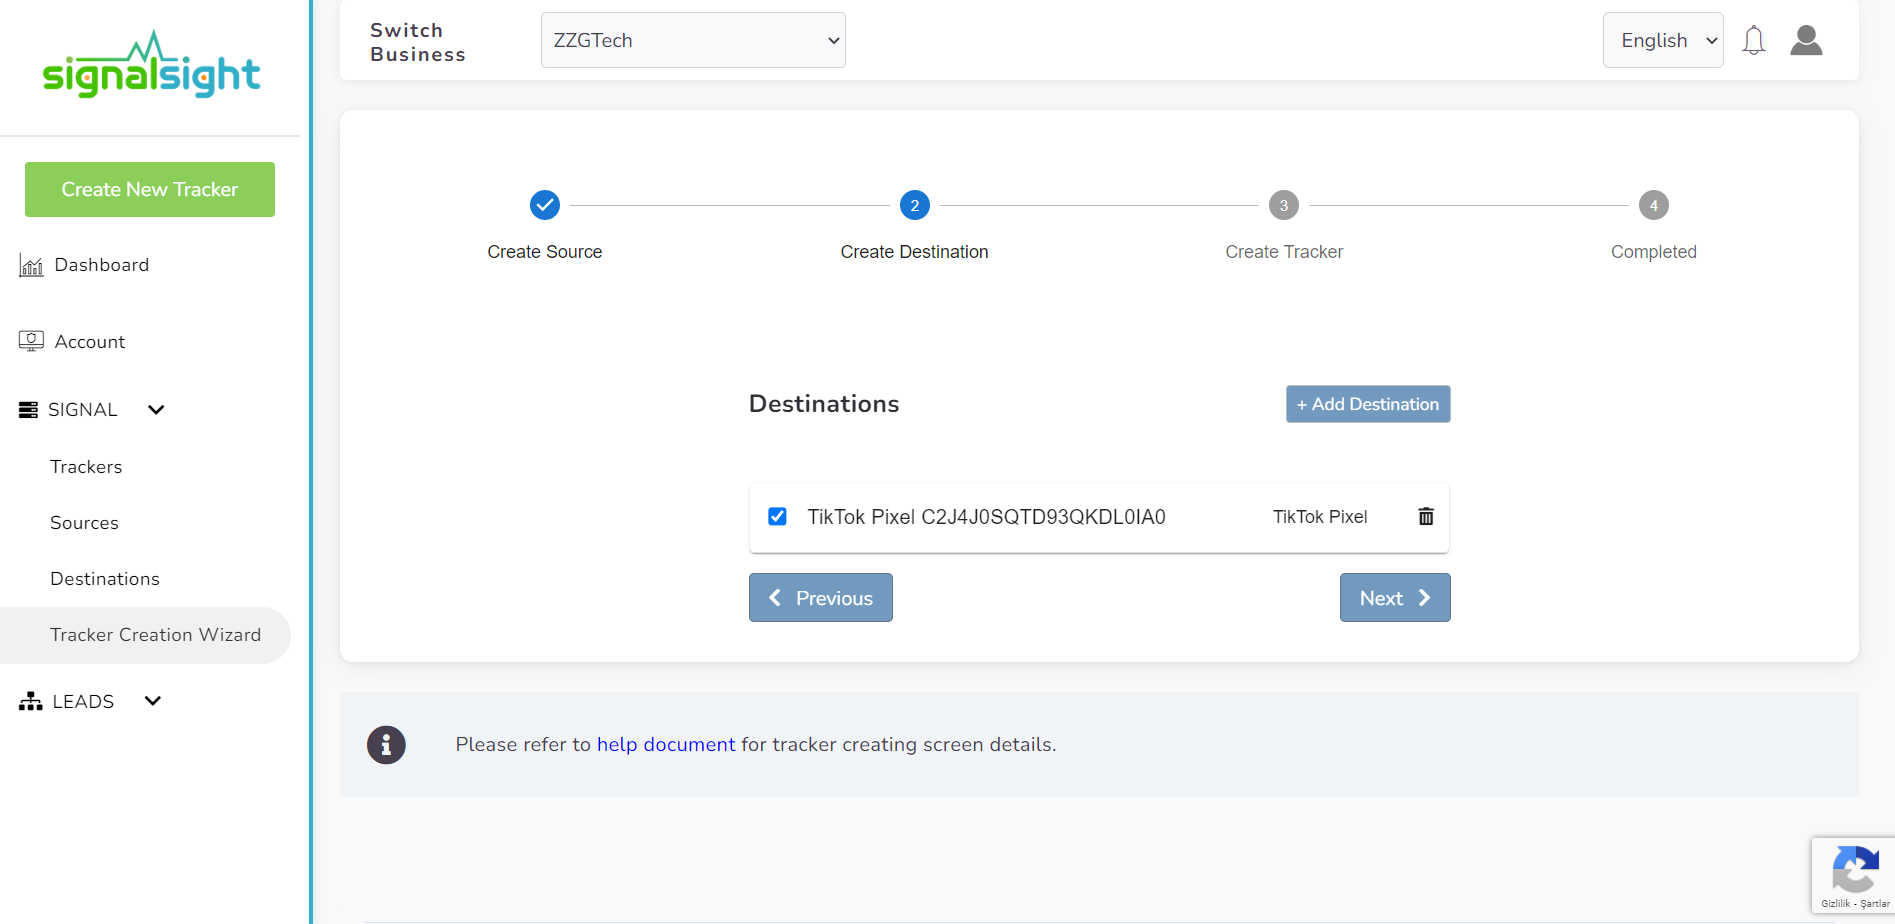
In this new step, you can choose a destination from platforms like TikTok, Facebook, and other available options. You can decide where you want to stream your signals and set the appropriate destination for your tracker.
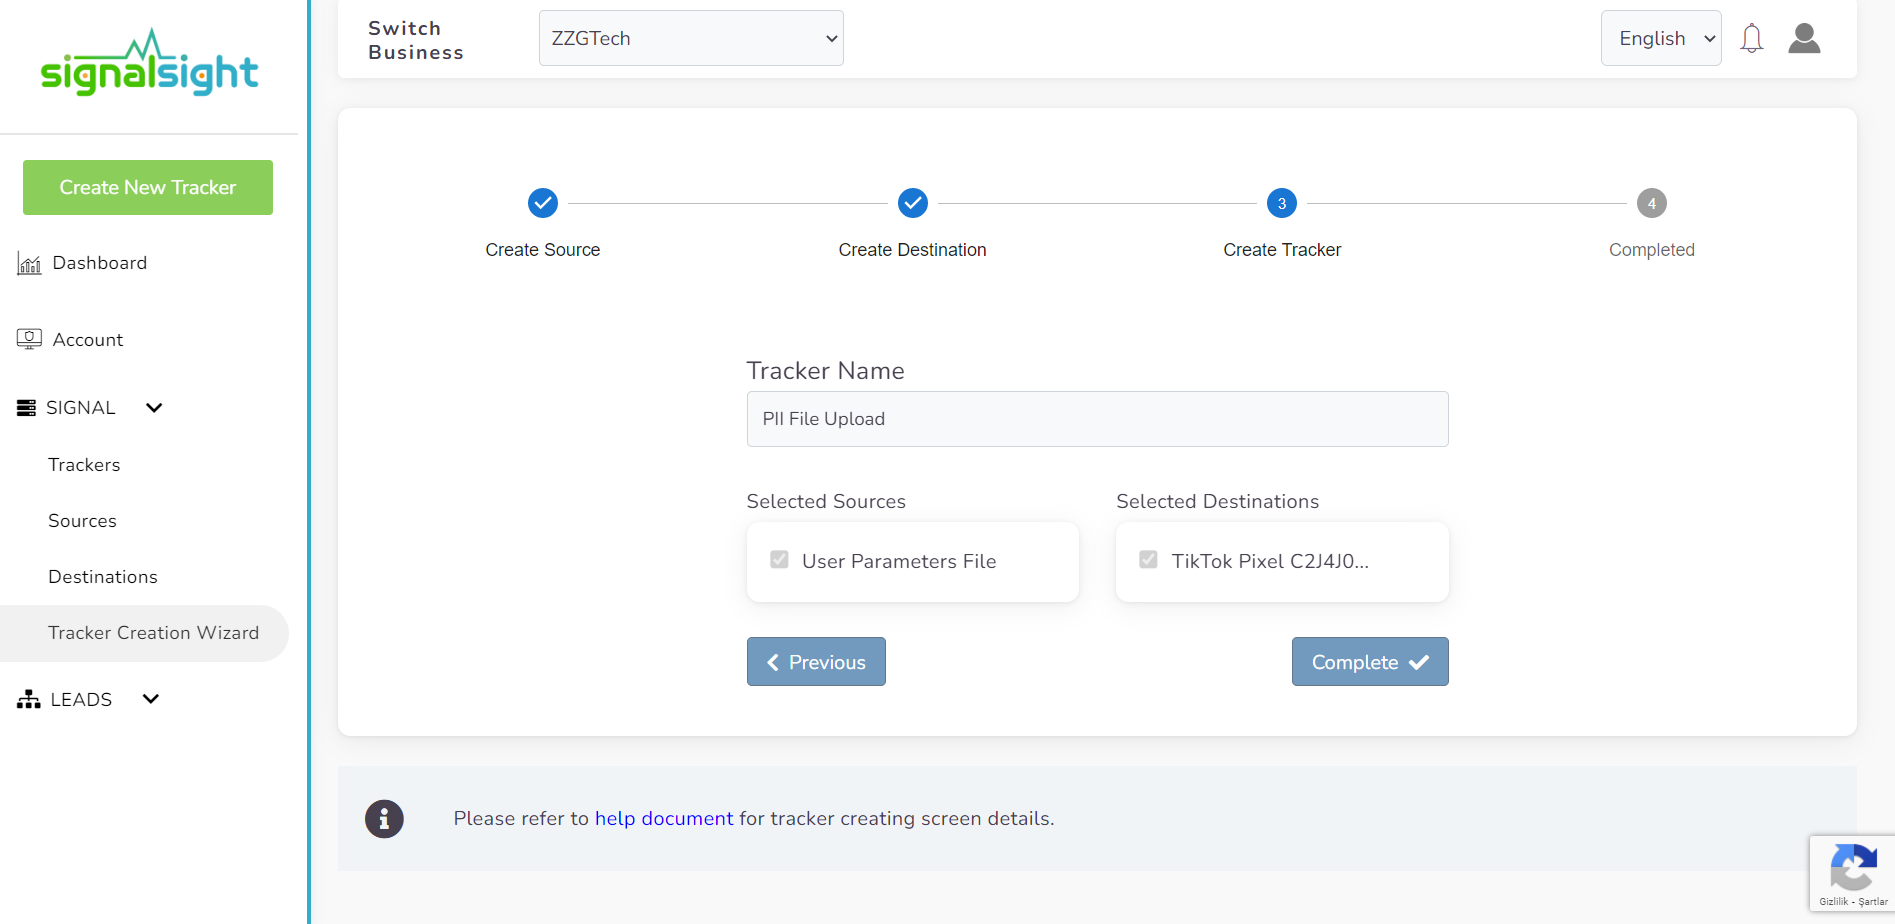
In the third step, you can give a name to the tracker you are creating and view the tracker summary. After reviewing the details and ensuring everything is set up correctly, you can click the "Complete" button to successfully create your tracker. This will take you to the tracker detail page, where you can access and manage the settings and information of the tracker in more detail.
Adding New Files to Tracker
On the Tracker detail page, you have the flexibility to add new files and modify your source and destination settings as needed. To add a new file, simply click on "Upload New File" in the action field of your source. This will allow you to perform upload operations with files in the same formats as before.
Additionally, on the Tracker detail page, you can perform various actions related to your destinations. For example, you can deactivate destinations, as well as add or remove new destinations. This gives you control over the destinations associated with your tracker, allowing you to manage them according to your requirements.
File Upload Source for Existing Trackers
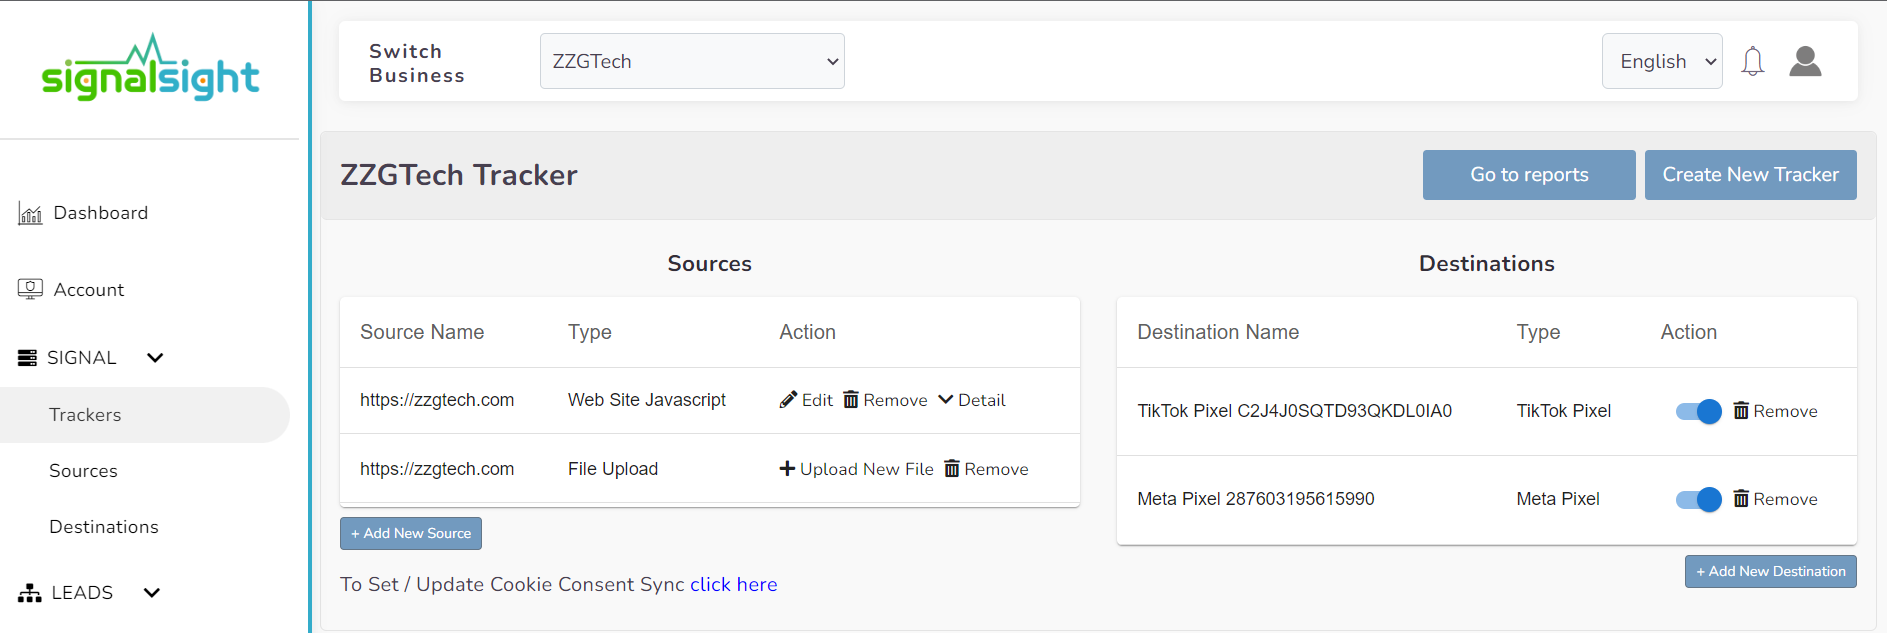
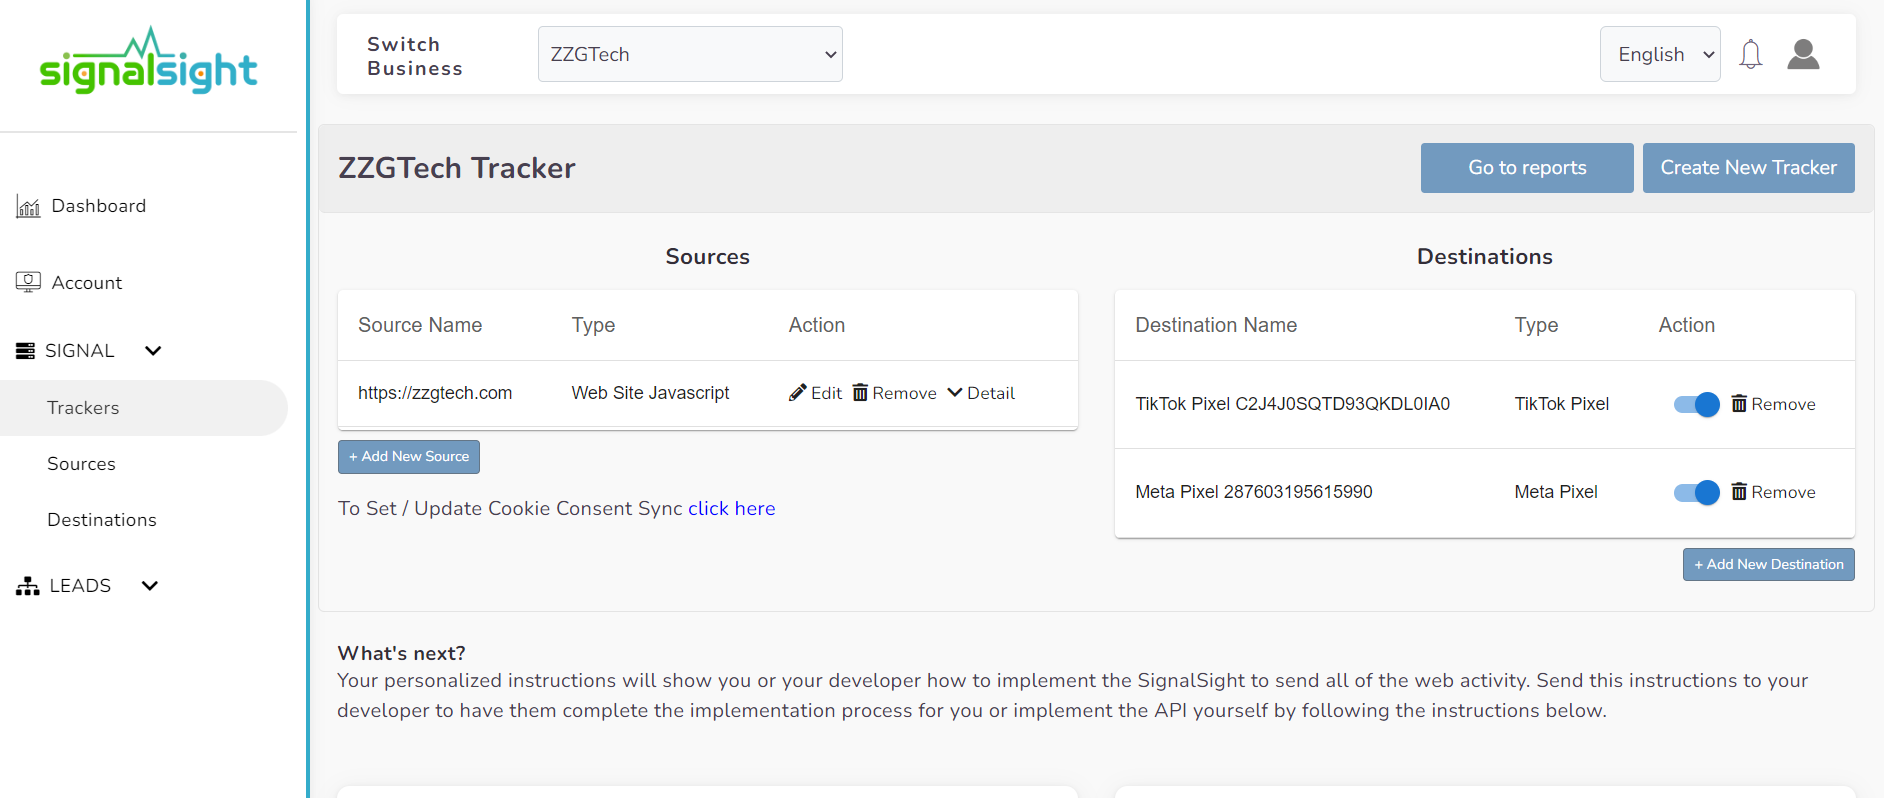
You can find the tracker you previously created on the "Trackers" page in the left menu. To view more details, simply click on the pencil icon or directly on the respective line of the tracker. This will allow you to access and edit the specific tracker's information and settings.
Afterward, you will be directed to the tracker detail page where you can see your source and destination. If you want to add a new source, such as "File Upload" you can click the "+ Add New Source" button located at the bottom of the existing sources. Clicking this button will open a popup screen for the new source addition process.
In this popup, you can view the previously uploaded sources and add them directly to the tracker without having to create them again. For a new source, you should proceed with the text Create a new.
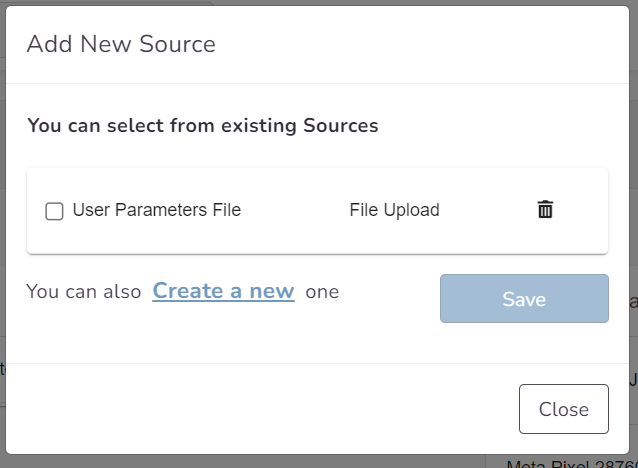
Select "File Upload" as the Source Type and assign a name of your choice to the file. Once the installation process is complete, you can click the "Create Source" button.
As you can see, your new source has been added to your tracker. You can add new files at any time and perform many more operations from this screen.