Hubspot Source Guide
HubSpot CRM is a powerful customer relationship management application that caters to businesses of all sizes, providing a wide array of solutions. With the combined power of HubSpot CRM and SignalSight, you can effectively sync and manage your contact data across multiple advertising platforms.
Get Started
When initiating the Conversion Lead process in SignalSight, you should have a membership. After logging in, you can sequentially follow the steps outlined below. Upon completing the entire process, remember to make funnel adjustments in your Events Manager for the relevant pixel.
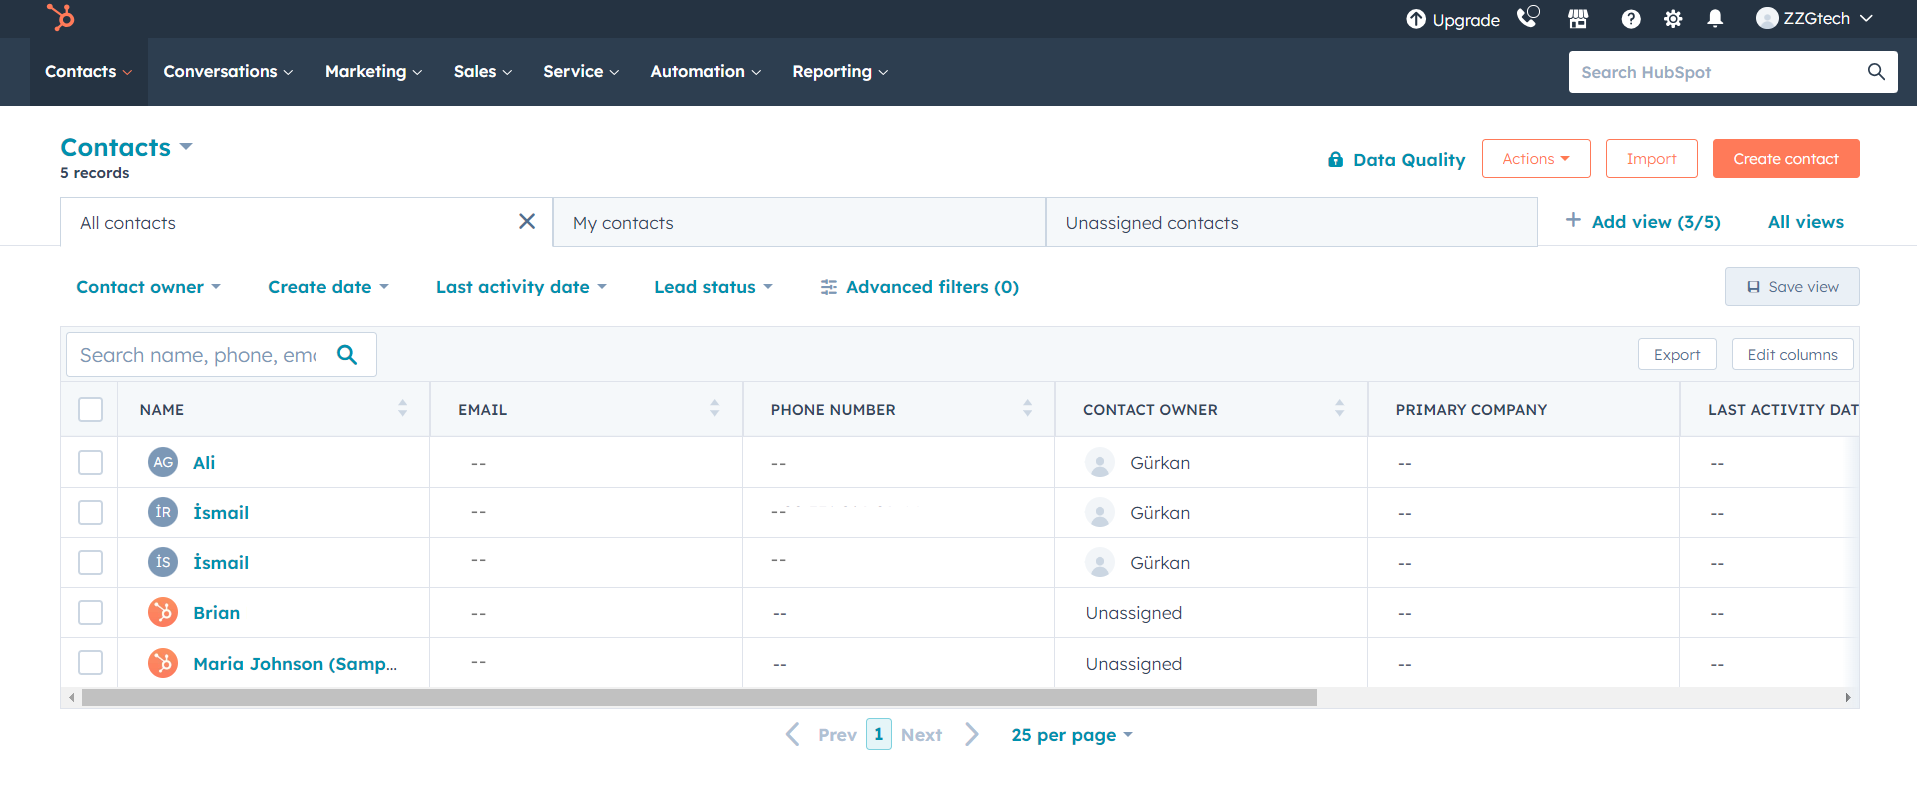
Your CRM account should have up-to-date contact data from the last 7 days. With the help of the SignalSight wizard, you can easily complete your setup in just a few steps.
Creating a New Tracker
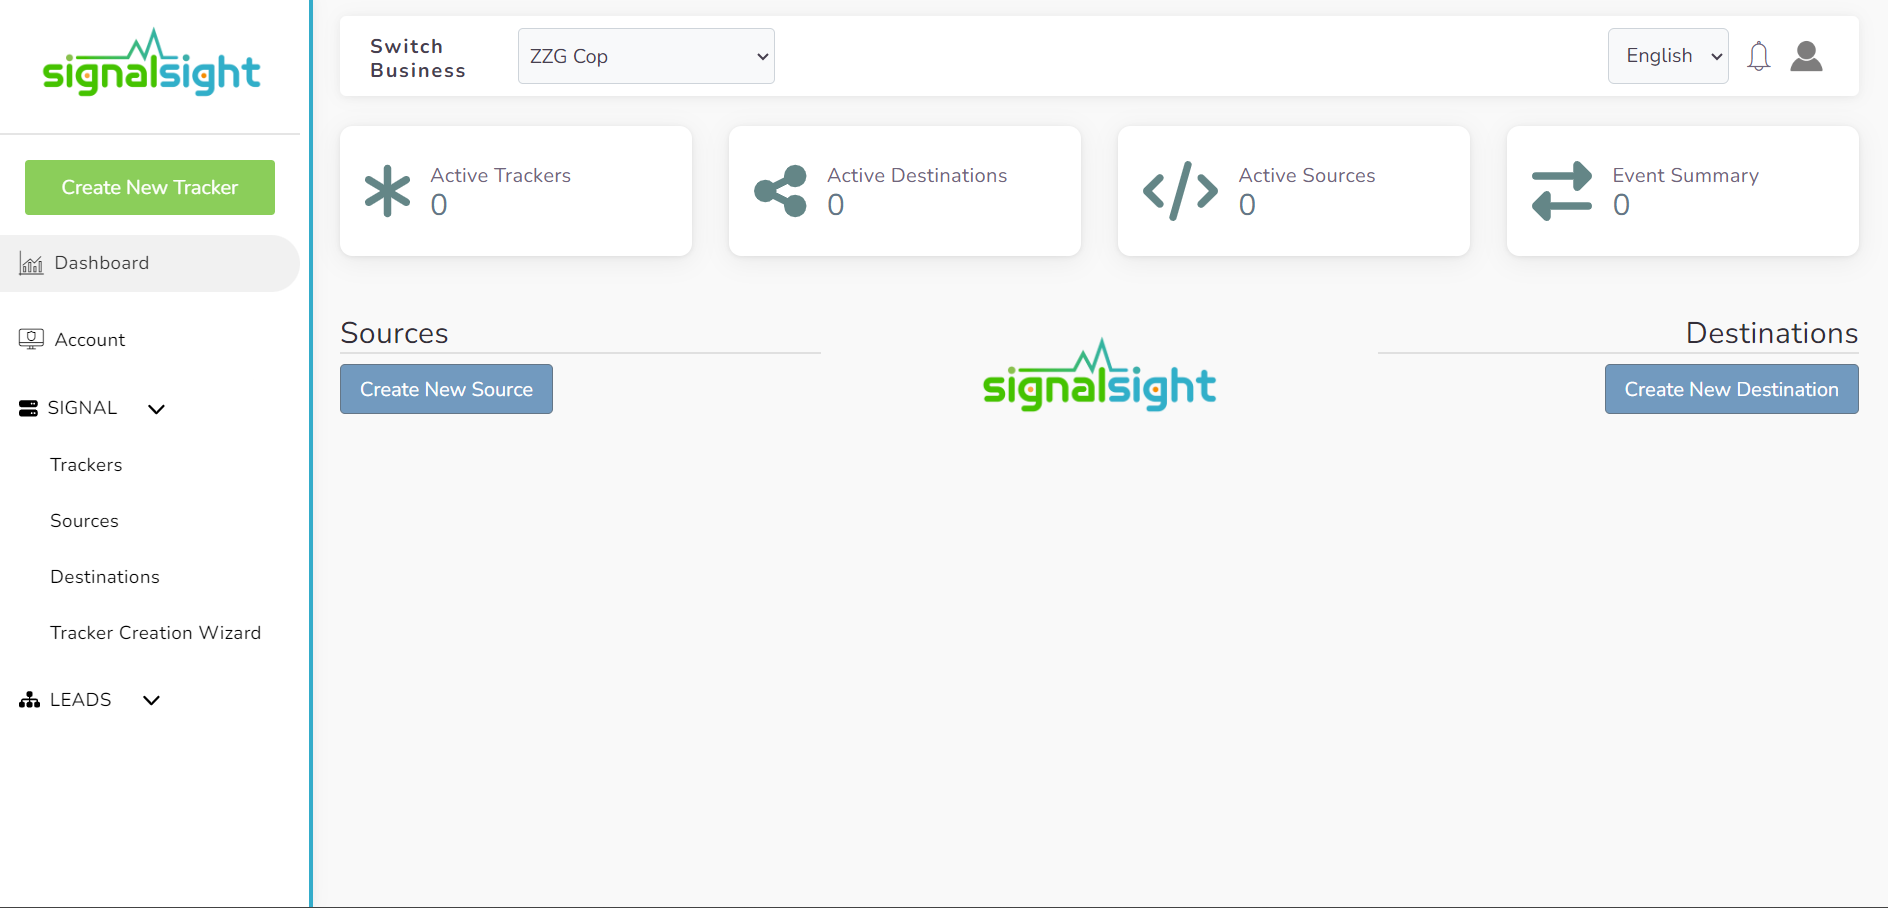
To create a tracker that includes Hubspot, start by clicking on the "Tracker Creation Wizard" under the "Signal" section in the left menu. With the help of the wizard, you will be guided through a few easy steps to create your tracker and manage your signal flow efficiently.
Hubspot Source Creation
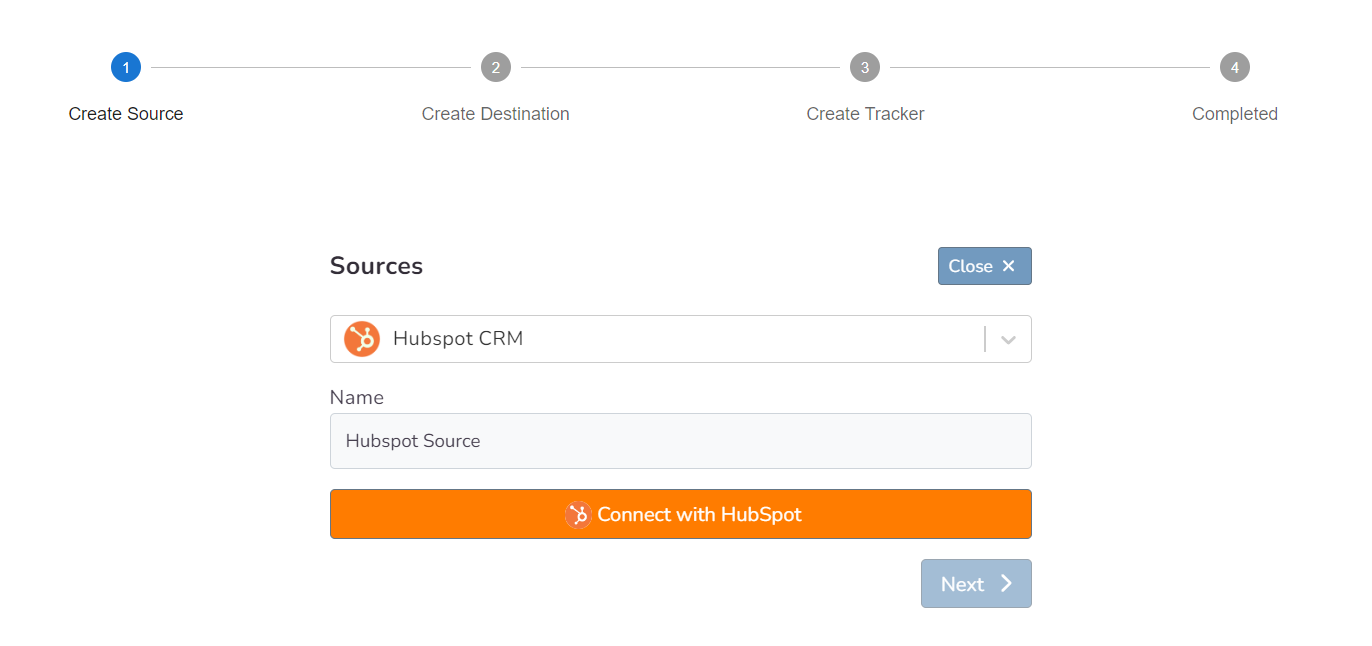
In the source section, which is the first step of the wizard, we create a new source. Then you can follow the steps below:
- Select "Hubspot CRM from the Source list
- Give a name to the created source
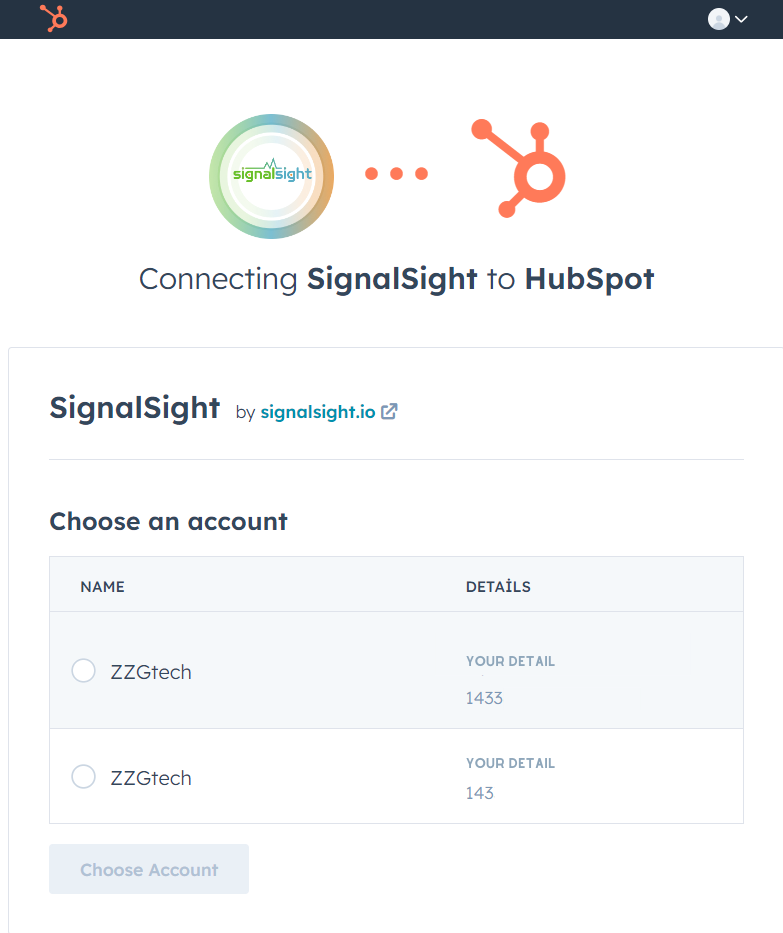
- Log in to our Hubspot account by clicking the Connect with HubSpot button
After logging in and selecting the relevant account, you will proceed to the CRM source mapping.
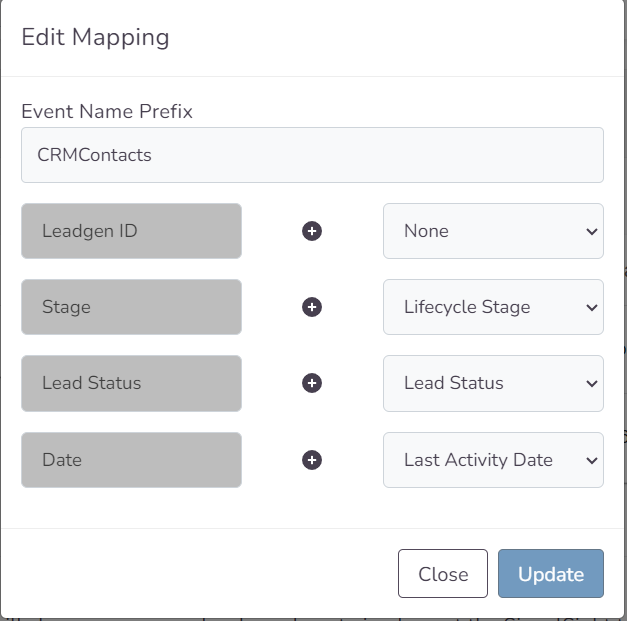
In the input labeled "Event Name Prefix" you can update the prefix you want to use when sending events to the relevant destination. In other words, if a "Qualified" or a "Junk" event is triggered in your CRM, the event will be sent as "CRMContacts-Qualified" or "CRMContacts-Junk" You can leave this prefix blank or enter a different name if you wish.

Finally, after you have completed your mapping, you can proceed to the destination creation step with the Save and Next buttons.
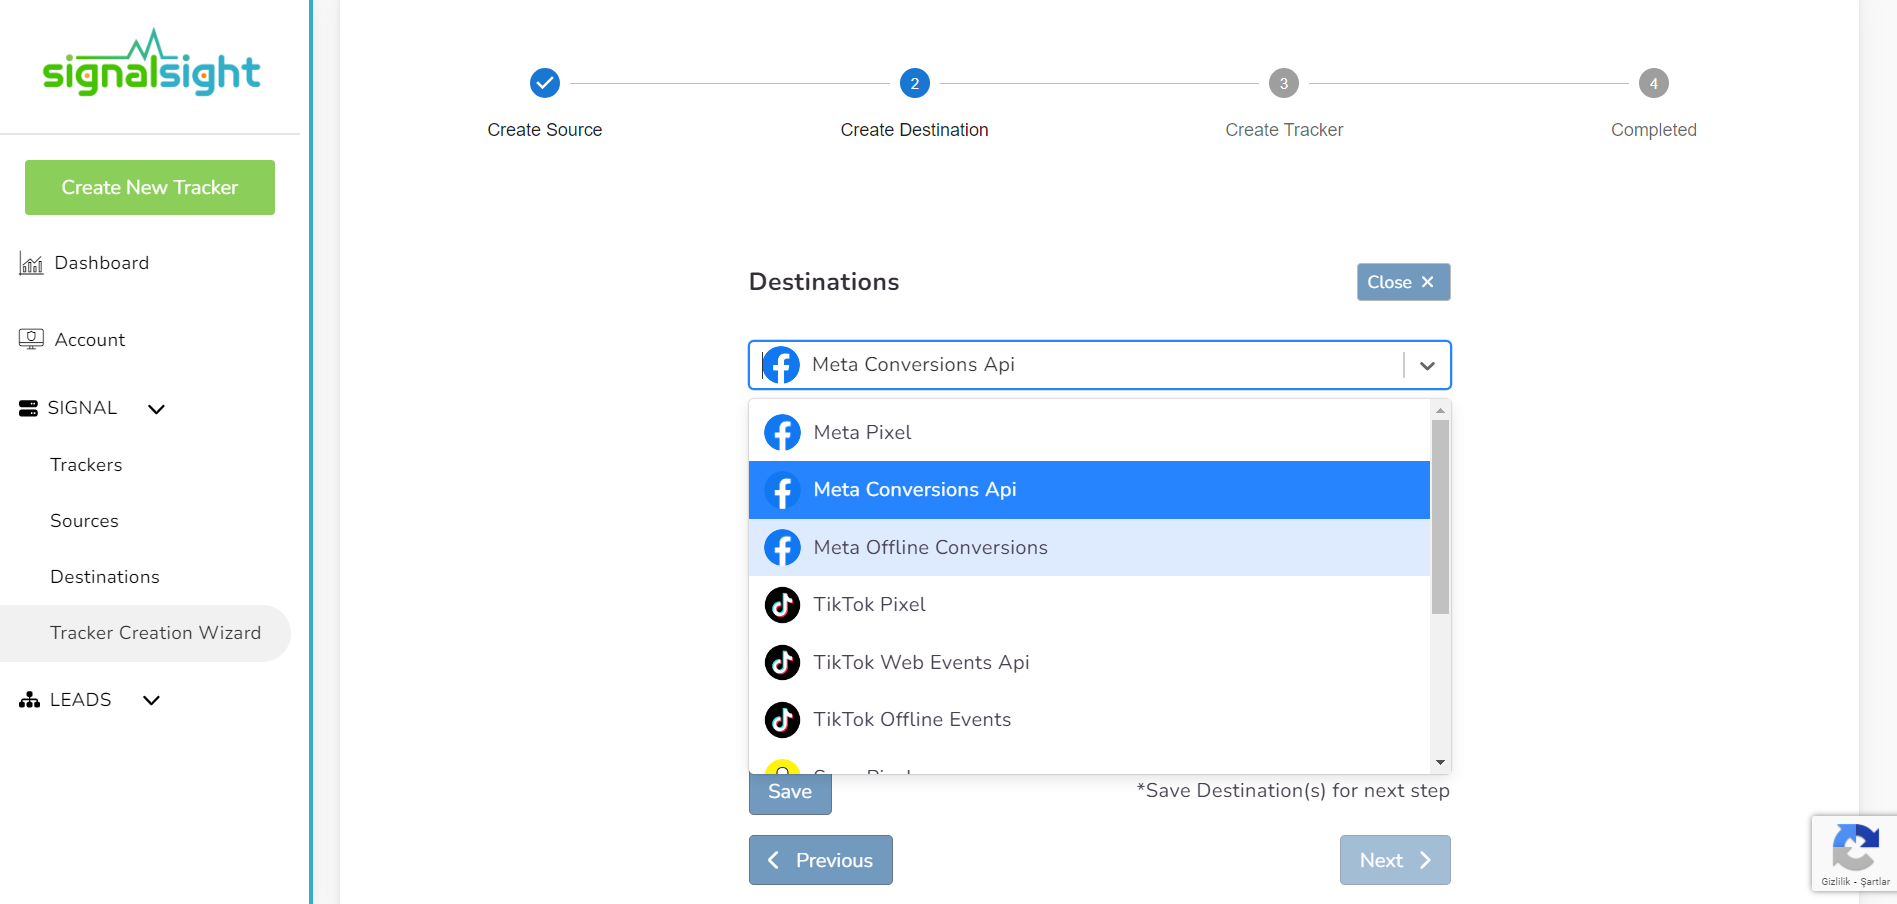
Choosing a Destination
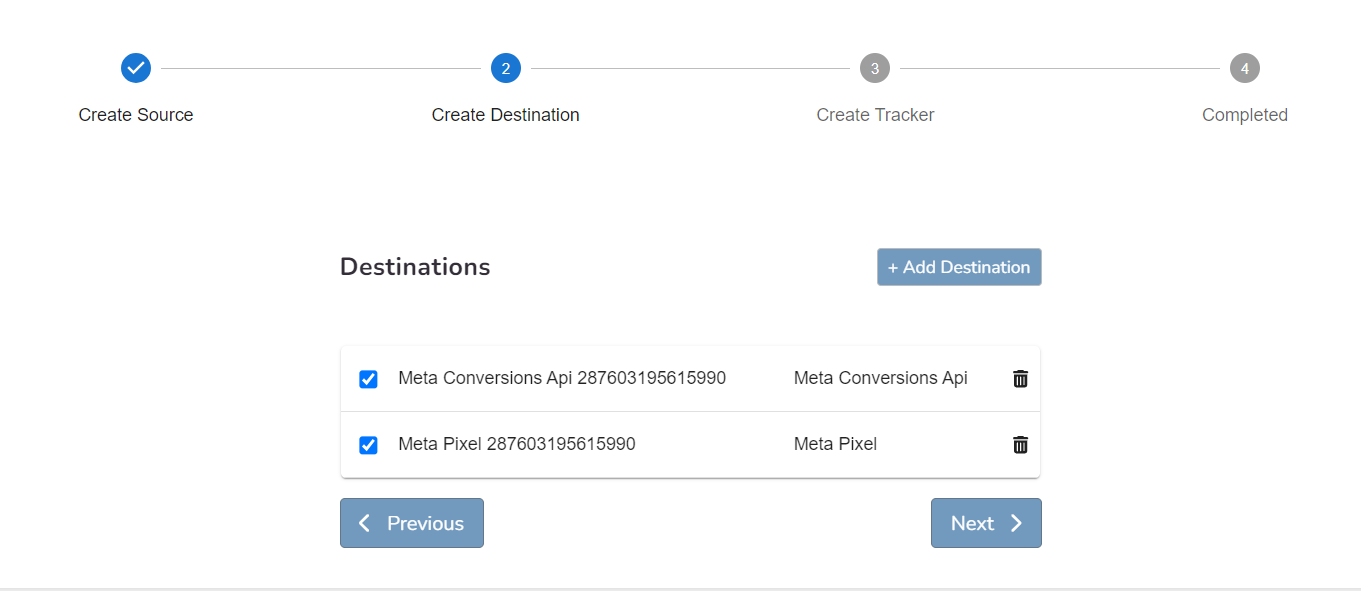
In the second step of the wizard, you will create a destination. You can proceed by choosing one of many different destinations. Here you are presented with 2 different methods. If you want, you can create Pixel and Meta CAPI destinations with the Save button by entering the pixel id and access token information. In addition, if you have pixel access, create the destination by selecting the account you will access via the Connect Facebook CAPI button and the pixel below it.
In this step of the Wizard, you can give your tracker a name, view the selected source and destination just below, browse the summary, and complete the process.
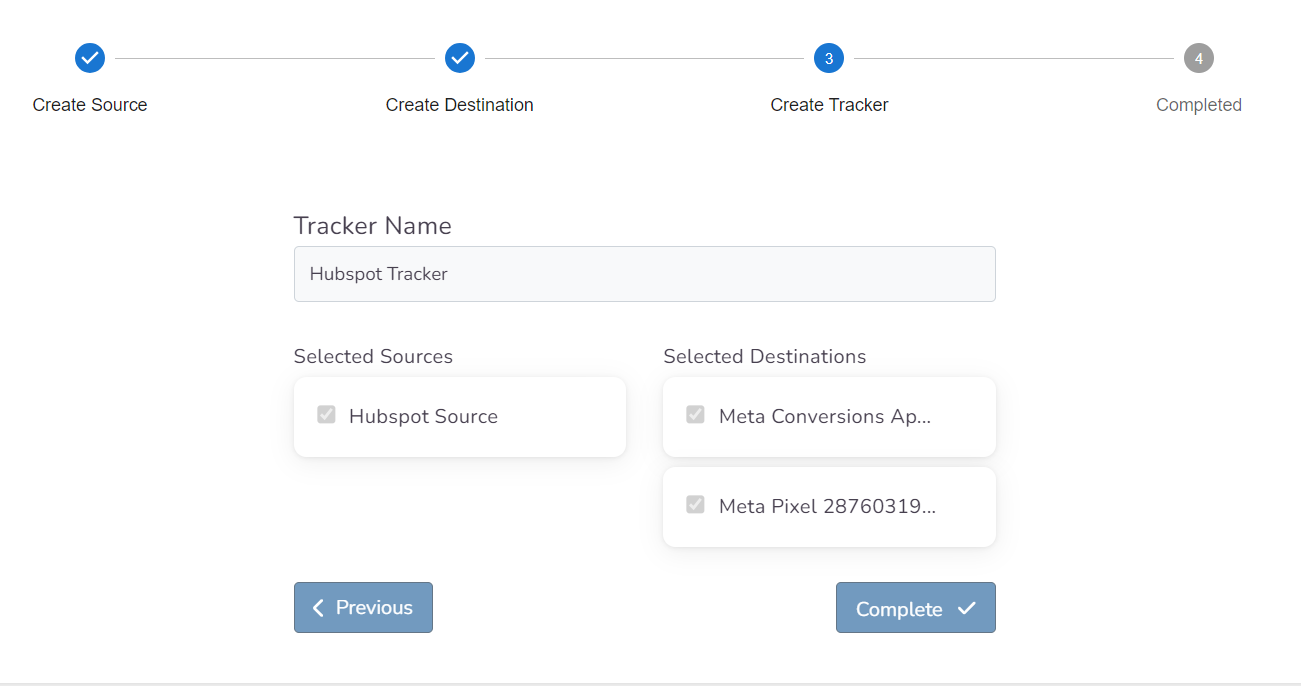
With the completion of the tracker, you can view your source and destination on the tracker detail screen.
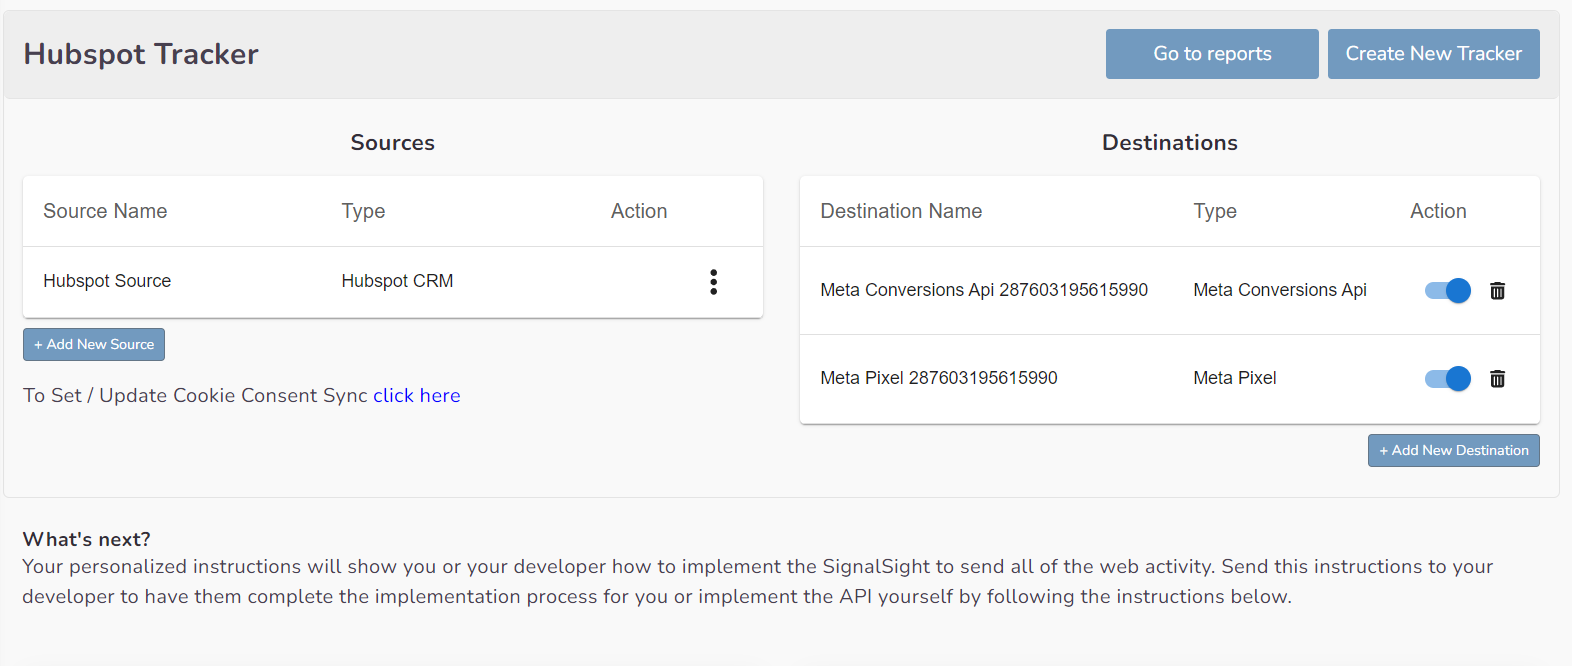
You can enter your Tracker at any time to update the mapping you've done in your CRM source, view data history with the history feature. Additionally, with the "Edit mapping" you can not only update the mapping but also modify the CRMContacts prefix that will precede your event names.