Zoho Source Guide
With SignalSight, you have the ability to transfer the data contained within Zoho CRM to various destinations, allowing you to establish signal flows and deliver the information to multiple clients or platforms. SignalSight empowers you to efficiently manage and distribute your CRM data, enabling effective communication and collaboration with your customers.
Get Started
By establishing the connection between a source and destination, the tracker is successfully created. These trackers have the capability to incorporate multiple sources and destinations, providing you with flexibility and versatility in managing your data. To access and benefit from these features, it is essential to have a SignalSight subscription. If you haven't signed up for SignalSight yet, you can easily create an account at https://console.signalsight.io/dash/login?service=free and begin enjoying the full range of privileges and advantages offered by the platform.
Once you have completed your membership registration or logged in, you will be greeted with a dashboard screen, as depicted in the image. This dashboard provides an overview of the number of trackers you have created, the destinations and sources associated with them, as well as the signal amount generated. It serves as a central hub where you can conveniently monitor and manage your tracking activities.
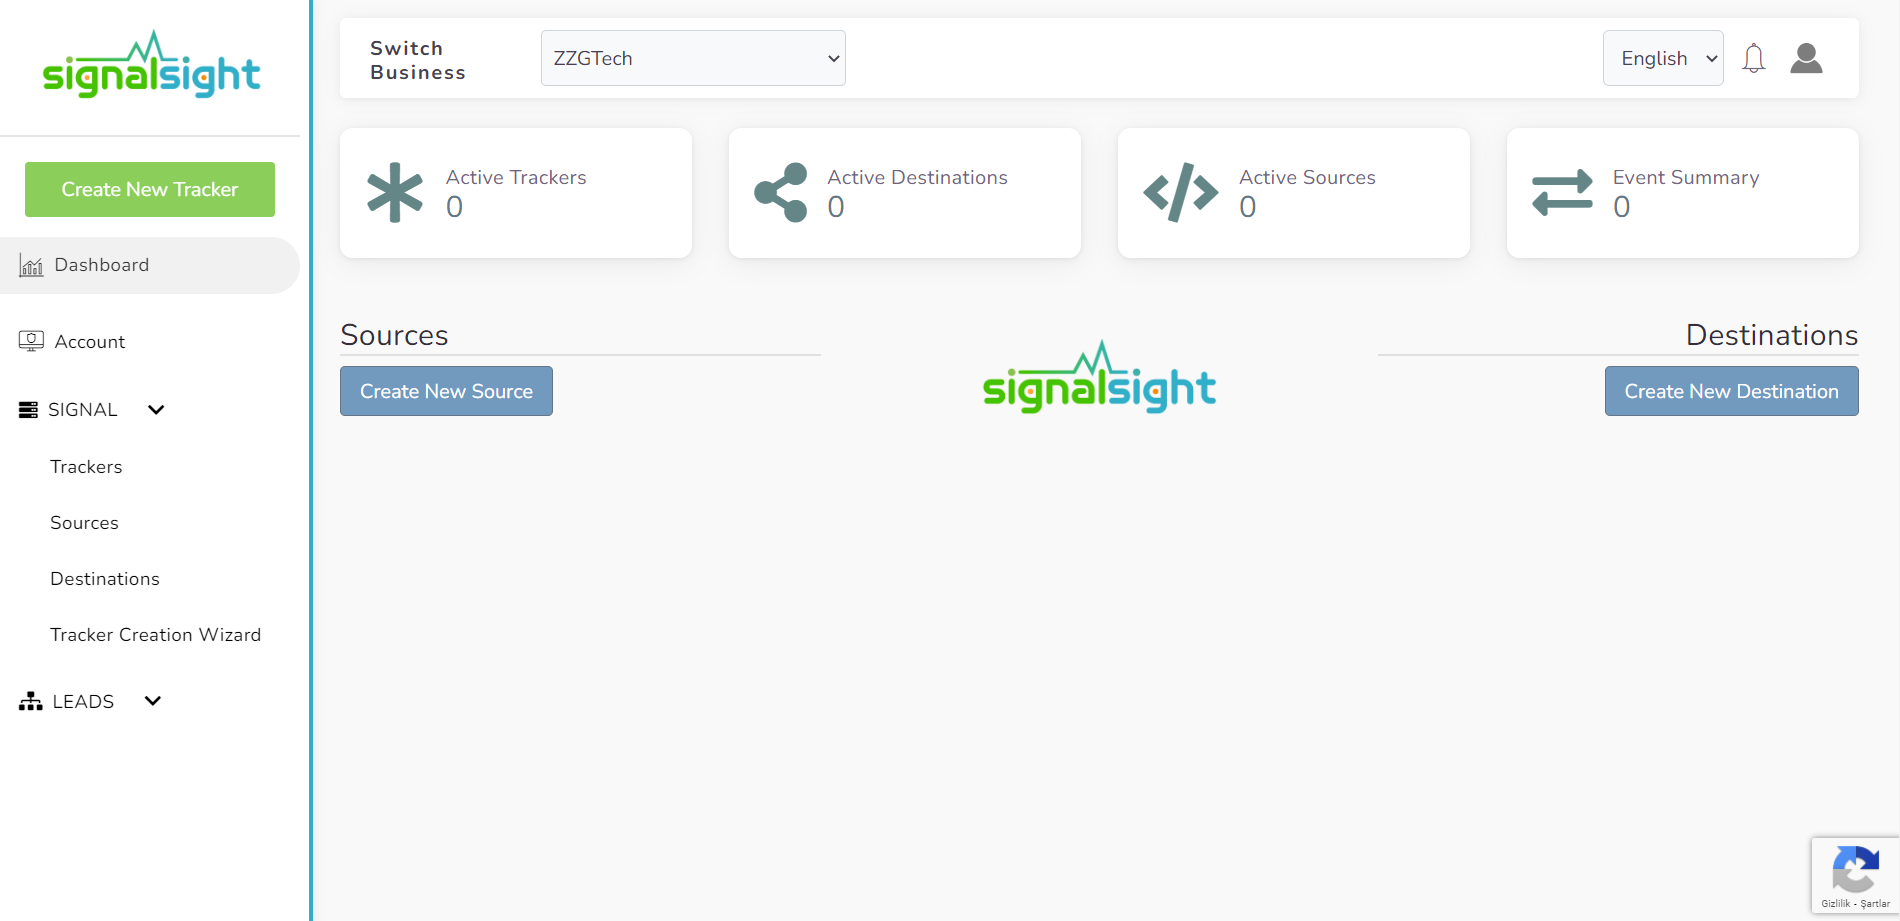
Creating a New Zoho Tracker
To create a tracker that includes Zoho, start by clicking on the "Tracker Creation Wizard" under the "Signal" section in the left menu. With the help of the wizard, you will be guided through a few easy steps to create your tracker and manage your signal flow efficiently.
Zoho Source Creation
As a first step you should create a source. SignalSight has several sources. We proceed by choosing Zoho CRM from this list
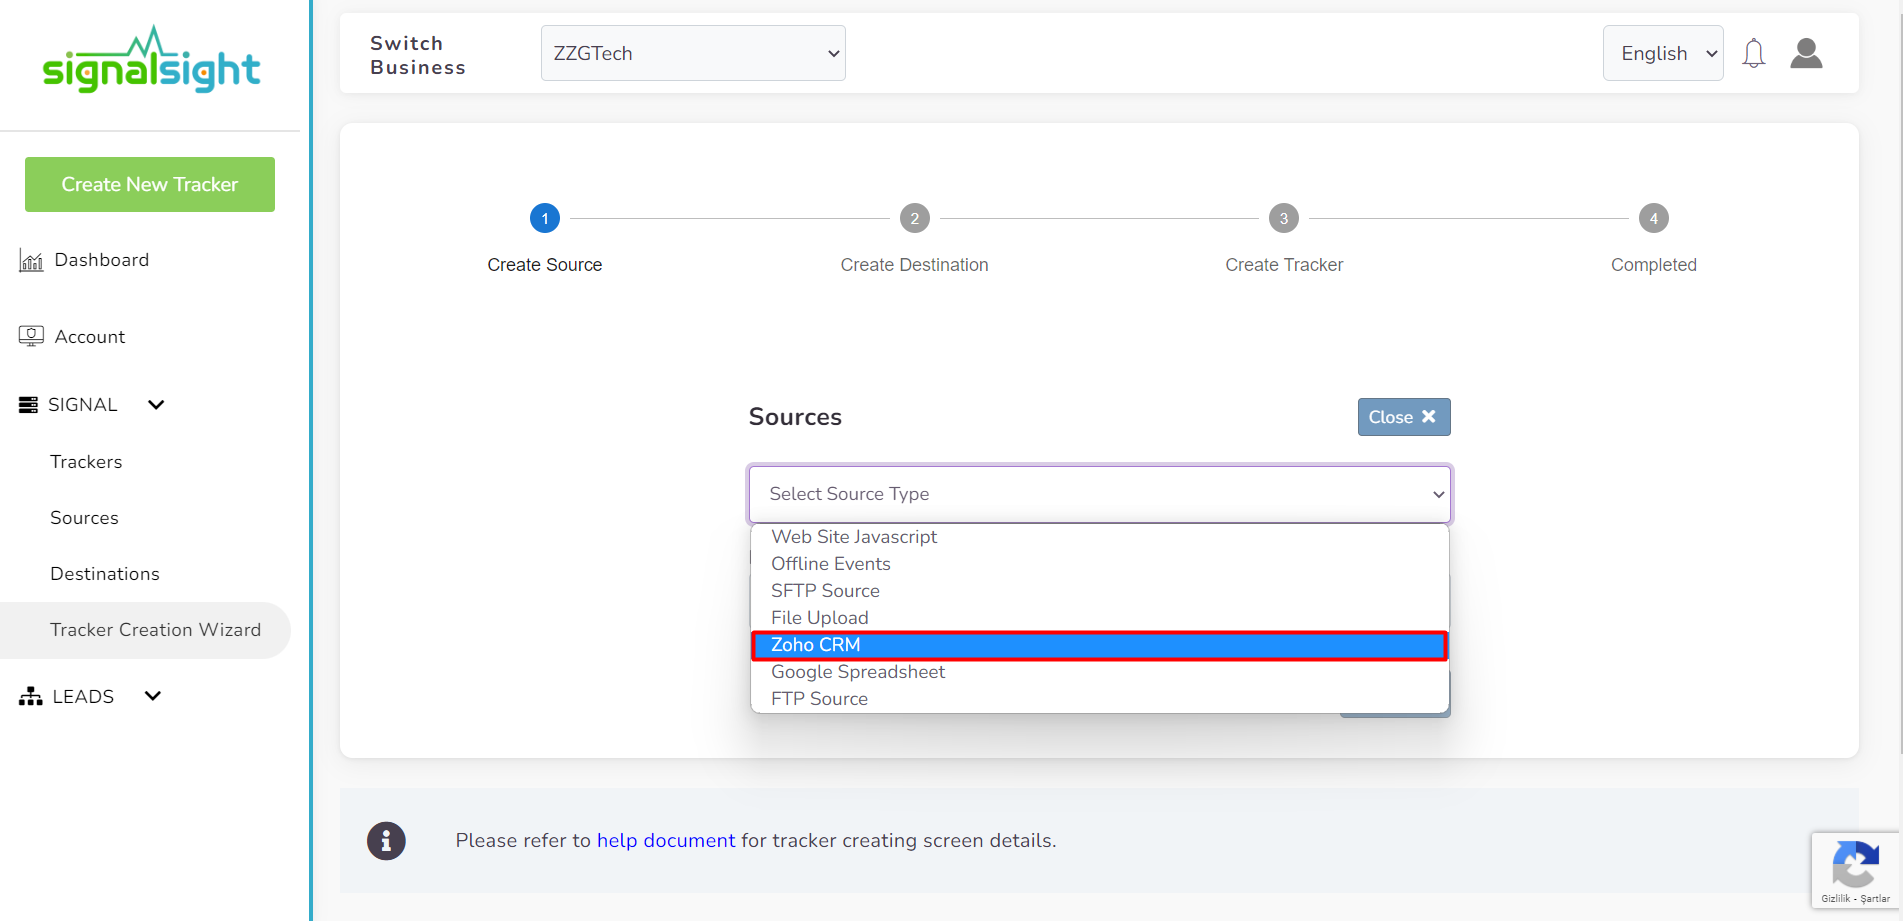
After providing a name for your Zoho CRM source and completing the required selection steps, proceed to log in and access your Zoho account by clicking on the Zoho Login button. This will authenticate your account and establish the necessary connection for accessing and utilizing your Zoho CRM data within SignalSight.
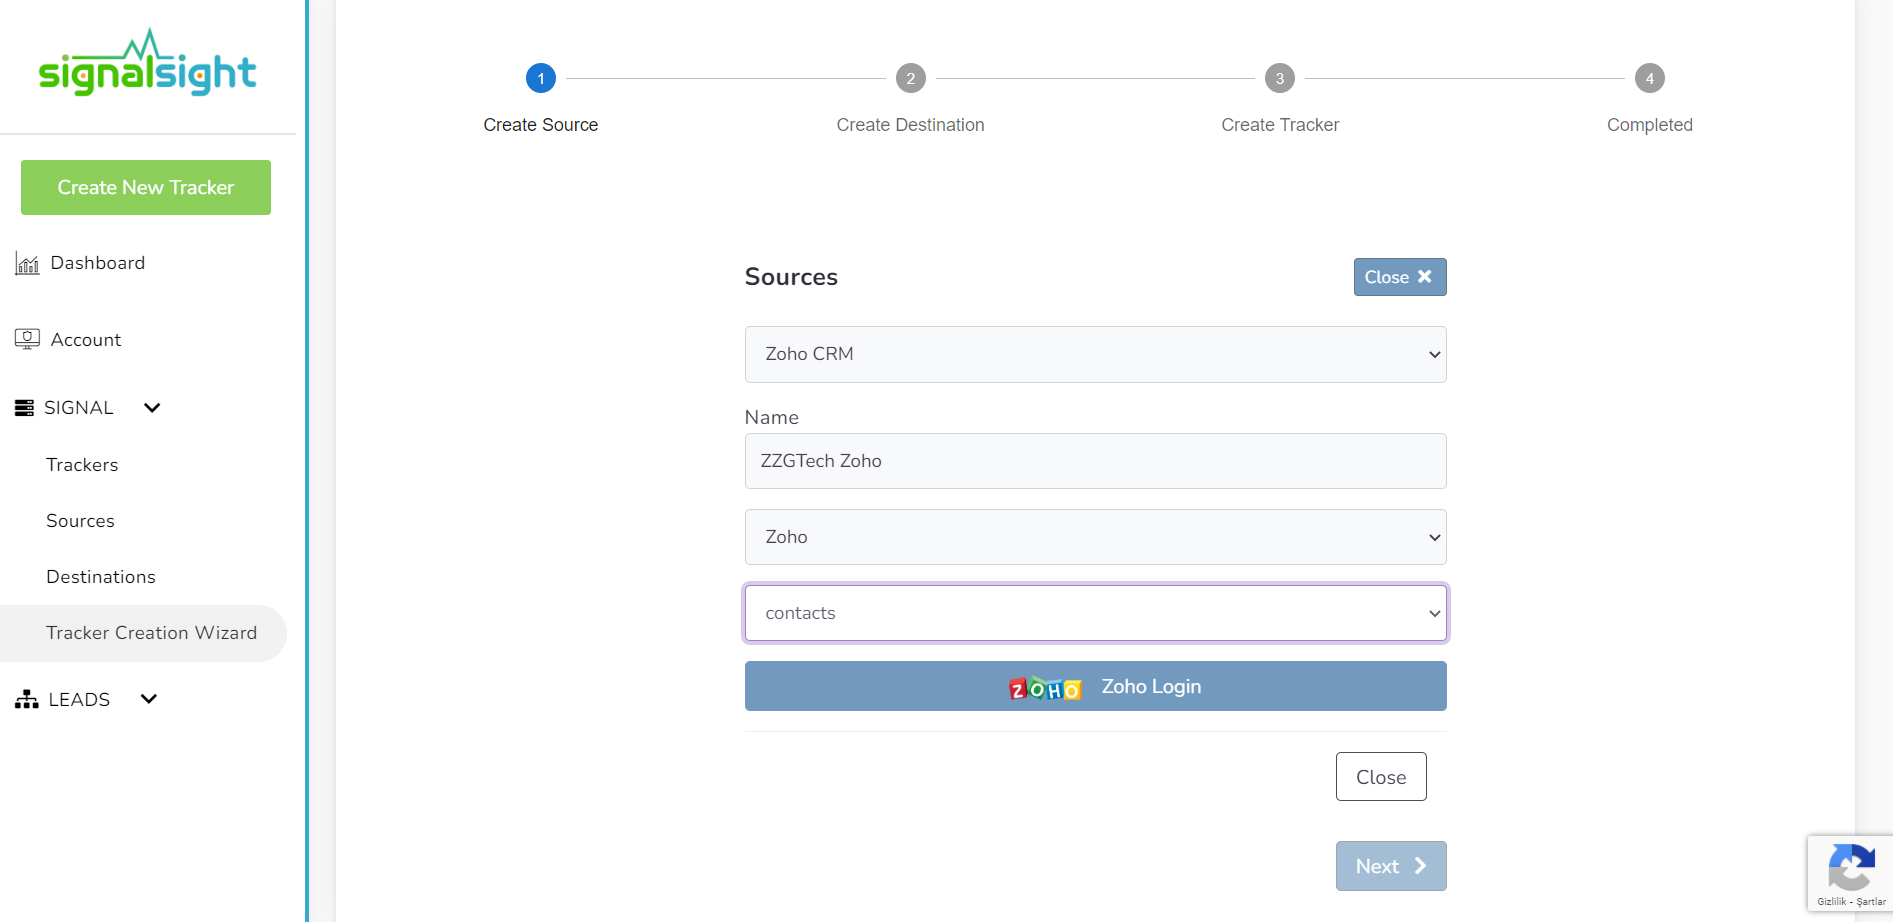
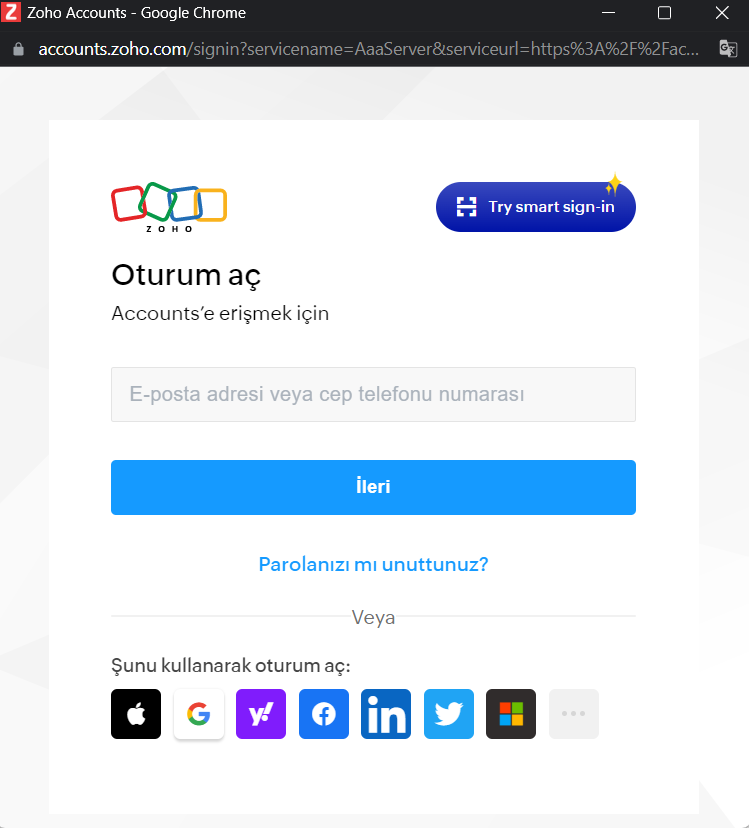
When you click the Zoho Login button, a popup window will appear where you need to log in to your desired Zoho account. Enter your login credentials for the Zoho account you wish to use in this popup window. This will authenticate your account and allow you to proceed with the desired operations within SignalSight, ensuring a secure and seamless integration with your Zoho account.
Once you have successfully logged in, it remains to accept the desired accesses for your CRM and complete the source step.
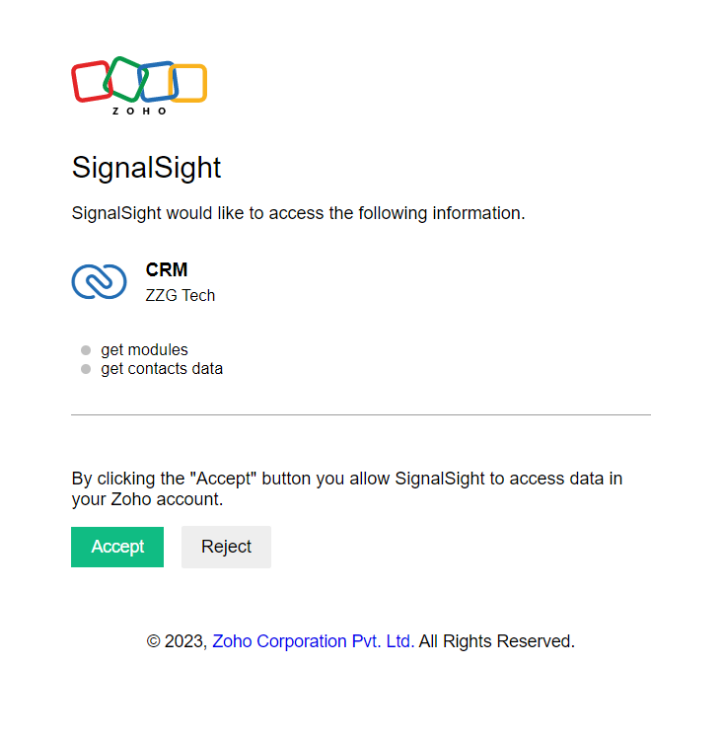
Thus, with your source created, you can skip the first step of the wizard by clicking the next button.
Choosing Destination
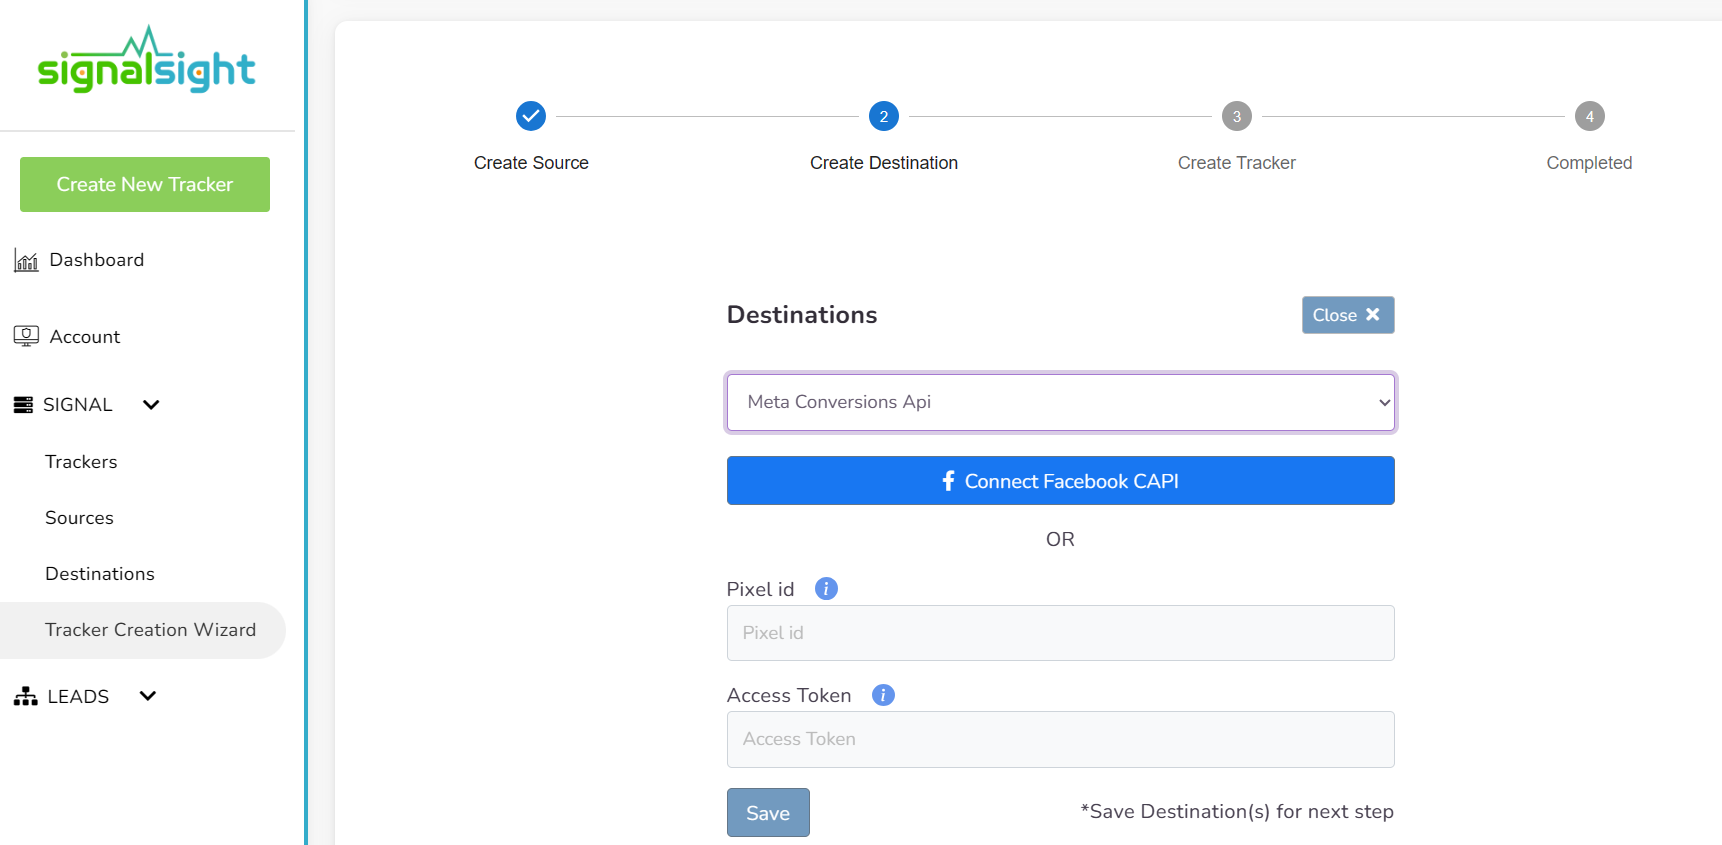
In the second step of the wizard, you will create a destination. You should create Meta Conversions Api as destination type for Conversion Leads. Here you are presented with 2 different methods. If you want, you can create Pixel and Meta CAPI destinations with the Save button by entering the pixel id and access token information. In addition, if you have pixel access, create the destination by selecting the account you will access via the Connect Facebook CAPI button and the pixel below it.
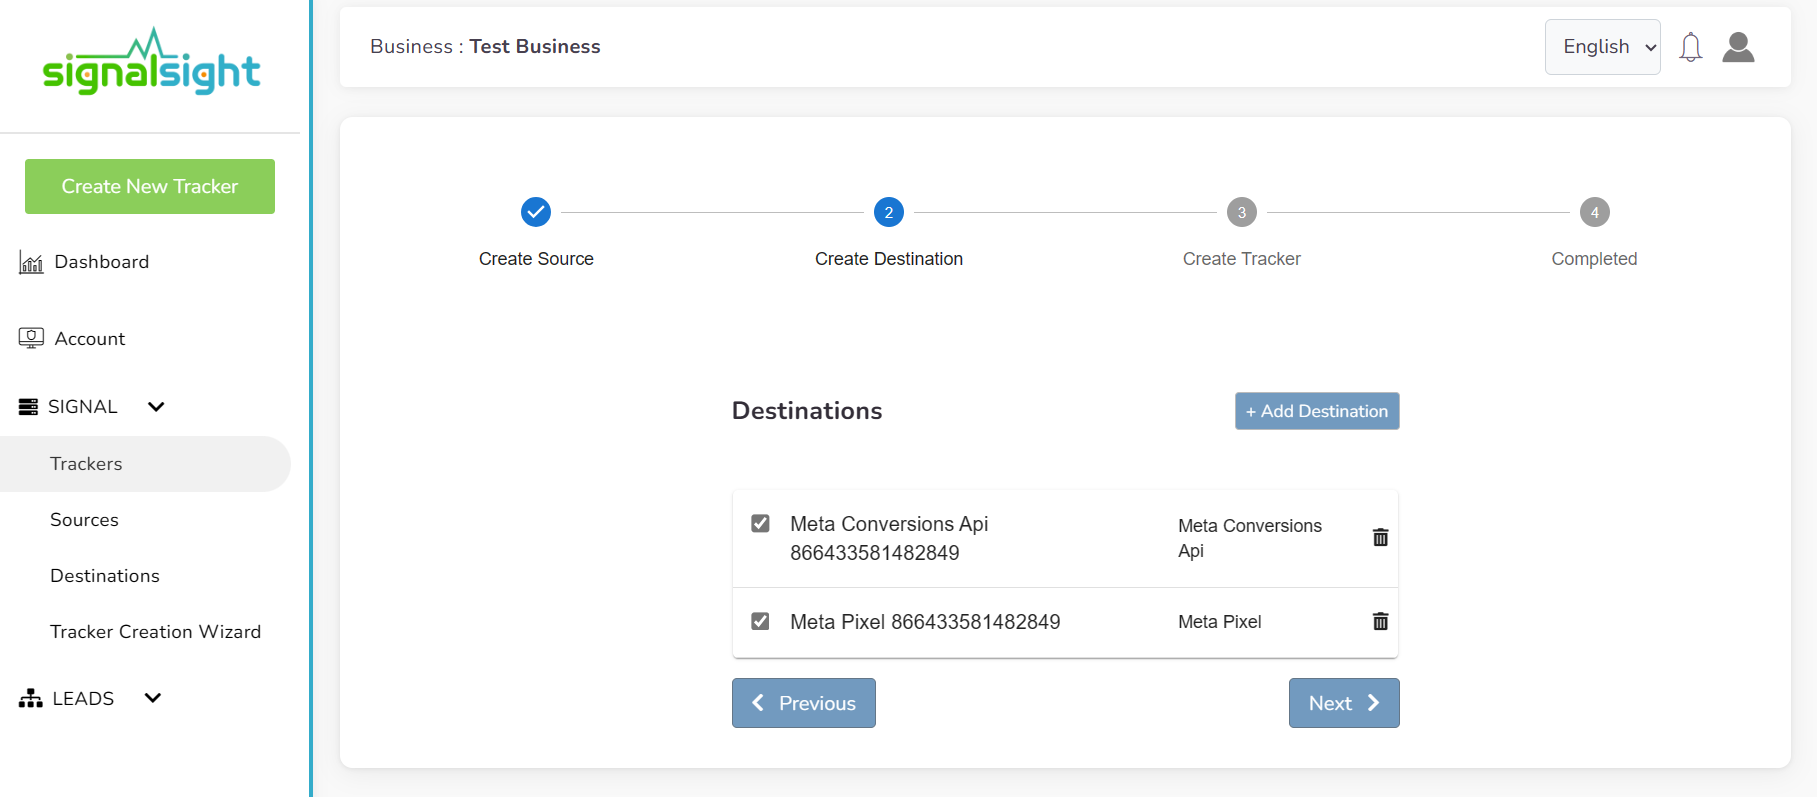
In this step of the Wizard, you can give your tracker a name, view the selected source and destination just below, browse the summary, and complete the process.
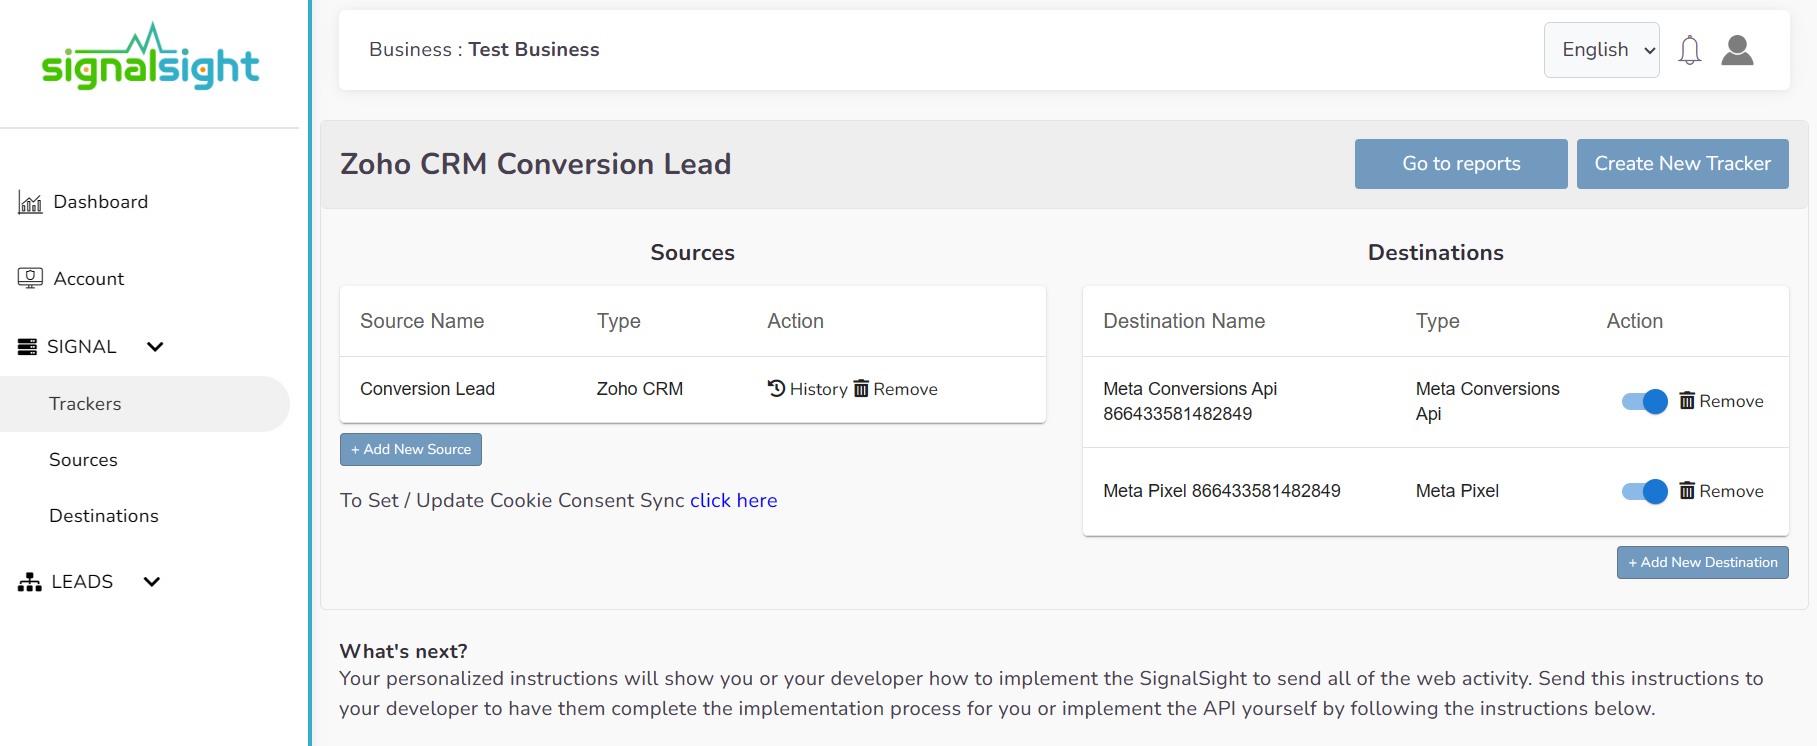
With the completion of the tracker, you can view your source and destination on the tracker detail screen.
Adding Zoho to an Existing Tracker
You can add different sources and destinations to previously created trackers. To access this page, click on "Trackers" in the left menu, where you can browse through all the trackers you have created and click on them to view their details.
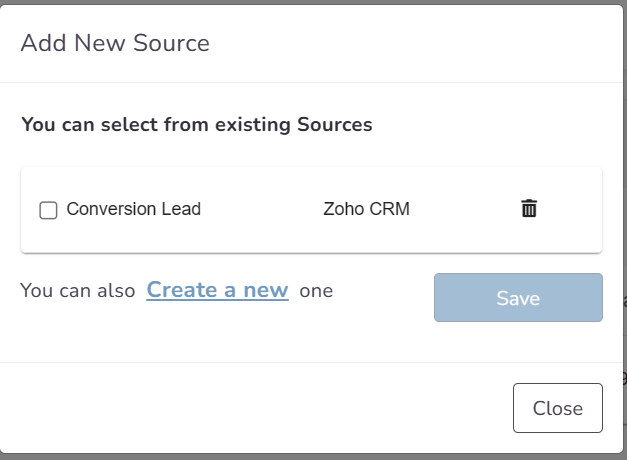
On this screen, you have the flexibility to add sources and destinations to your trackers at any time, as well as perform operations such as deletion and editing. If your trackers do not have a Zoho source, you can use the "Add New Source" button on the left to add a new source.
You can choose one of the sources used before the popup, or you can create a new Zoho CRM source by saying create a new and then proceed with the adding process.
Congratulations, you were able to include the Zoho CRM source in your tracker.
