Zendesk Sell Source Guide
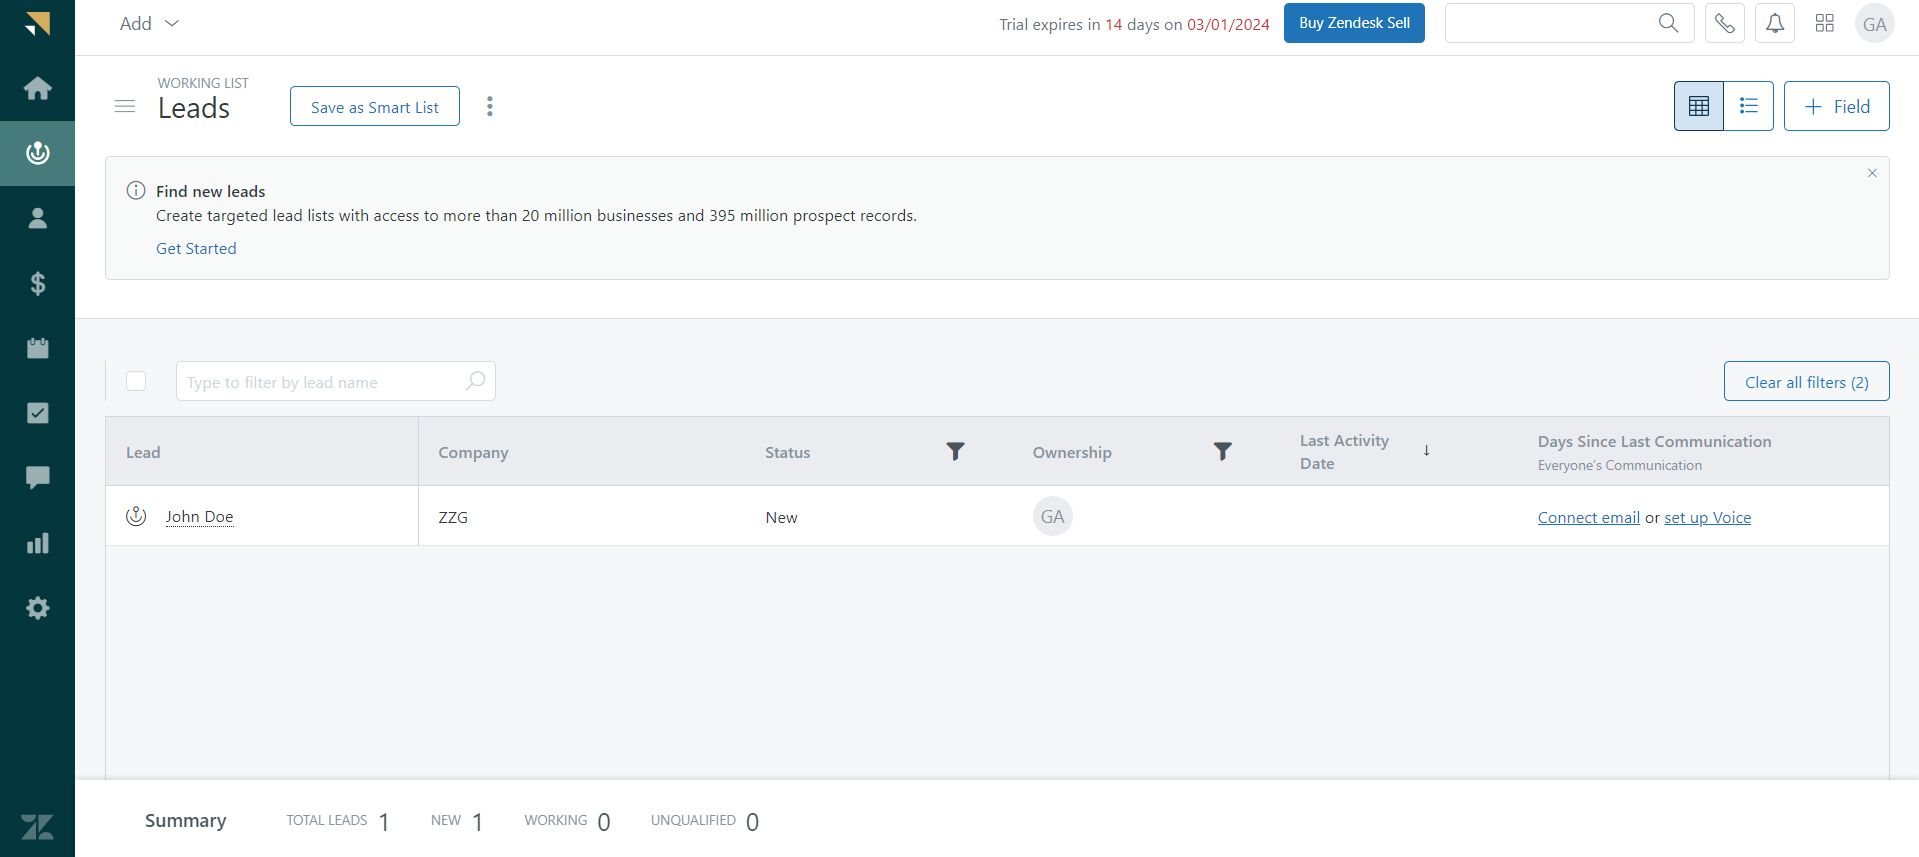
Zendesk Sell is a customer relationship management (CRM) platform that helps businesses manage their sales processes efficiently. It offers tools for tracking leads, managing contacts, and streamlining sales activities.
Get Started
Firstly, if you don't already have a SignalSight account, right after registering for a membership, you can immediately start harnessing the power of your Zendesk Sell CRM as a source.
Creating a New Tracker
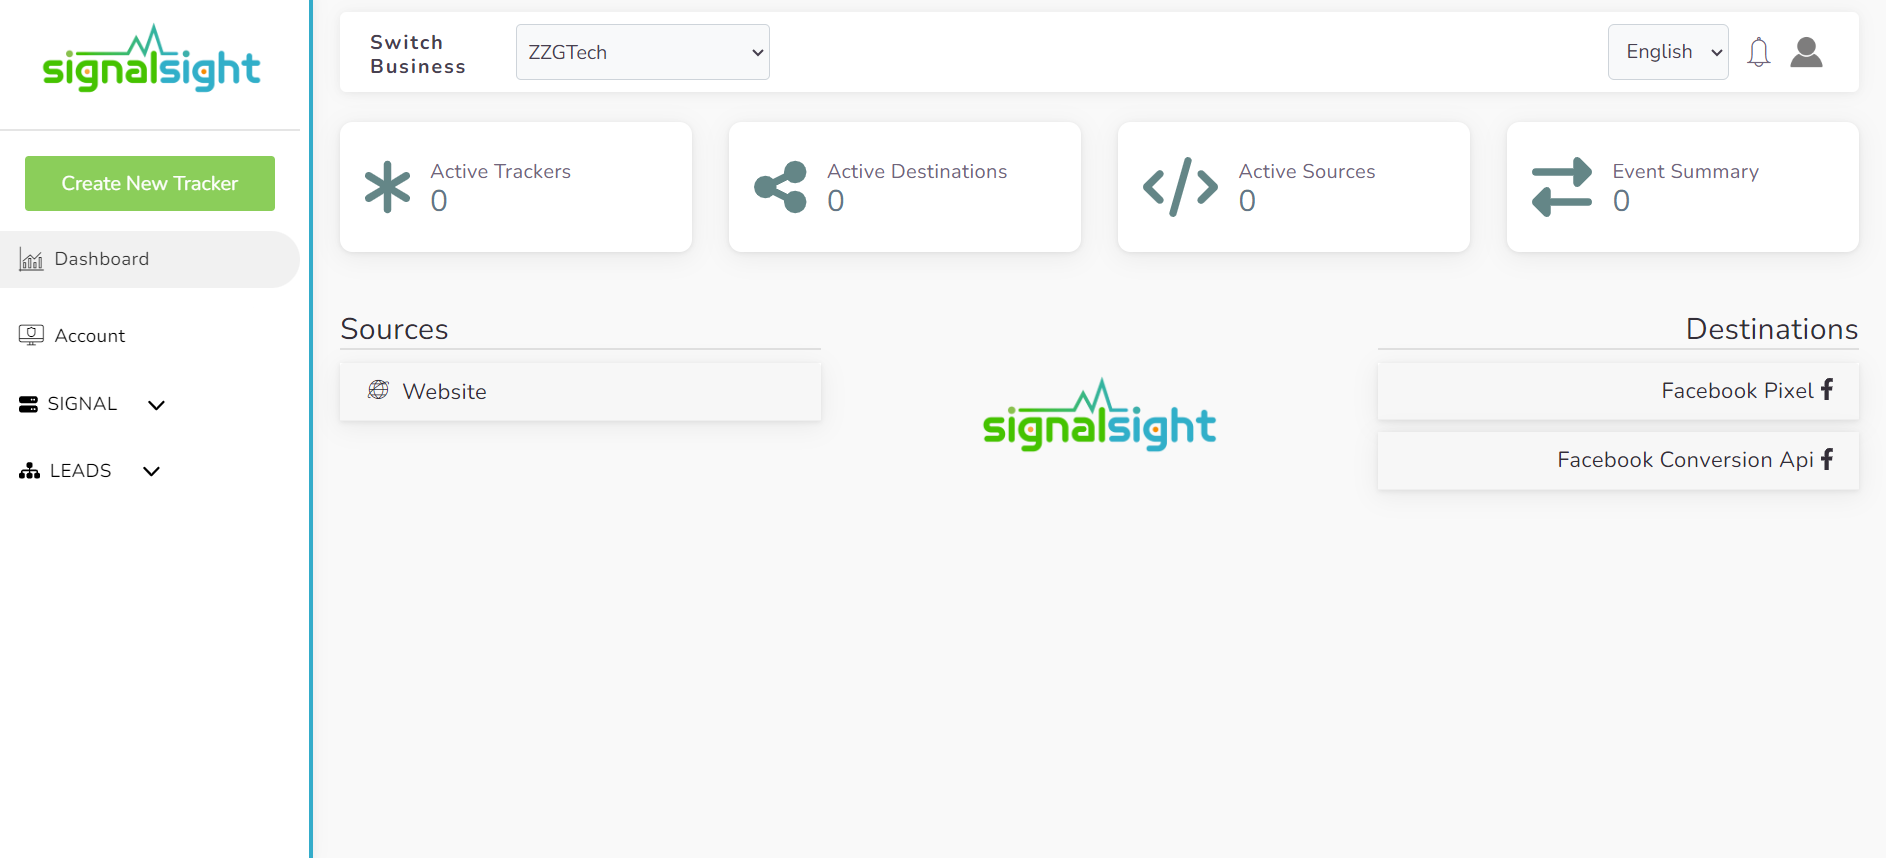
To create a tracker, you can access the wizard by clicking on SIGNAL > Trackers > Create Tracker in the left menu. In just a few steps, you can easily specify your desired source and destination, allowing you to start using your tracker.
Zendesk Sell Source Creation
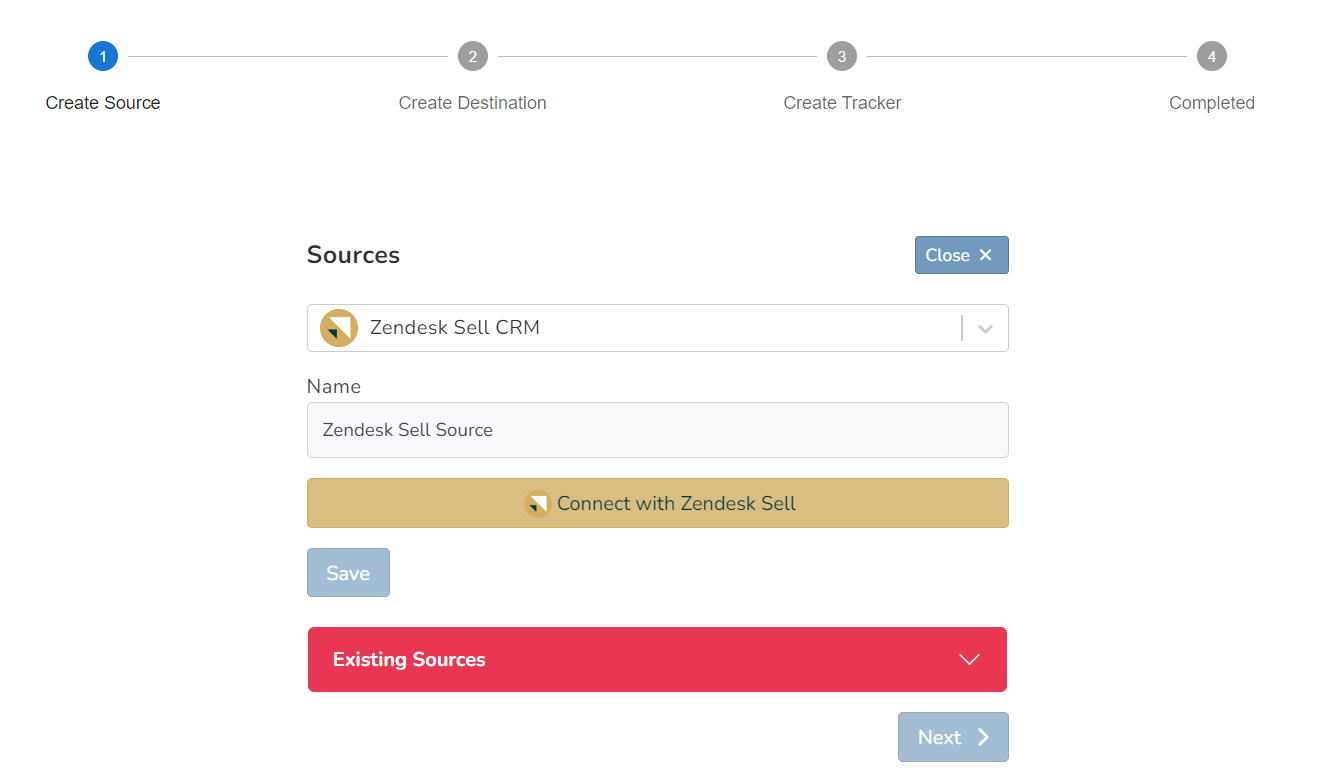
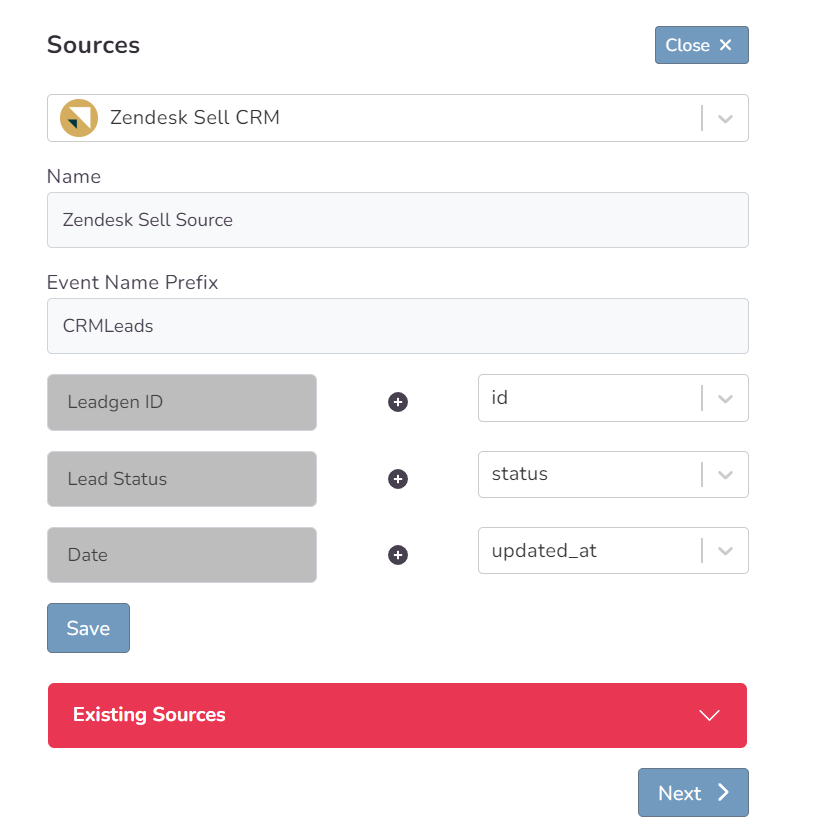
In the first step of the wizard, we find and select Zendesk Sell CRM from the source list. We give a name to this source and then connect to your Zendesk account with the Connect button that appears.
Zendesk Sell CRM Mapping
After successfully connecting to your Zendesk account, the Prefix and Inputs greet us. In this area, we determine the name under which the signals going to the designated destination will be sent. The Prefix field can also be left empty based on your preference. In this case, transmissions will be sent with Lead Statuses such as 'Qualified Lead' or 'Junk.' If the prefix 'CRMLeads' is provided, it will have a naming convention like 'CRMLeads-Junk'.
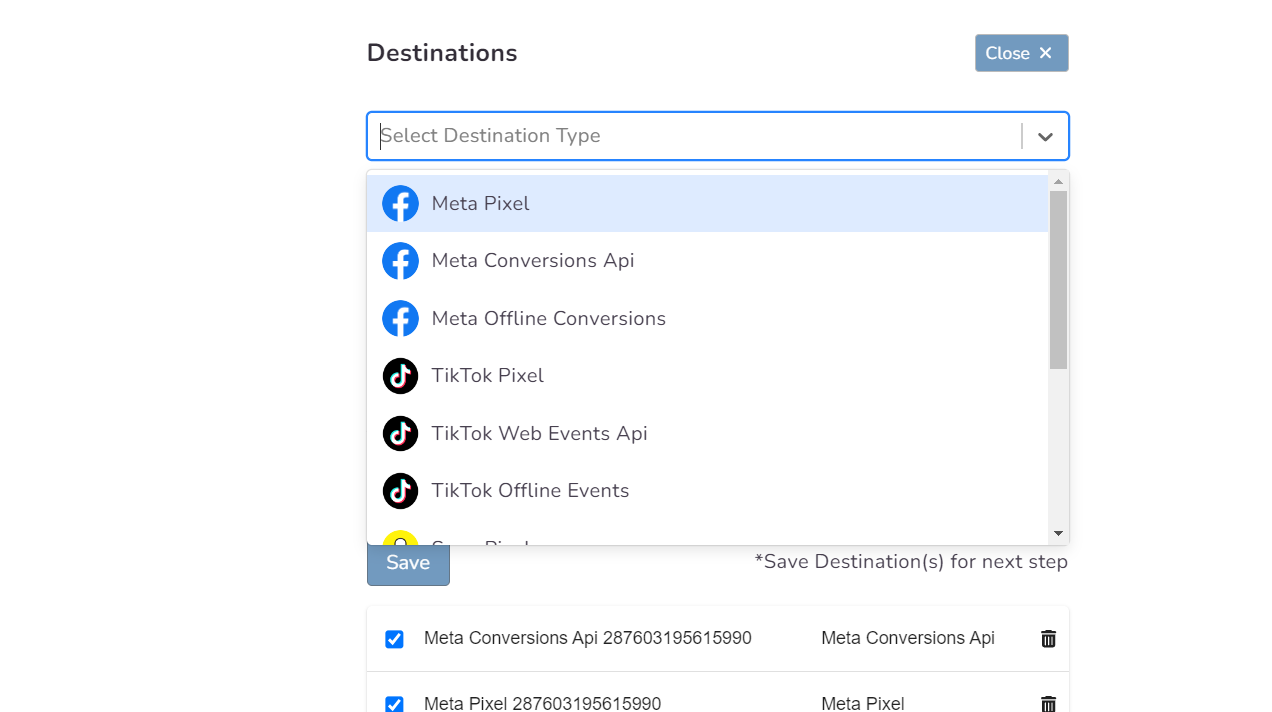
Choosing a Destination
Here, you can decide which destination or destinations you'll connect to your chosen Salesforce resource. By using one or multiple destinations simultaneously, you can easily enhance your functionality. Once you've filled in the relevant fields for your chosen destination (or used automatic setup if available), complete the destination step to proceed to the next stage.
In this step of the Wizard, you can give your tracker a name, view the selected source and destination just below, browse the summary, and complete the process.
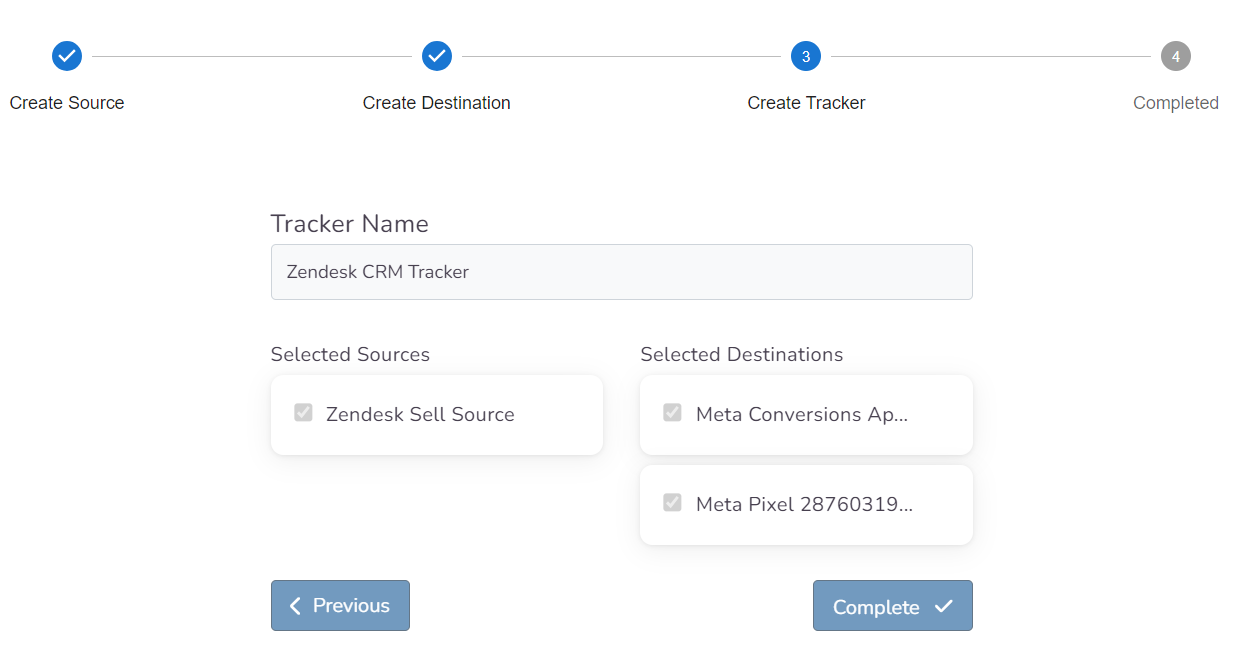
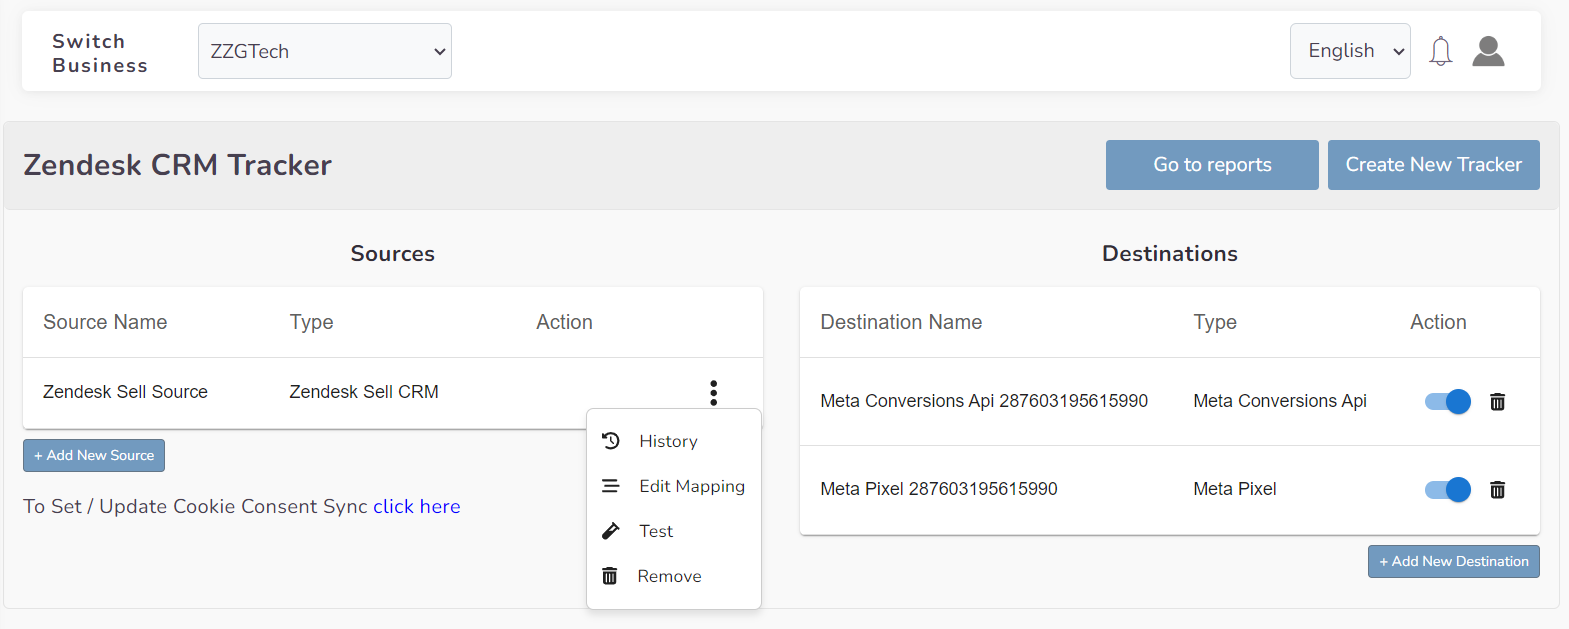
With the completion of the tracker, you can view your source and destination on the tracker detail screen.
